
No official photo mode? No problem. Here's the full setup guide for turning Hitman: World of Assassination into one of the most capable virtual photography experiences on PC — using two free community tools.
"IO Interactive has built one of gaming's most photographable worlds. We just haven't had the official tools to capture it properly. Until now."
— CoalaTV
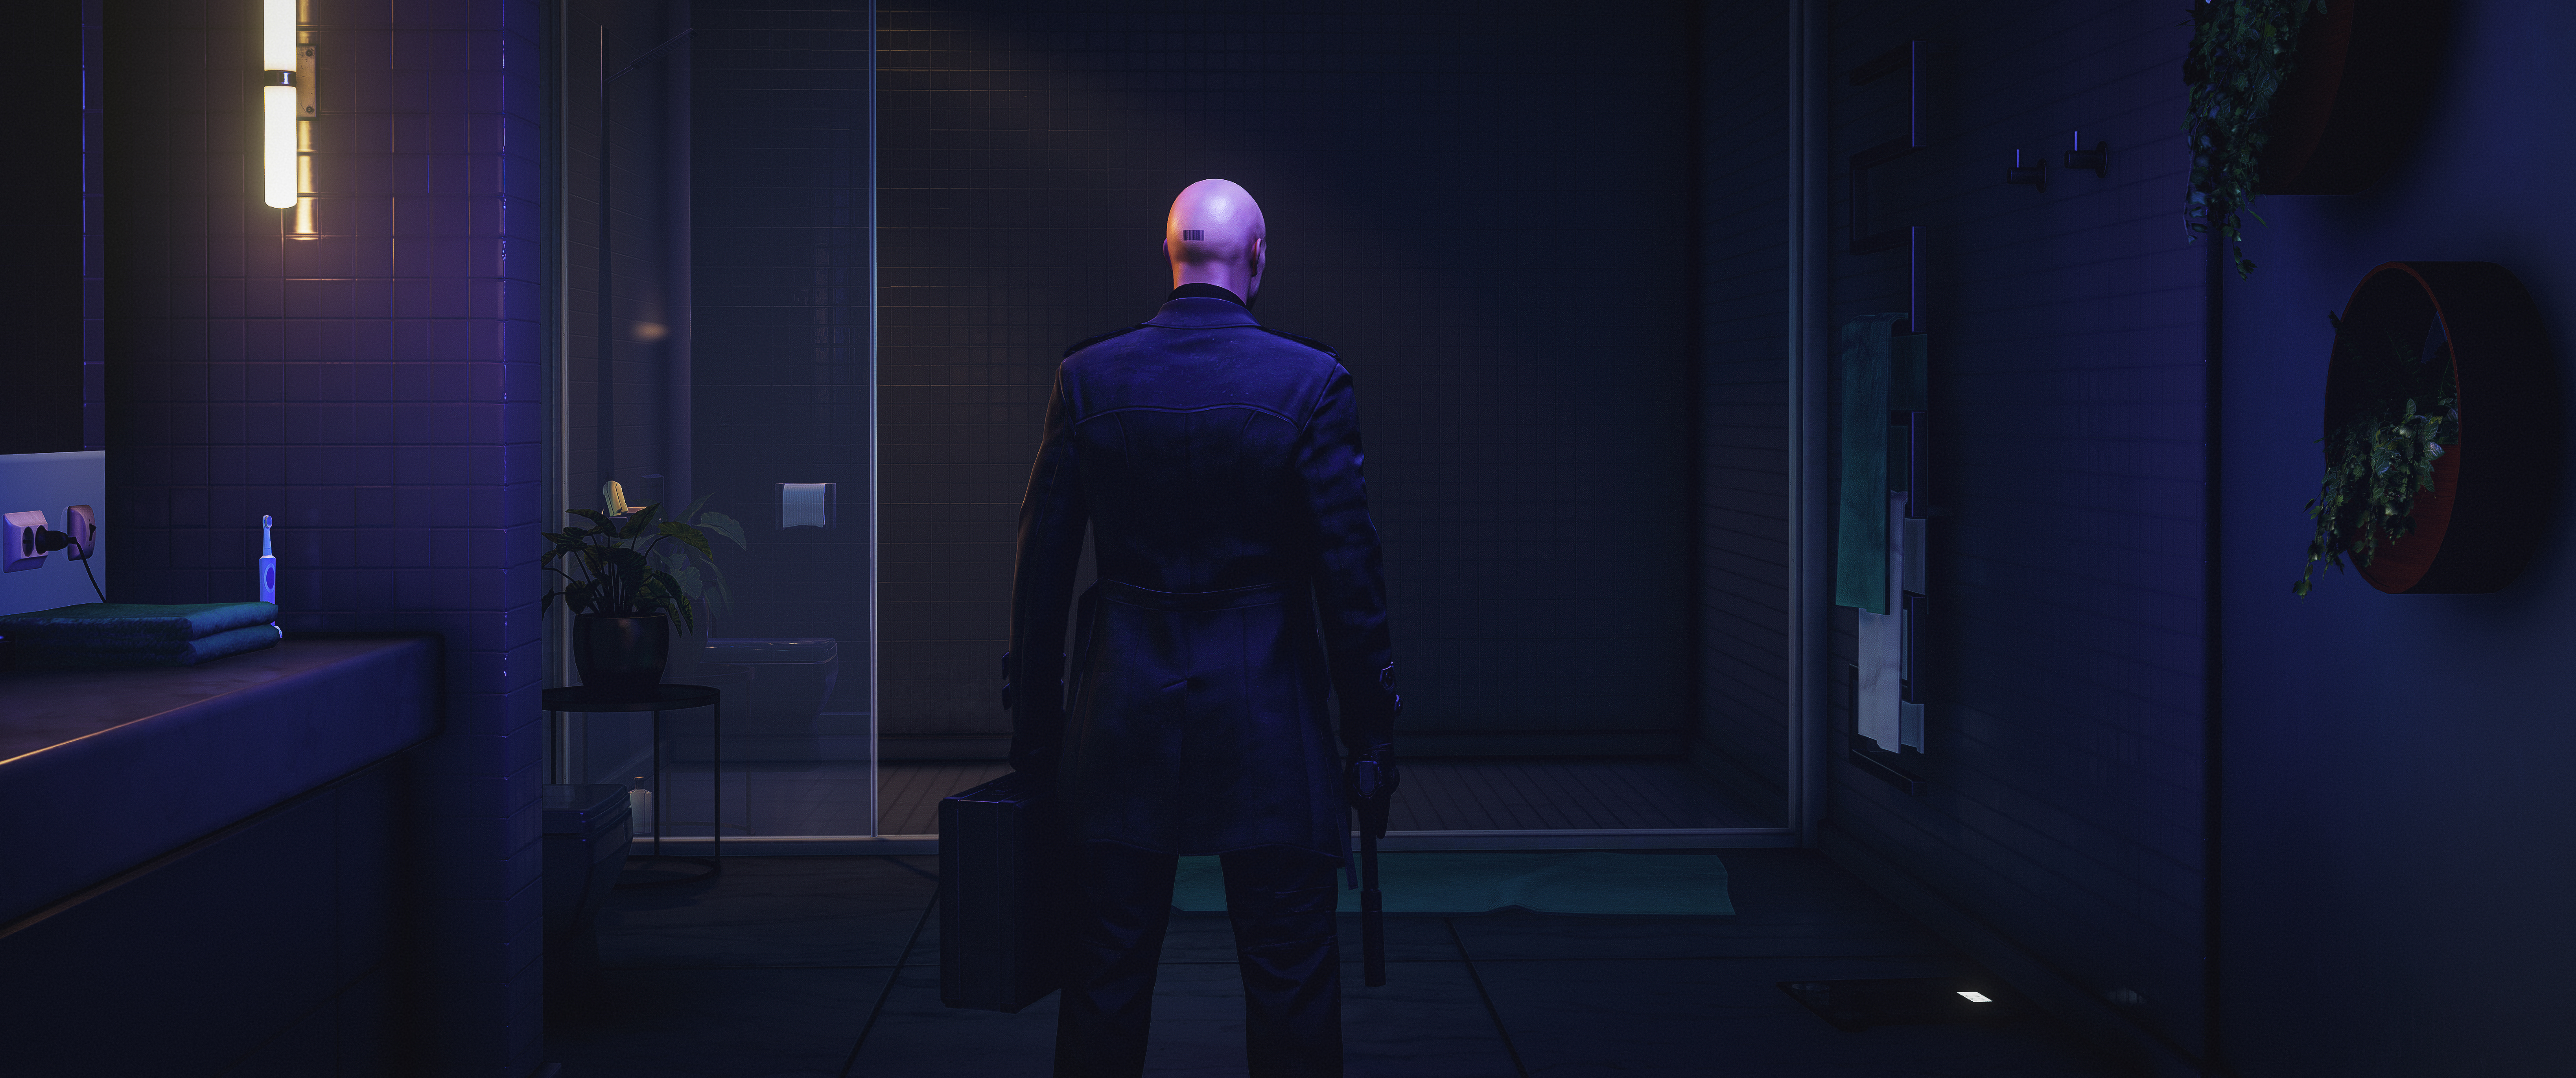
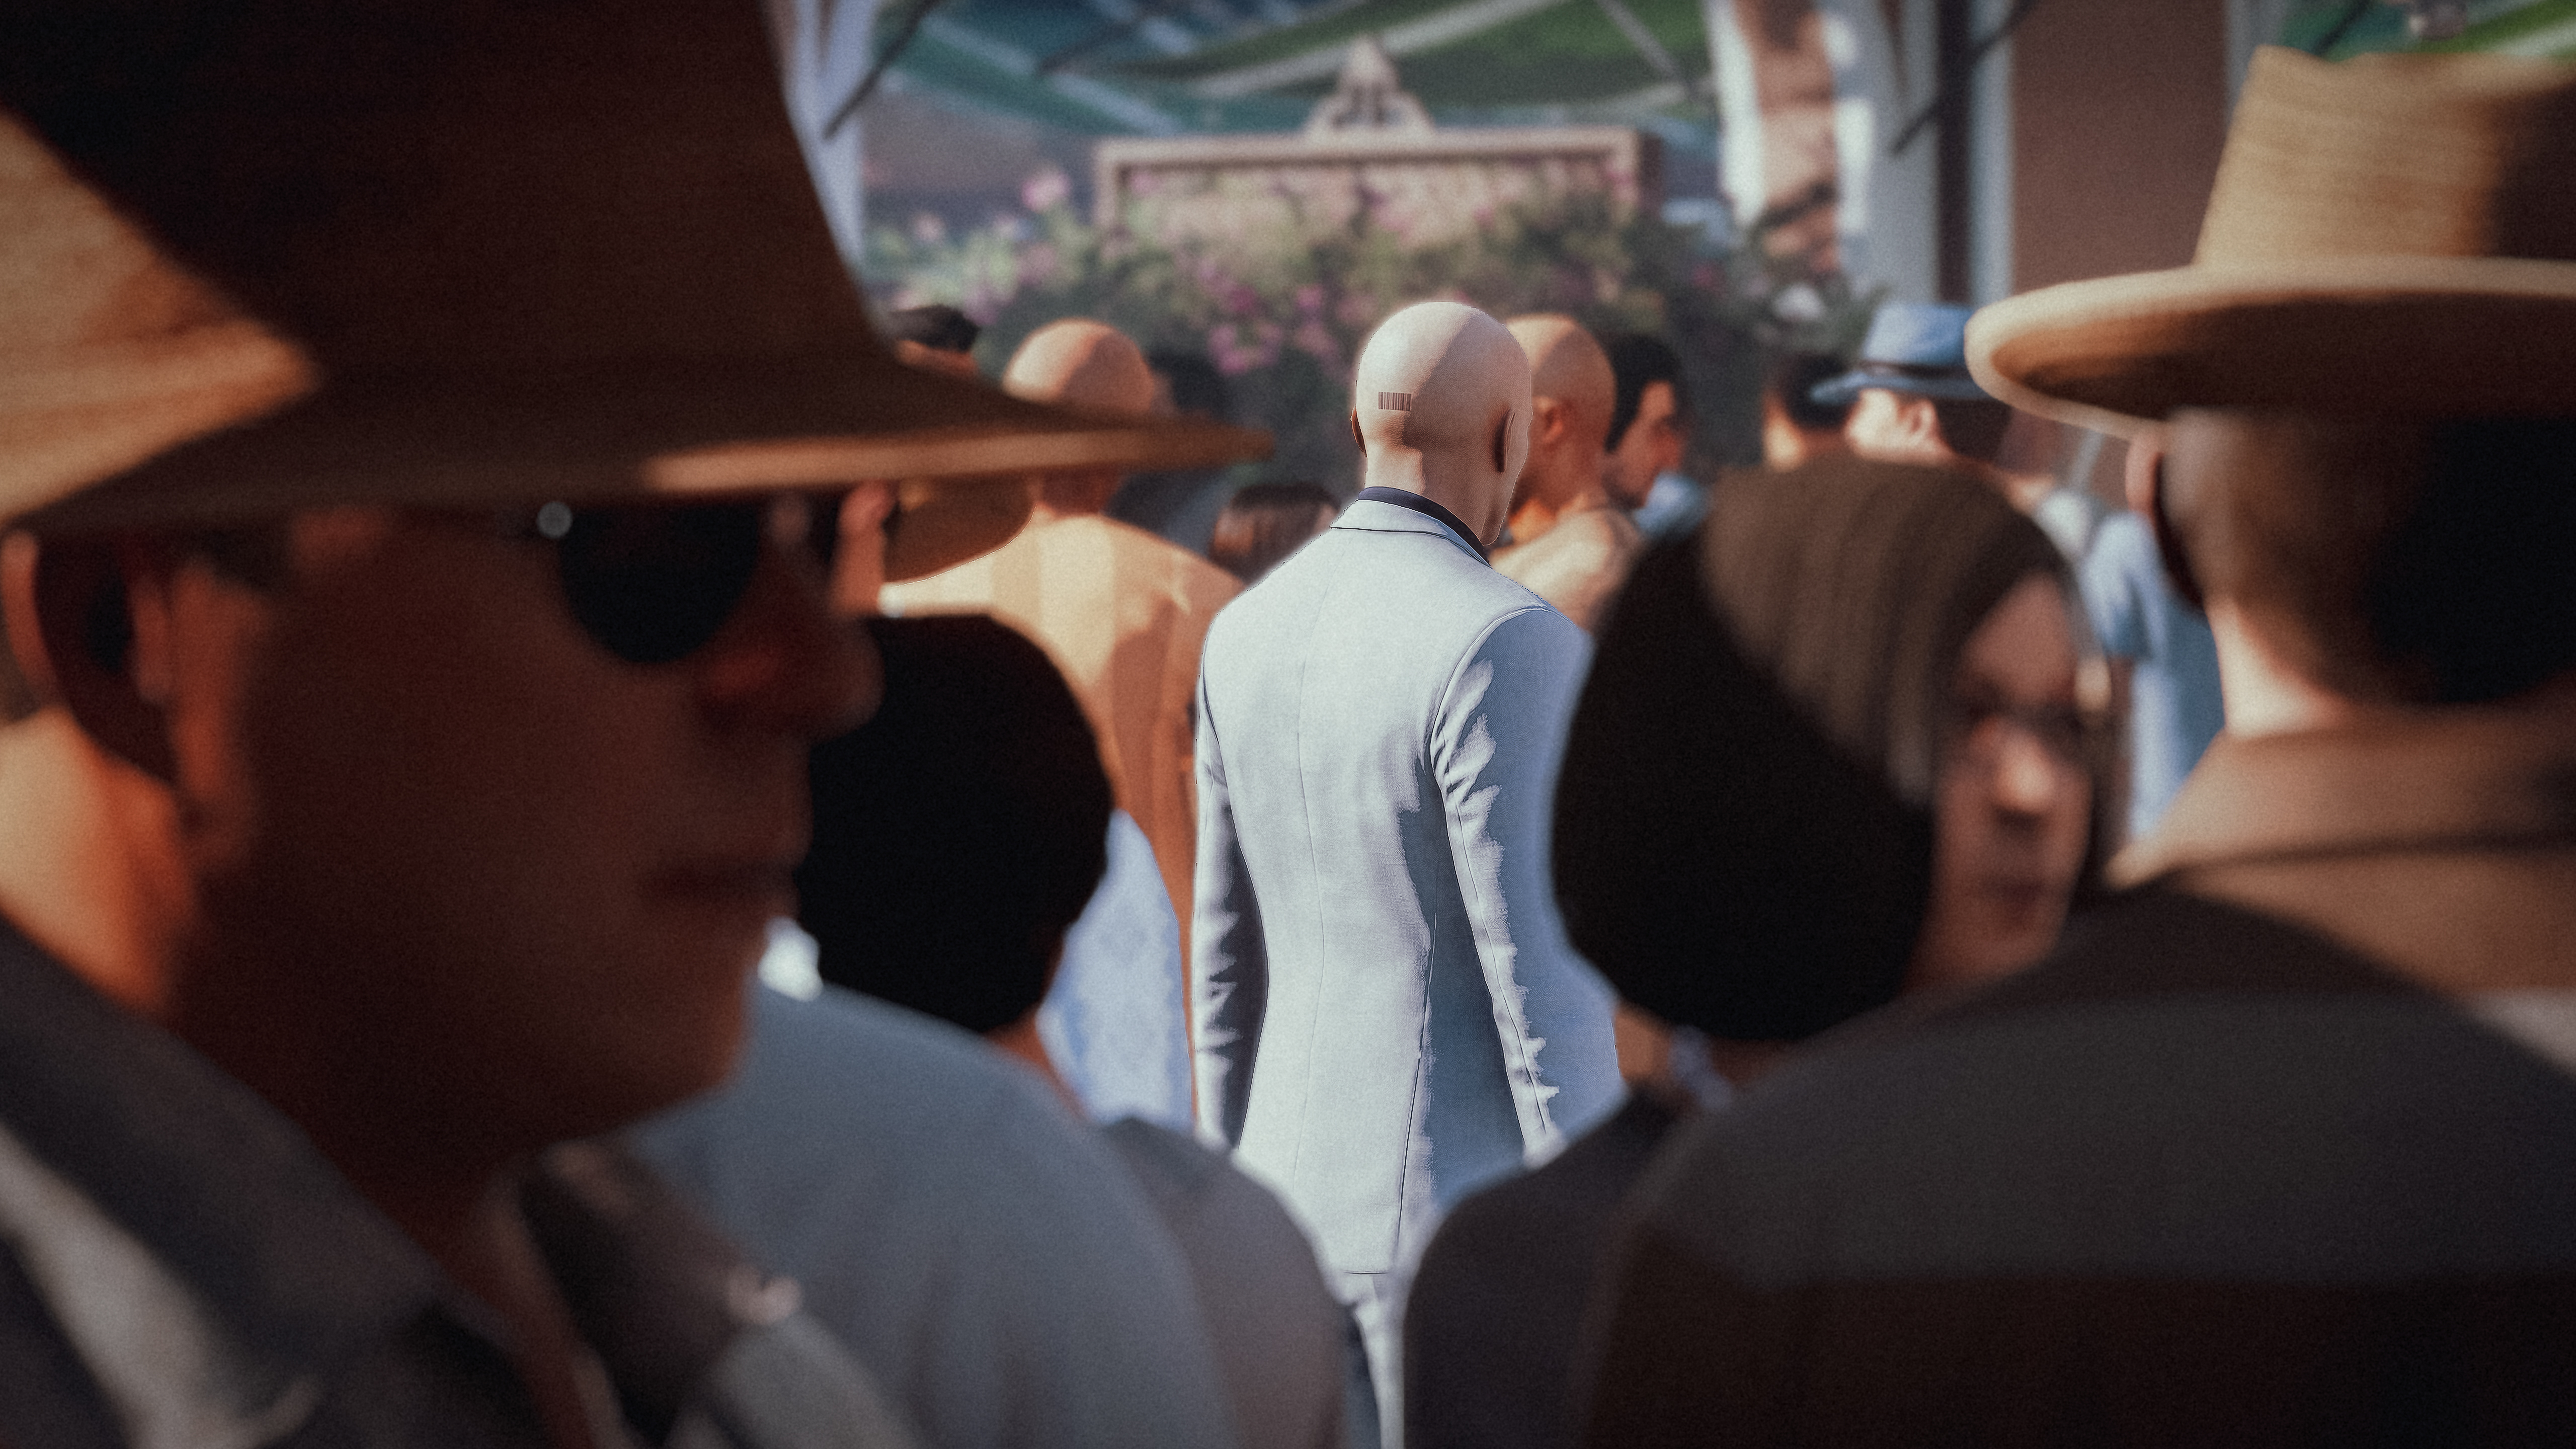
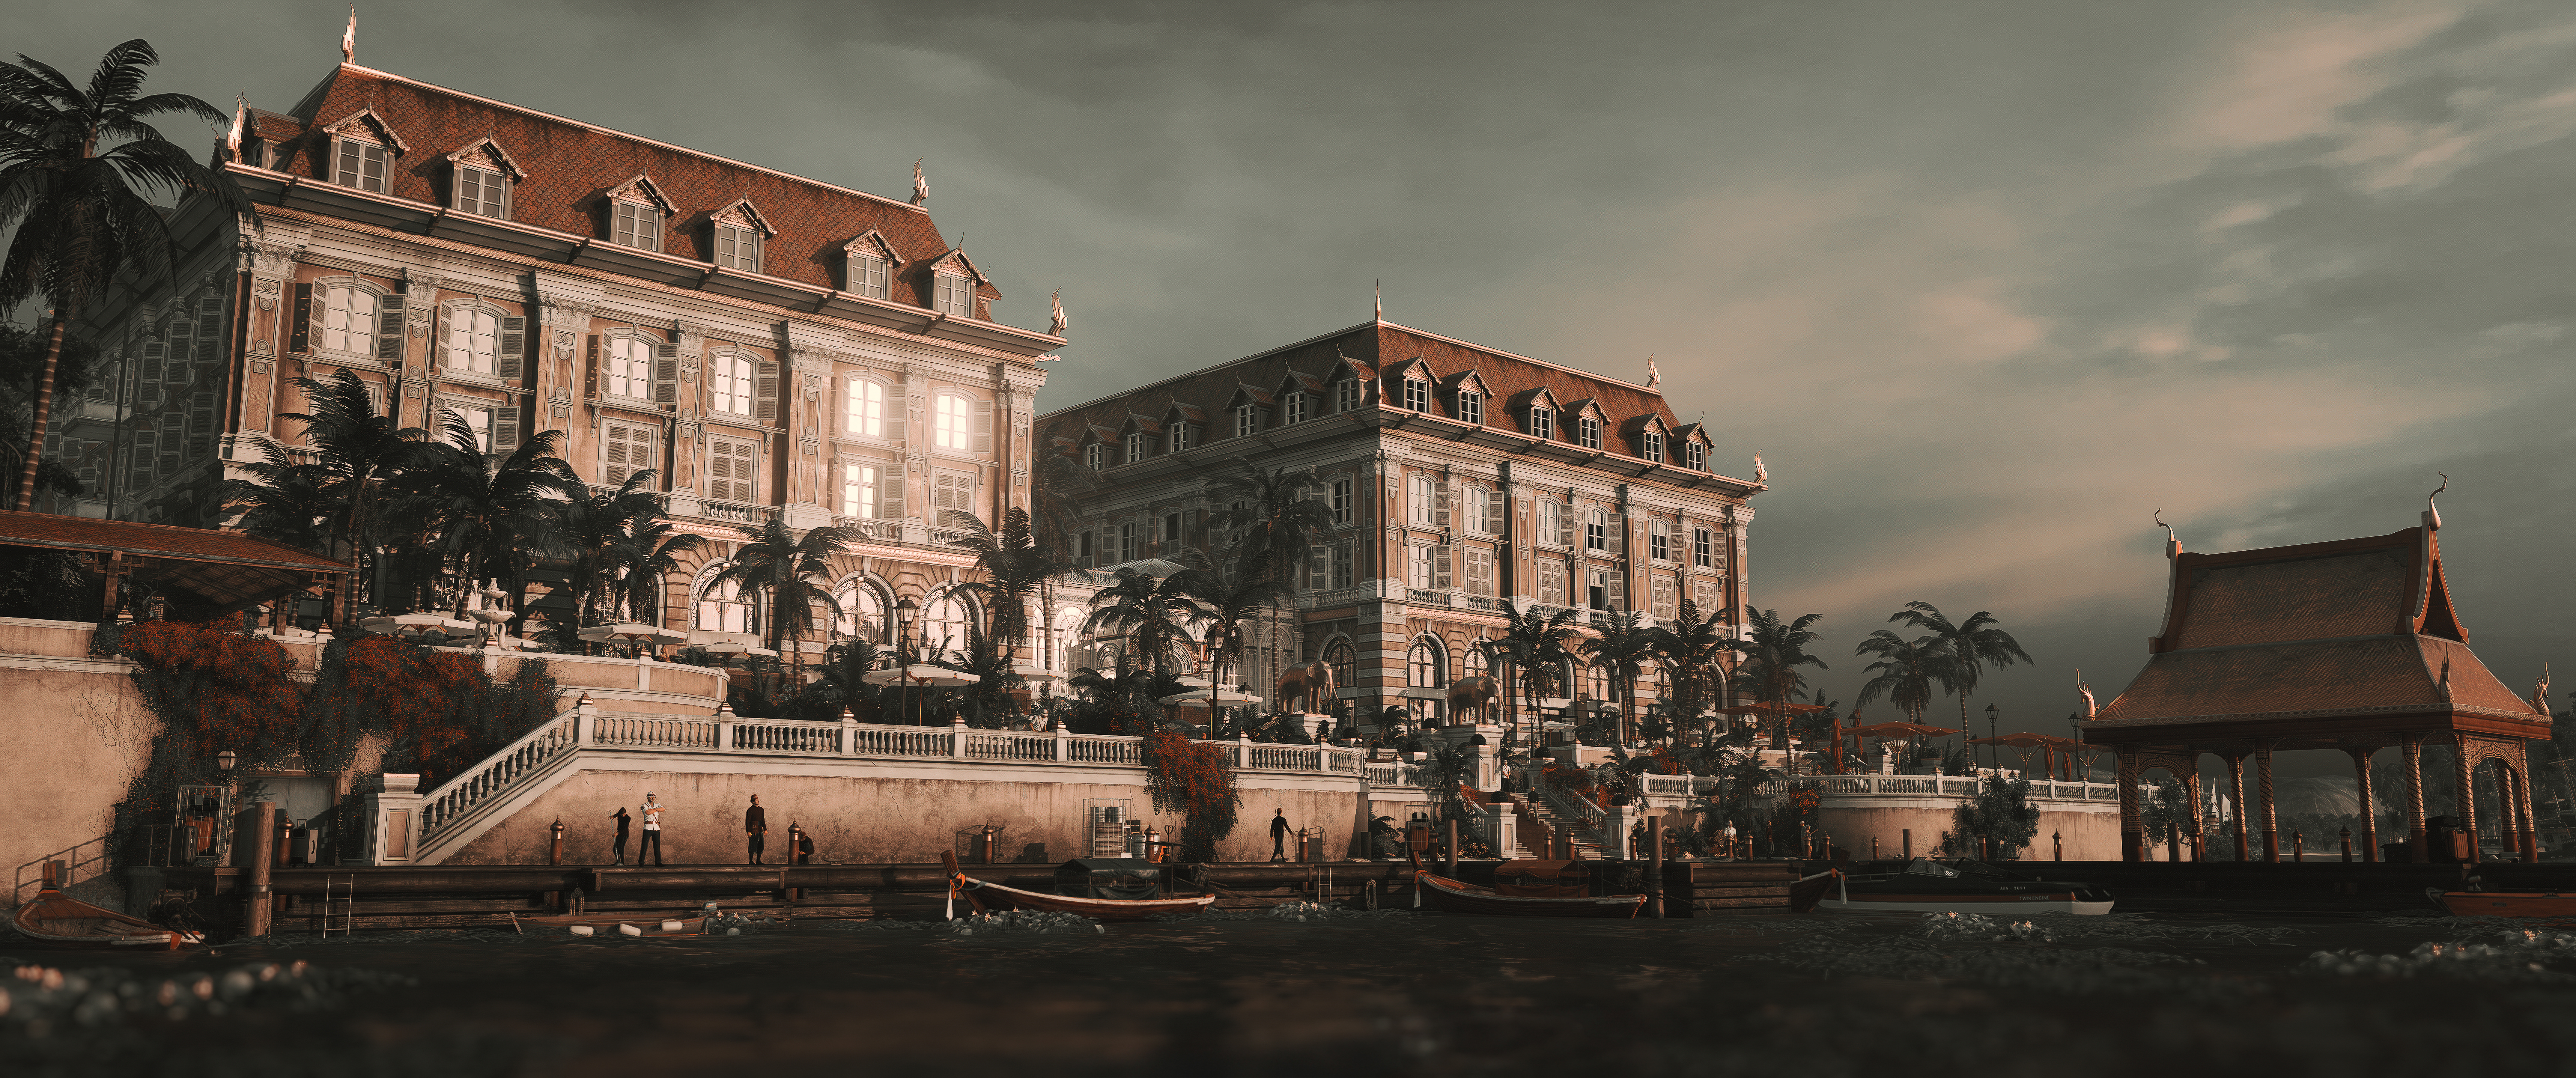
Hitman: World of Assassination is one of the most visually stunning games ever made. Meticulously crafted sandbox environments, extraordinary lighting, and Agent 47 as one of gaming's most cinematic protagonists. The neon chaos of Bangkok. The ancient stone corridors of Marrakesh. The Dartmoor mansion at sunset. Every location is a photographer's dream.
And yet, despite years of DLC, expansions, and updates, IO Interactive never shipped an official photo mode. Not once.
The community found a way anyway. Using two free tools, the ZHM Mod SDK and a Cheat Table, you can unlock a setup that rivals proper photo modes in every meaningful way. This guide walks you through everything.
Good news for the future: Hitman: Classic Trilogy Remastered has been officially revealed and will include a dedicated photo mode. For now though, here's how to capture World of Assassination the way it deserves.
What You Need
Two tools, both free:
- ZHM Mod SDK — the free camera. Download from GitHub
- Cheat Table (.CT) — game freeze, HUD removal, and highlight cleanup. Download the Cheat Table (also requires Cheat Engine, free)
You do not need to build anything or touch any code. Both tools are plug-and-play.
Step 1 — Install ZHM Mod SDK
The ZHM Mod SDK is a community-made mod loader for Hitman 3 / World of Assassination. It ships with the FreeCam mod included, so you only need to install one thing.
- Go to the ZHMModSDK Releases page and download the latest
ZHMModSDK-Release.zip - Extract the contents directly into your HITMAN3\Retail folder, not the root HITMAN3 folder. Steam users:
C:\Program Files (x86)\Steam\steamapps\common\HITMAN 3\Retail - Launch the game normally. On first run, a dialog will ask which mods to enable. Select FreeCam and optionally NoPause, then click OK.
- You may need to restart the game after selecting mods for the first time.
That's the entire installation. The SDK injects through dinput8.dll in your Retail folder. To uninstall at any point, just delete that file.
Step 2 — Set Up the Cheat Table
The Cheat Table handles the things the FreeCam mod doesn't: pausing and unpausing the game cleanly, removing the HUD, and stripping object highlights that would otherwise clutter your shots.
- Install Cheat Engine if you don't already have it.
- Download the Hitman Cheat Table (.CT file).
- Open Cheat Engine. Click the Open Cheat Table button and load the .CT file you just downloaded.
- Start Hitman: World of Assassination and load into a level.
- In Cheat Engine, click Open a Process and select HITMAN3 from the list.
- Press Esc once in-game to activate the Cheat Table.
Key bindings once the CT is active:
| Key | Action |
| Key 5 | Freeze / pause the game |
| Key 4 | Unfreeze / resume the game |
| HUD toggle | Disable HUD and object highlights via the CT checkboxes |
Step 3 — Using the FreeCam
Once both tools are running and you're in a level, here's the workflow for capturing a shot:
- Press ~ (tilde) to open the SDK menu. Confirm FreeCam is enabled.
- Press K to toggle the FreeCam on.
- The FreeCam controls panel will appear on screen the first time. You can close it using the ~ key once you're familiar with it.
- Use WASD + mouse to position and angle the camera.
- When you have the composition you want, freeze the game with Key 5 (Cheat Table).
- Disable the HUD via the Cheat Table checkboxes.
- Take your screenshot using your capture tool of choice (Steam screenshot, NVIDIA overlay, etc.).
- Unfreeze with Key 4 and press K again to exit FreeCam.
FreeCam Full Controls Reference
All keyboard shortcuts sourced directly from the official FreeCam README:
| Key | Action |
| K | Toggle FreeCam on / off |
| F3 | Toggle camera lock and 47 input (lock the camera, let 47 move) |
| W / A / S / D + Mouse | Move and rotate camera |
| Ctrl + W / S | Change FOV |
| Ctrl + A / D | Roll camera |
| Alt + W / S | Change camera speed |
| Space + Q / E | Change camera height |
| Space + W / S | Move camera forward / backward on axis |
| Shift | Increase speed while holding |
| F8 | Pause / resume game (FreeCam's own toggle) |
| Ctrl + F6 | Teleport Hitman to camera position |
| MMB / Scroll Wheel | Drag camera / zoom (editor-style freecam) |
Controller support is also available. Y + Left Analog changes FOV, A + Left Analog rolls the camera, Left Bumper locks the camera while you move 47, and Right Trigger boosts speed while held.
The Full Workflow — Watch It in Action
I've put together a full video walkthrough that covers installation, the complete workflow, and tips for getting the most out of both tools. If you get stuck on any step in this guide, the video will clear it up.
A Few Tips Before You Start Shooting
Lock the camera with F3 for character shots. Pressing F3 locks the camera in place while giving control back to 47. This lets you position him naturally in the scene, then freeze and capture without the camera drifting.
Use NoPause if you have it enabled. The NoPause mod (included in the SDK) prevents the game from pausing when you alt-tab. This is useful when switching between Hitman and Cheat Engine mid-session.
The Cheat Table is your cleanup tool, not your camera. Think of them as two separate layers. The FreeCam handles all camera positioning and FOV. The Cheat Table handles environment cleanup, HUD removal, highlight stripping, and the game freeze. Use each for what it does best.
Slow your camera speed down for tight spaces. The default camera speed can be too fast in interior environments. Use Alt+S to reduce it before trying to navigate indoors or into tight architectural angles.
The SDK may need updating after game patches. If the game updates and the SDK stops working, check the Releases page for a new version. The team generally patches within a few days of a major game update.


Why It's Worth the Setup
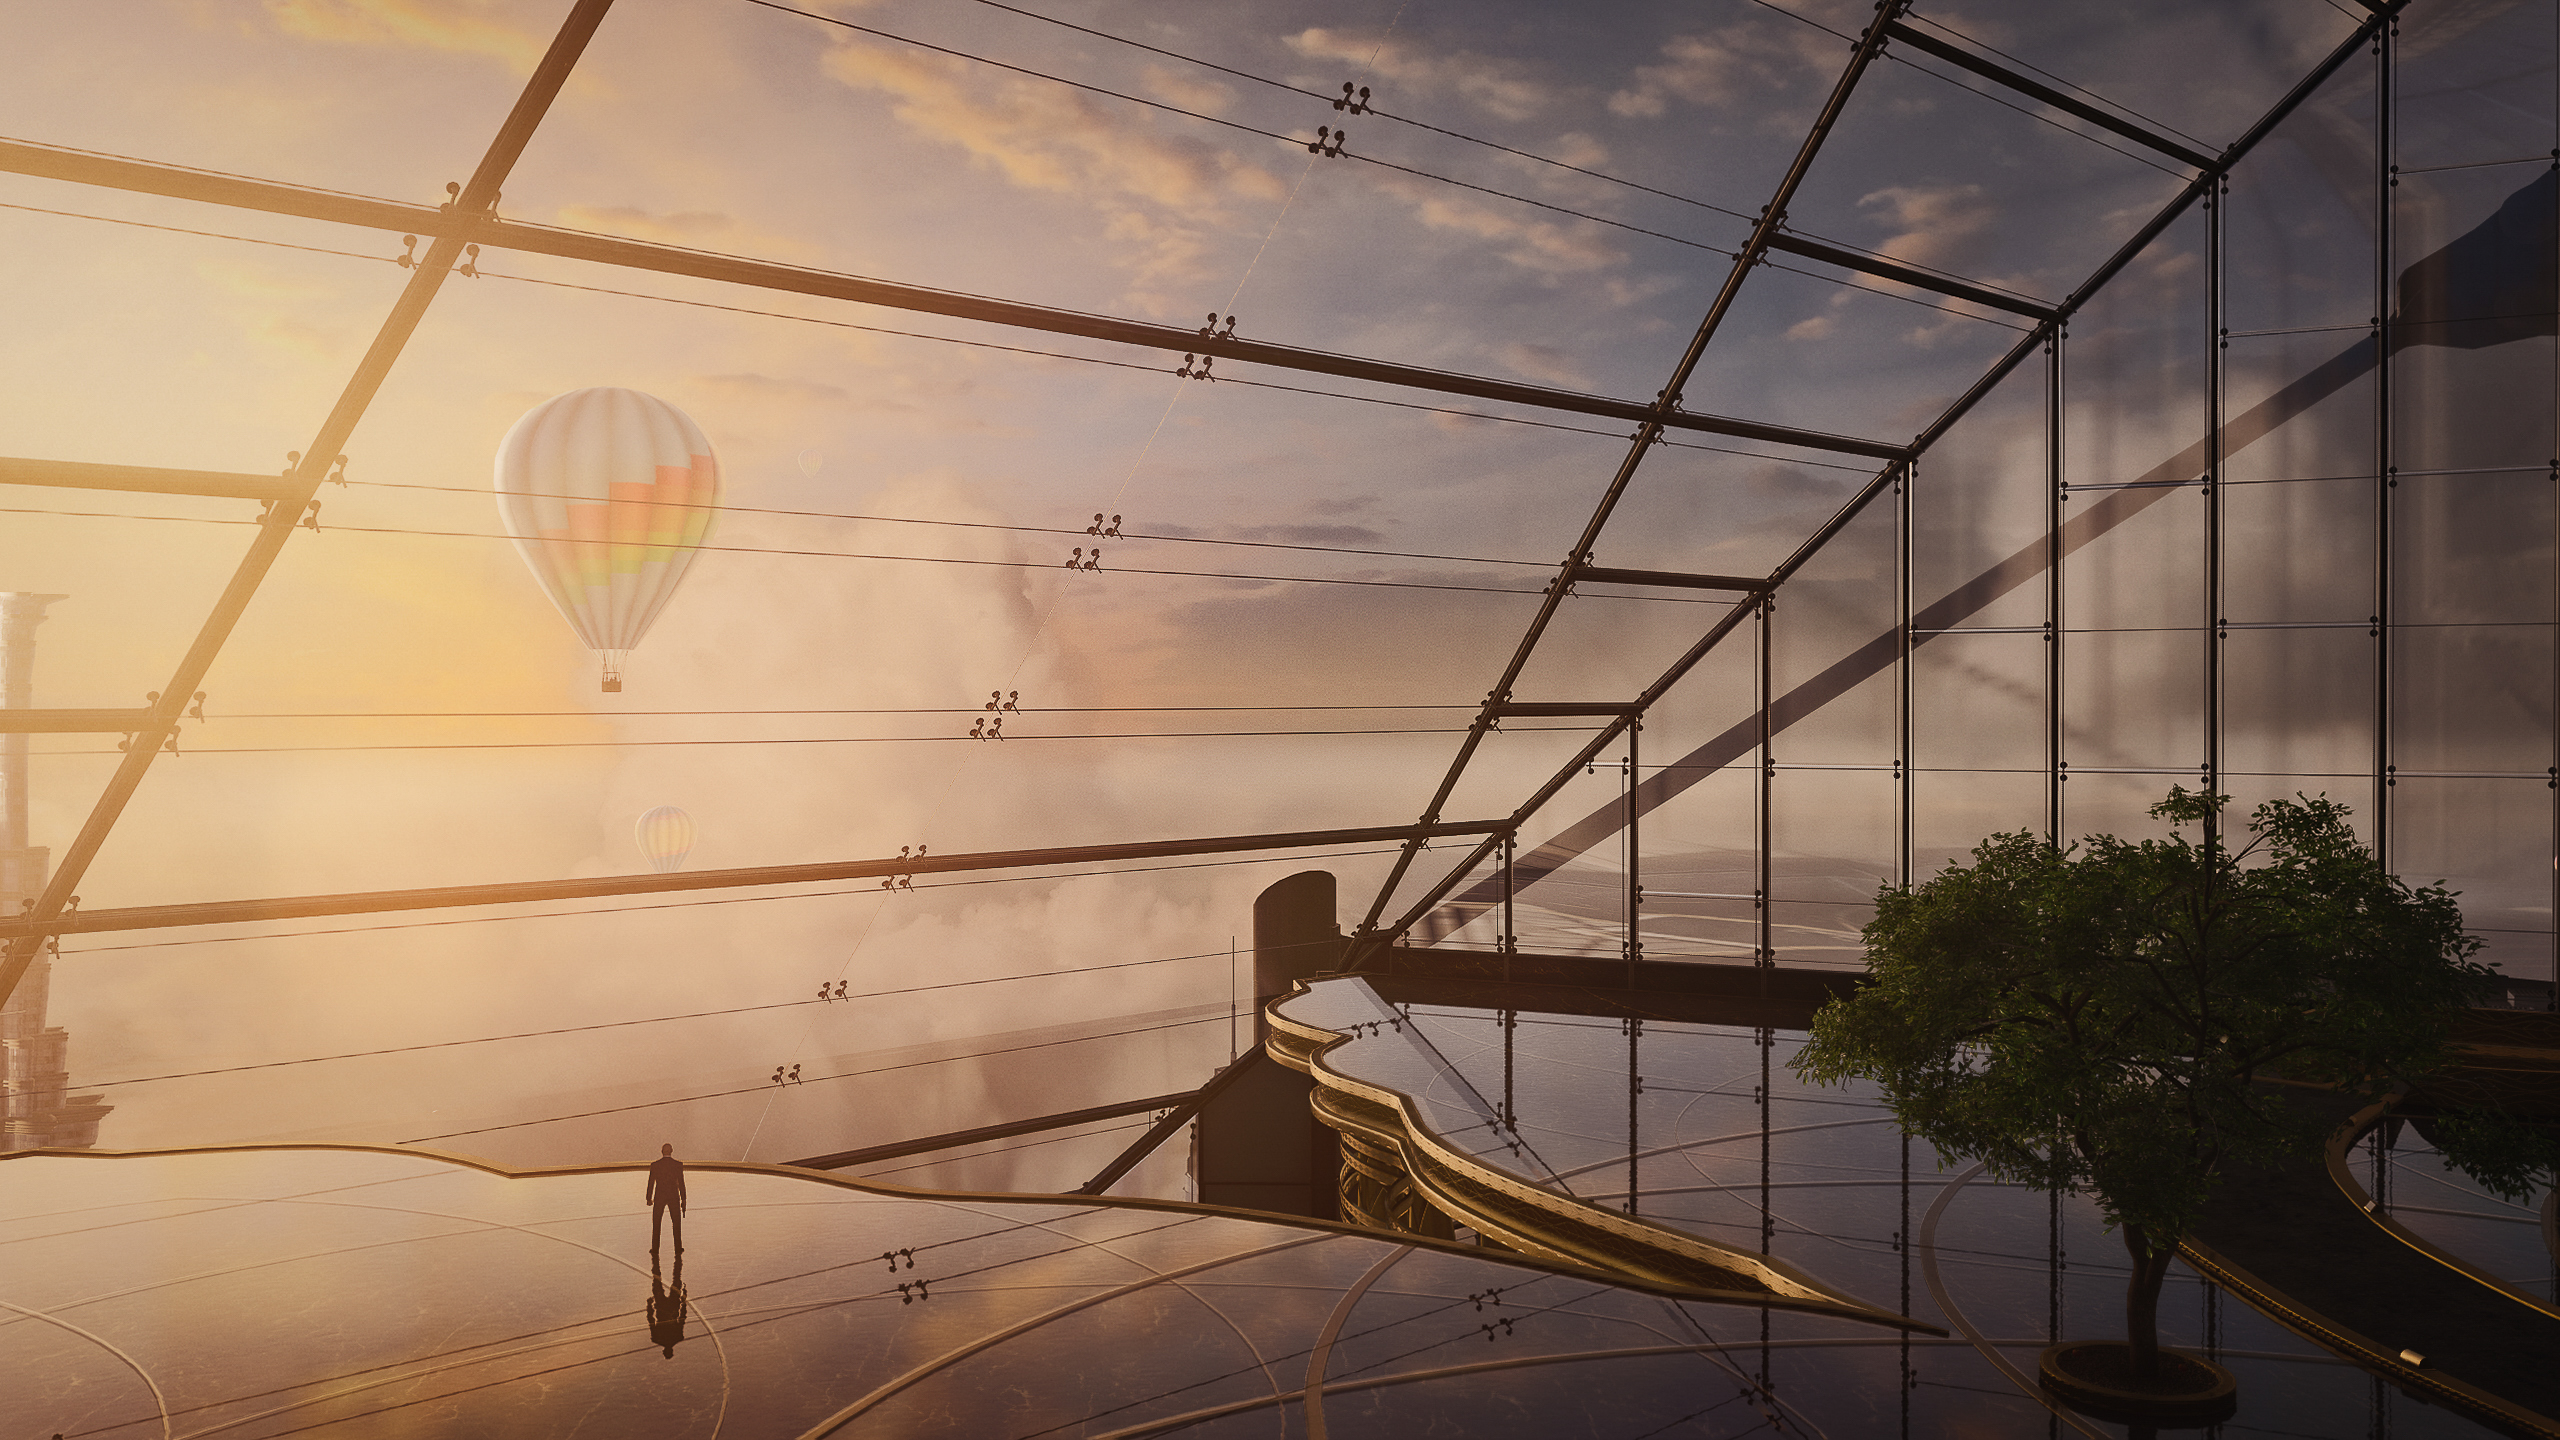
Hitman: World of Assassination is genuinely one of the most beautiful games ever made. IO Interactive's Glacier engine produces lighting and environmental detail that most games with dedicated photo modes can only aspire to.
The setup takes maybe ten minutes the first time. After that, it's seamless. And the results speak for themselves.
While we wait for the Hitman Classic Trilogy Remastered to bring a proper photo mode to the franchise, this is the best way to experience Hitman as the visual art form it clearly is.
Enjoying our content?
Support the PMAs on Patreon and help us keep going