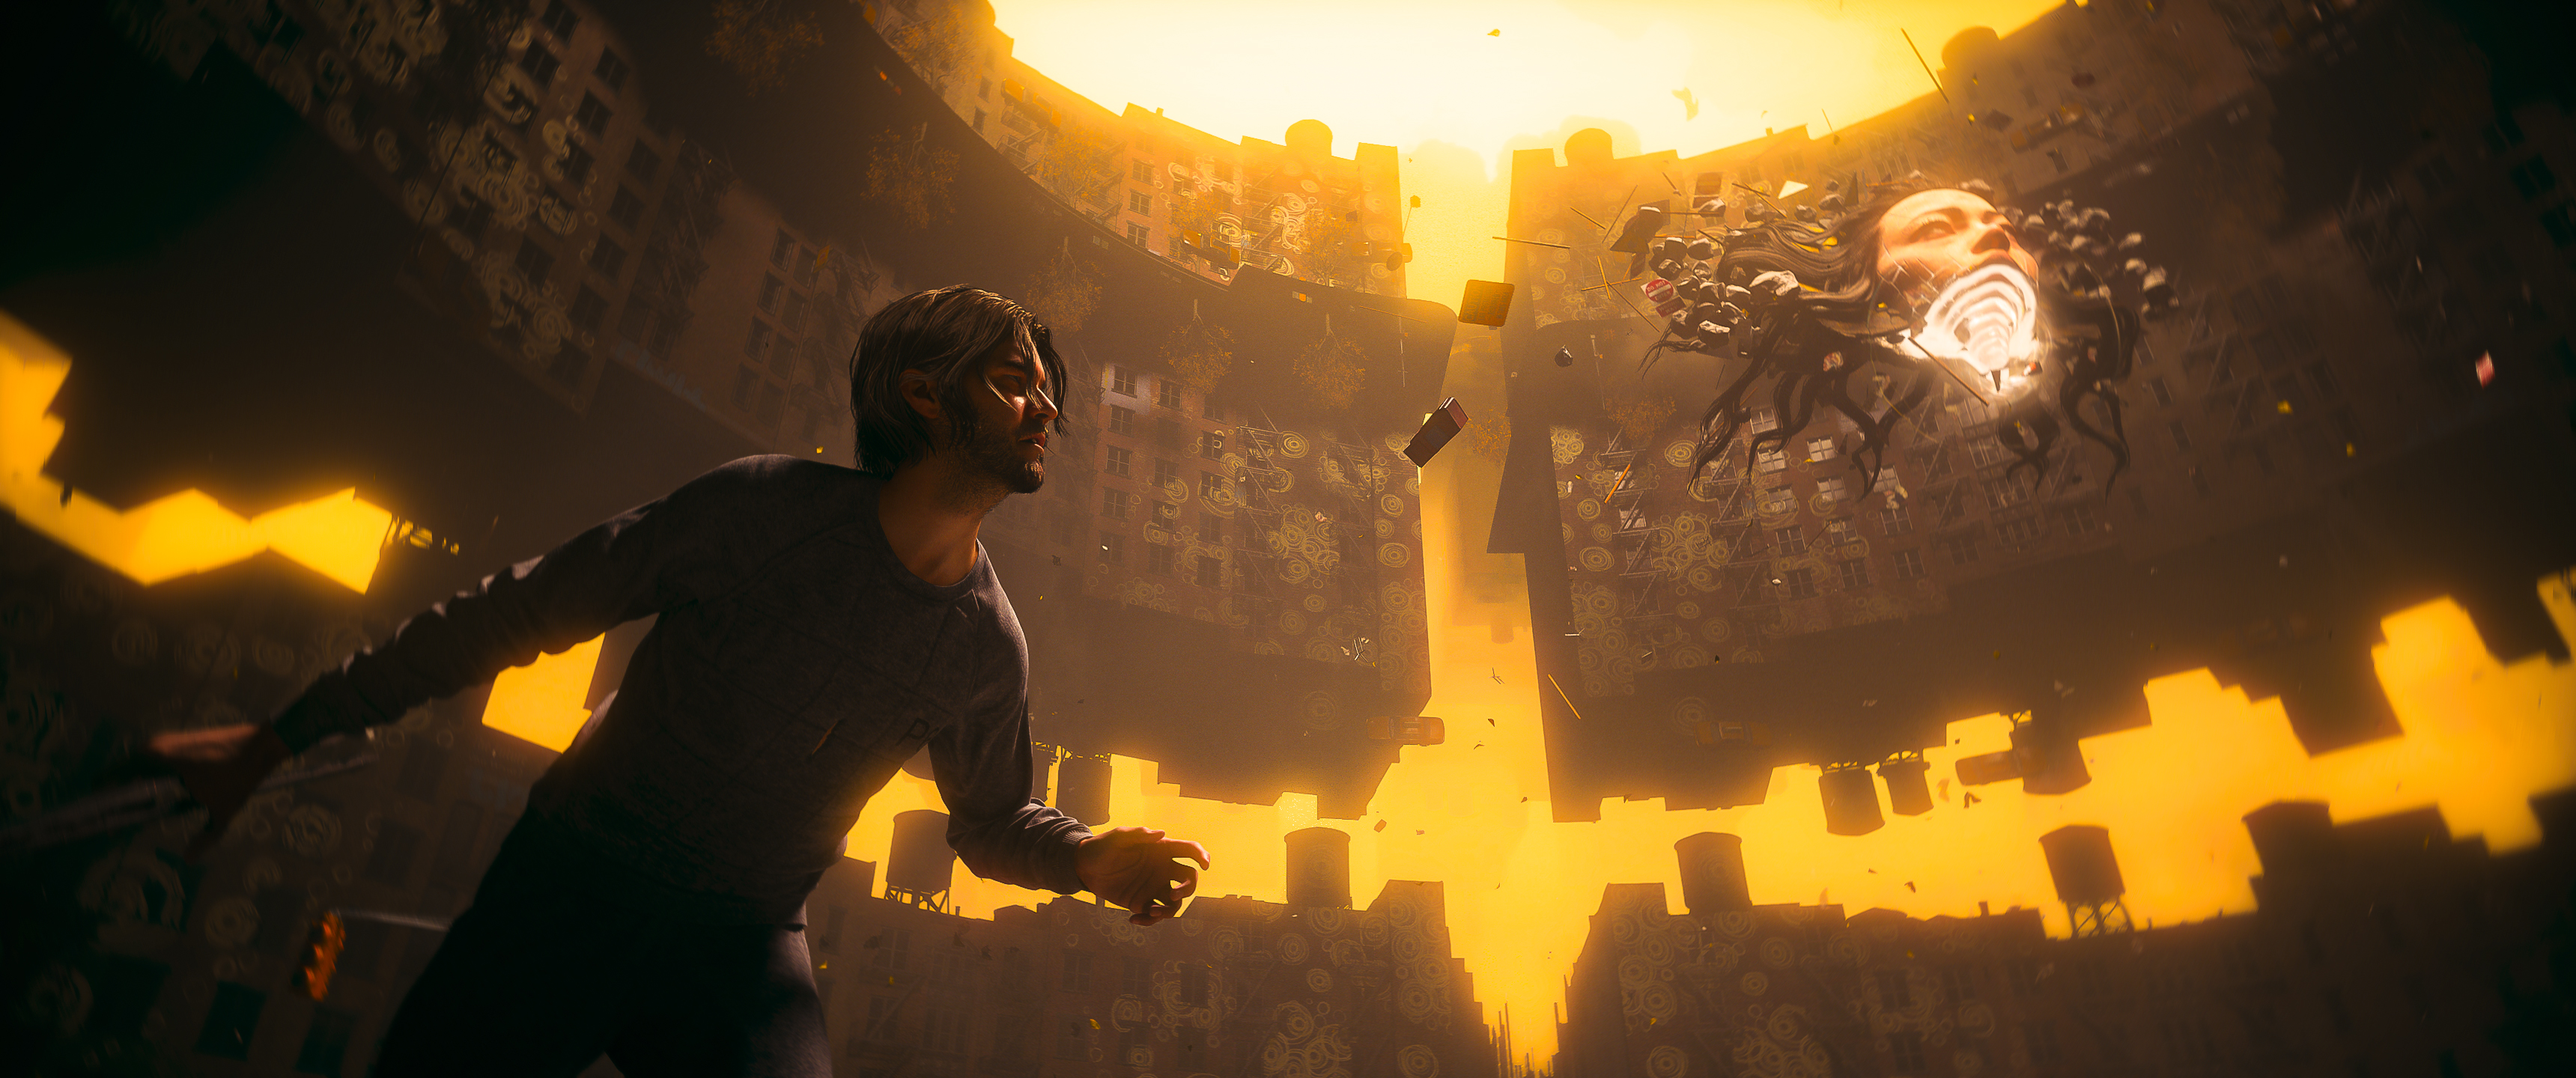

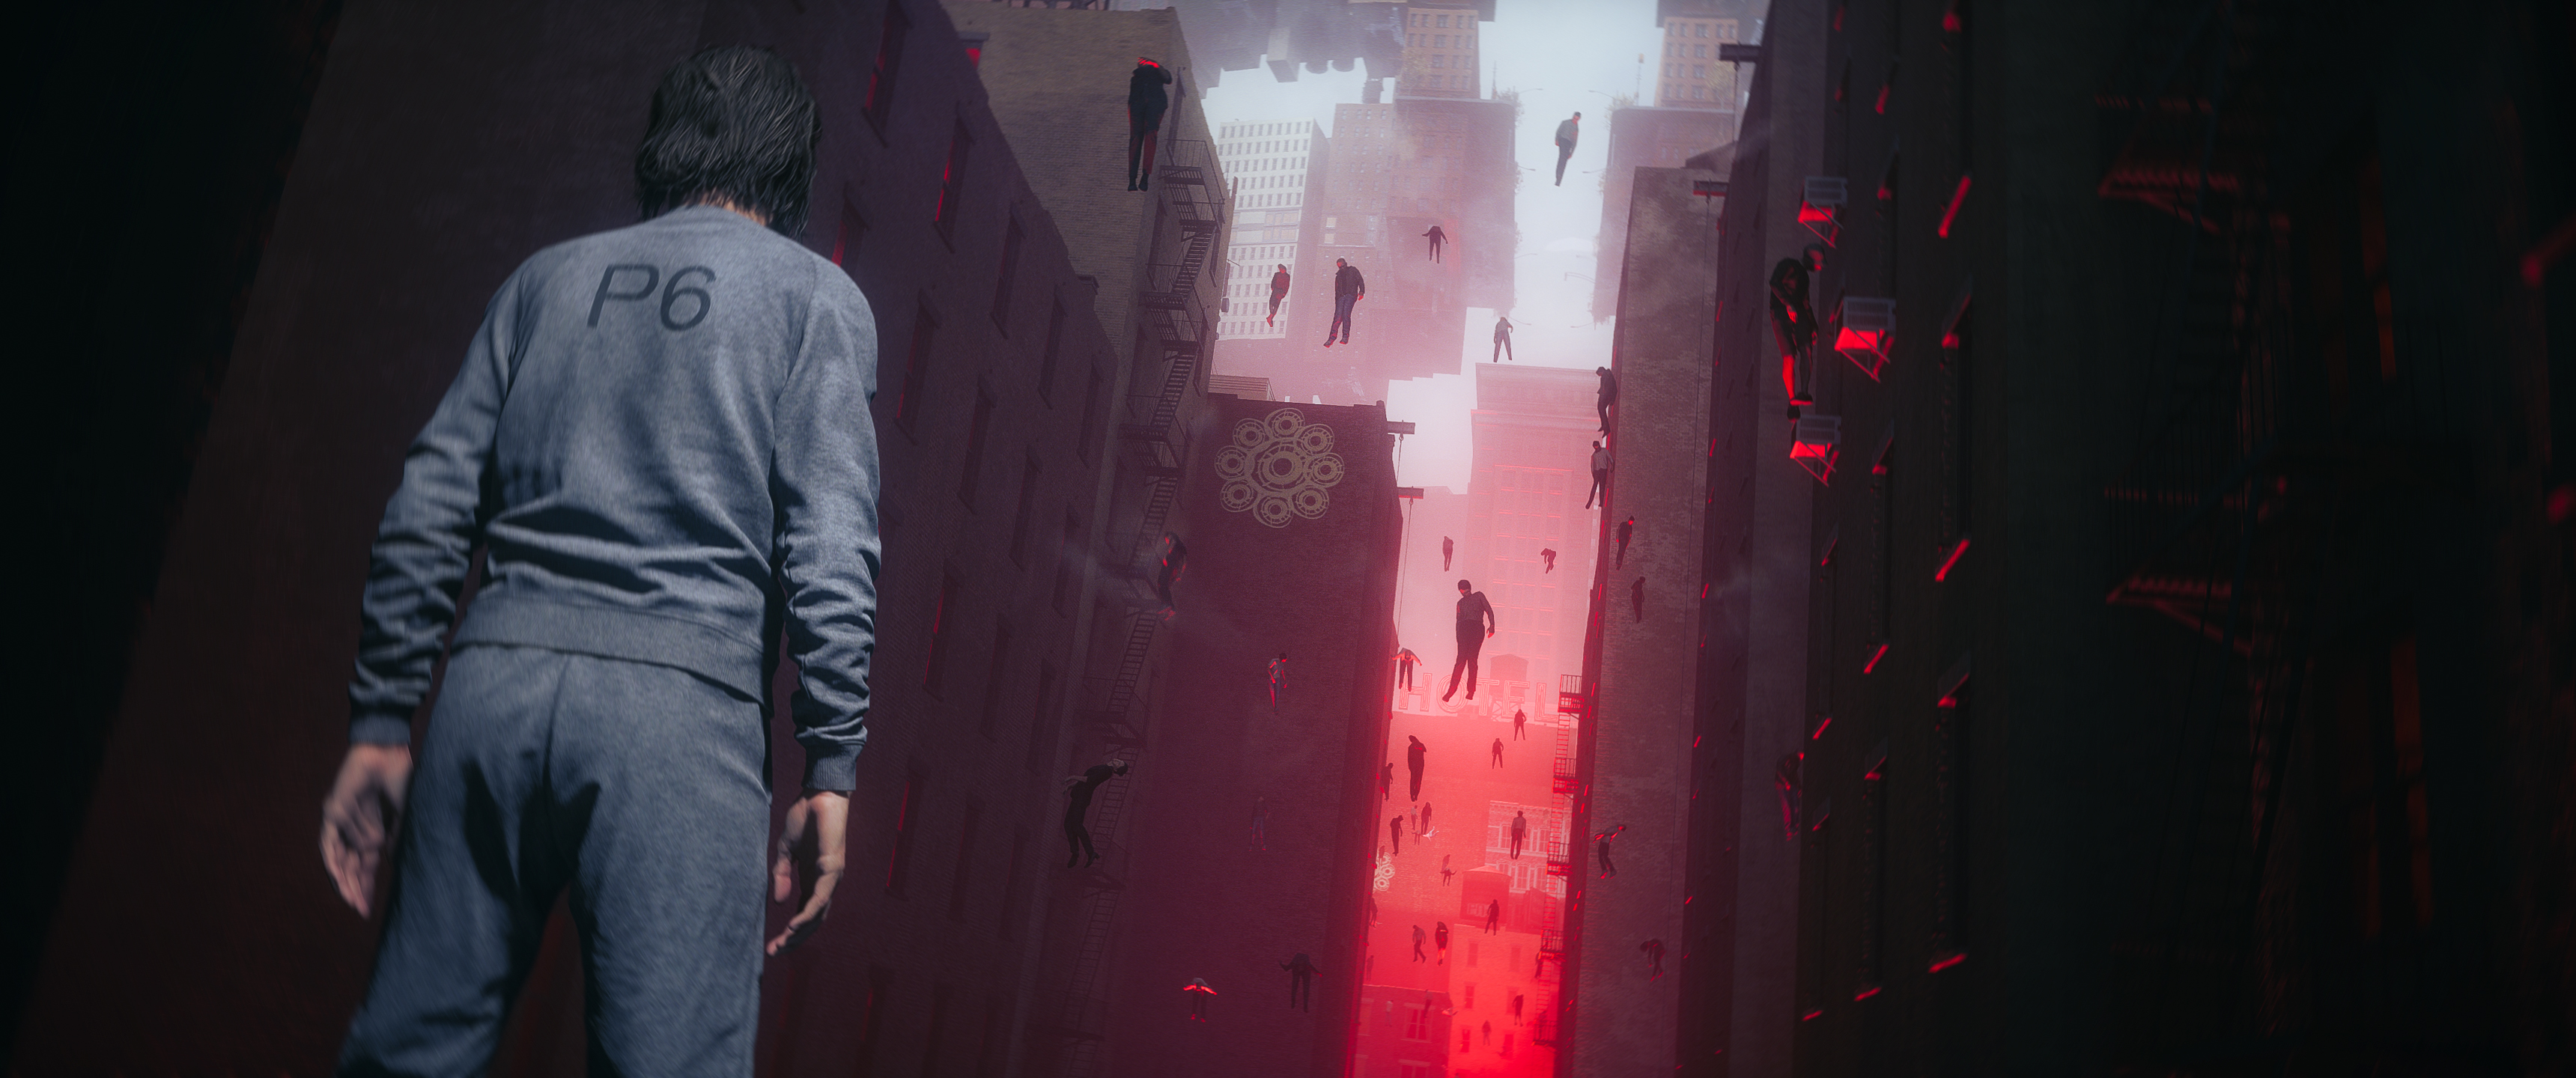
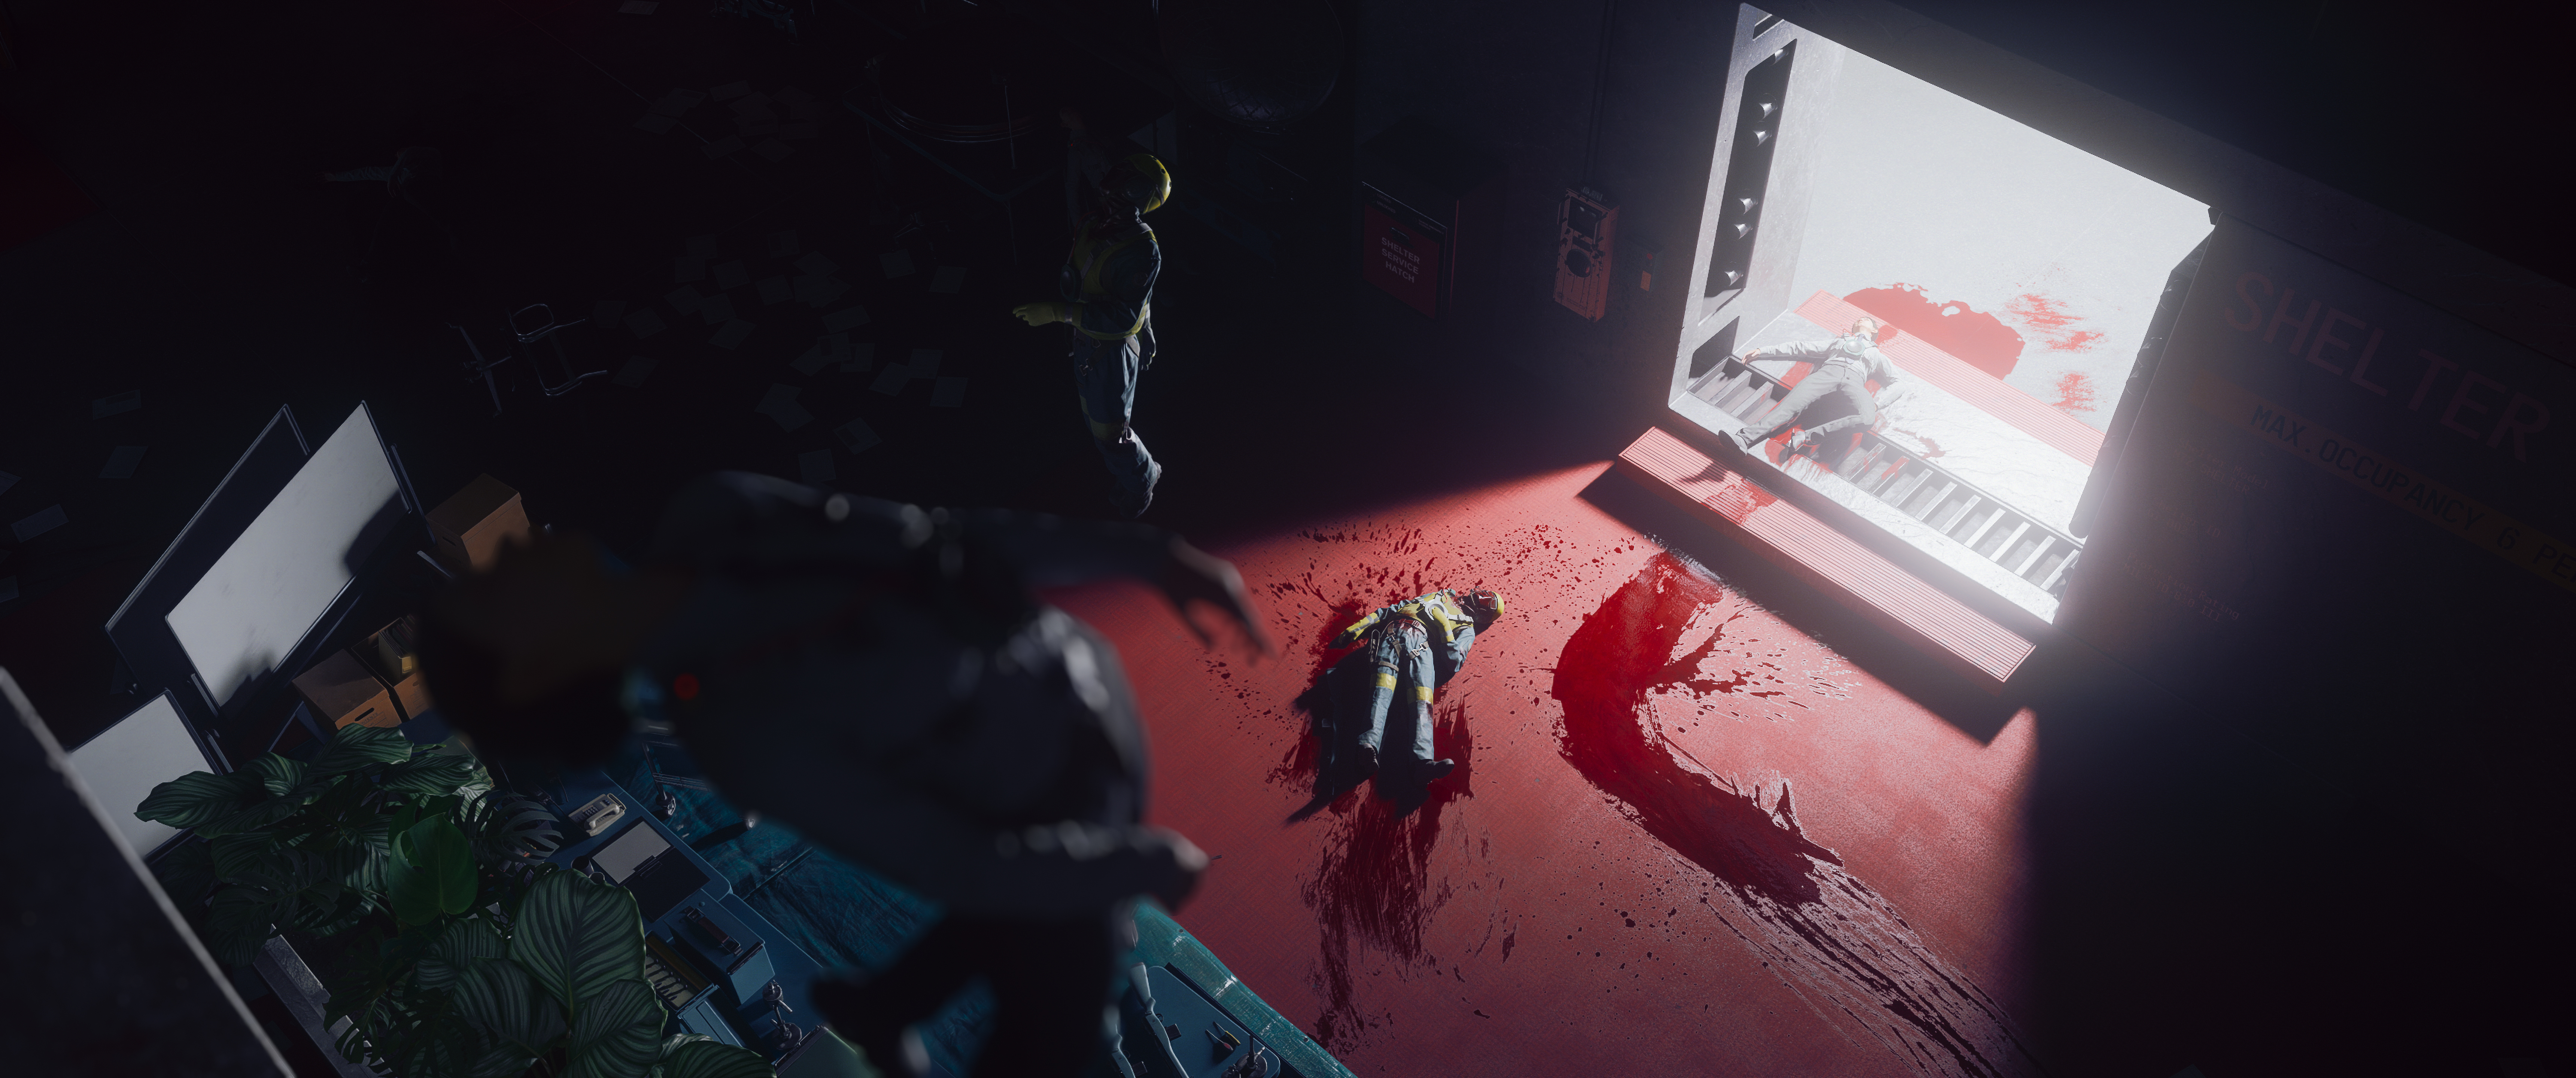
Control Resonant's photo mode is not due until November. A free mod already has one running: free camera, real aperture, and everything you need to photograph whatever Manhattan is doing to itself today.
Control Resonant's official photo mode is coming in November. Remedy has said so, and it was built with input from virtual photographers, so it is worth waiting for.
However, you do not have to wait that long if you are on PC.
Photo Mode in Game by kkyleeb21 went up on Nexus at the end of September and has been updated almost daily since. It is now on 2.1.0, and it is a proper photo mode: the game's own free camera, time freeze, and a panel built on Alan Wake 2's five tabs, with a sixth of its own on top.
Installing It
Two steps, and one of them is optional.
1. Install crloader, which is what loads the mod.
2. Extract the zip into your game folder so that crmods\\PhotoMode\\PhotoMode.dll exists.
3. Optional but worth it: Mod Settings Menu 1.3.0 or newer, which lets you rebind keys and change options from inside the game under Options, MODS, Photo Mode.
Updating is the same, extract over the top and your settings stay. To uninstall, delete the crmods\\PhotoMode folder.
Open it from the pause menu, where Photo Mode sits under Continue, or press P on keyboard or L3+R3 on a controller.
The Camera
This is the game's own free camera, which is why it behaves so well. It starts exactly where your view was, and since 2.0.1 it starts and stops instantly instead of drifting, which makes precise framing much easier. If you liked the original easing, it is still there as an option.
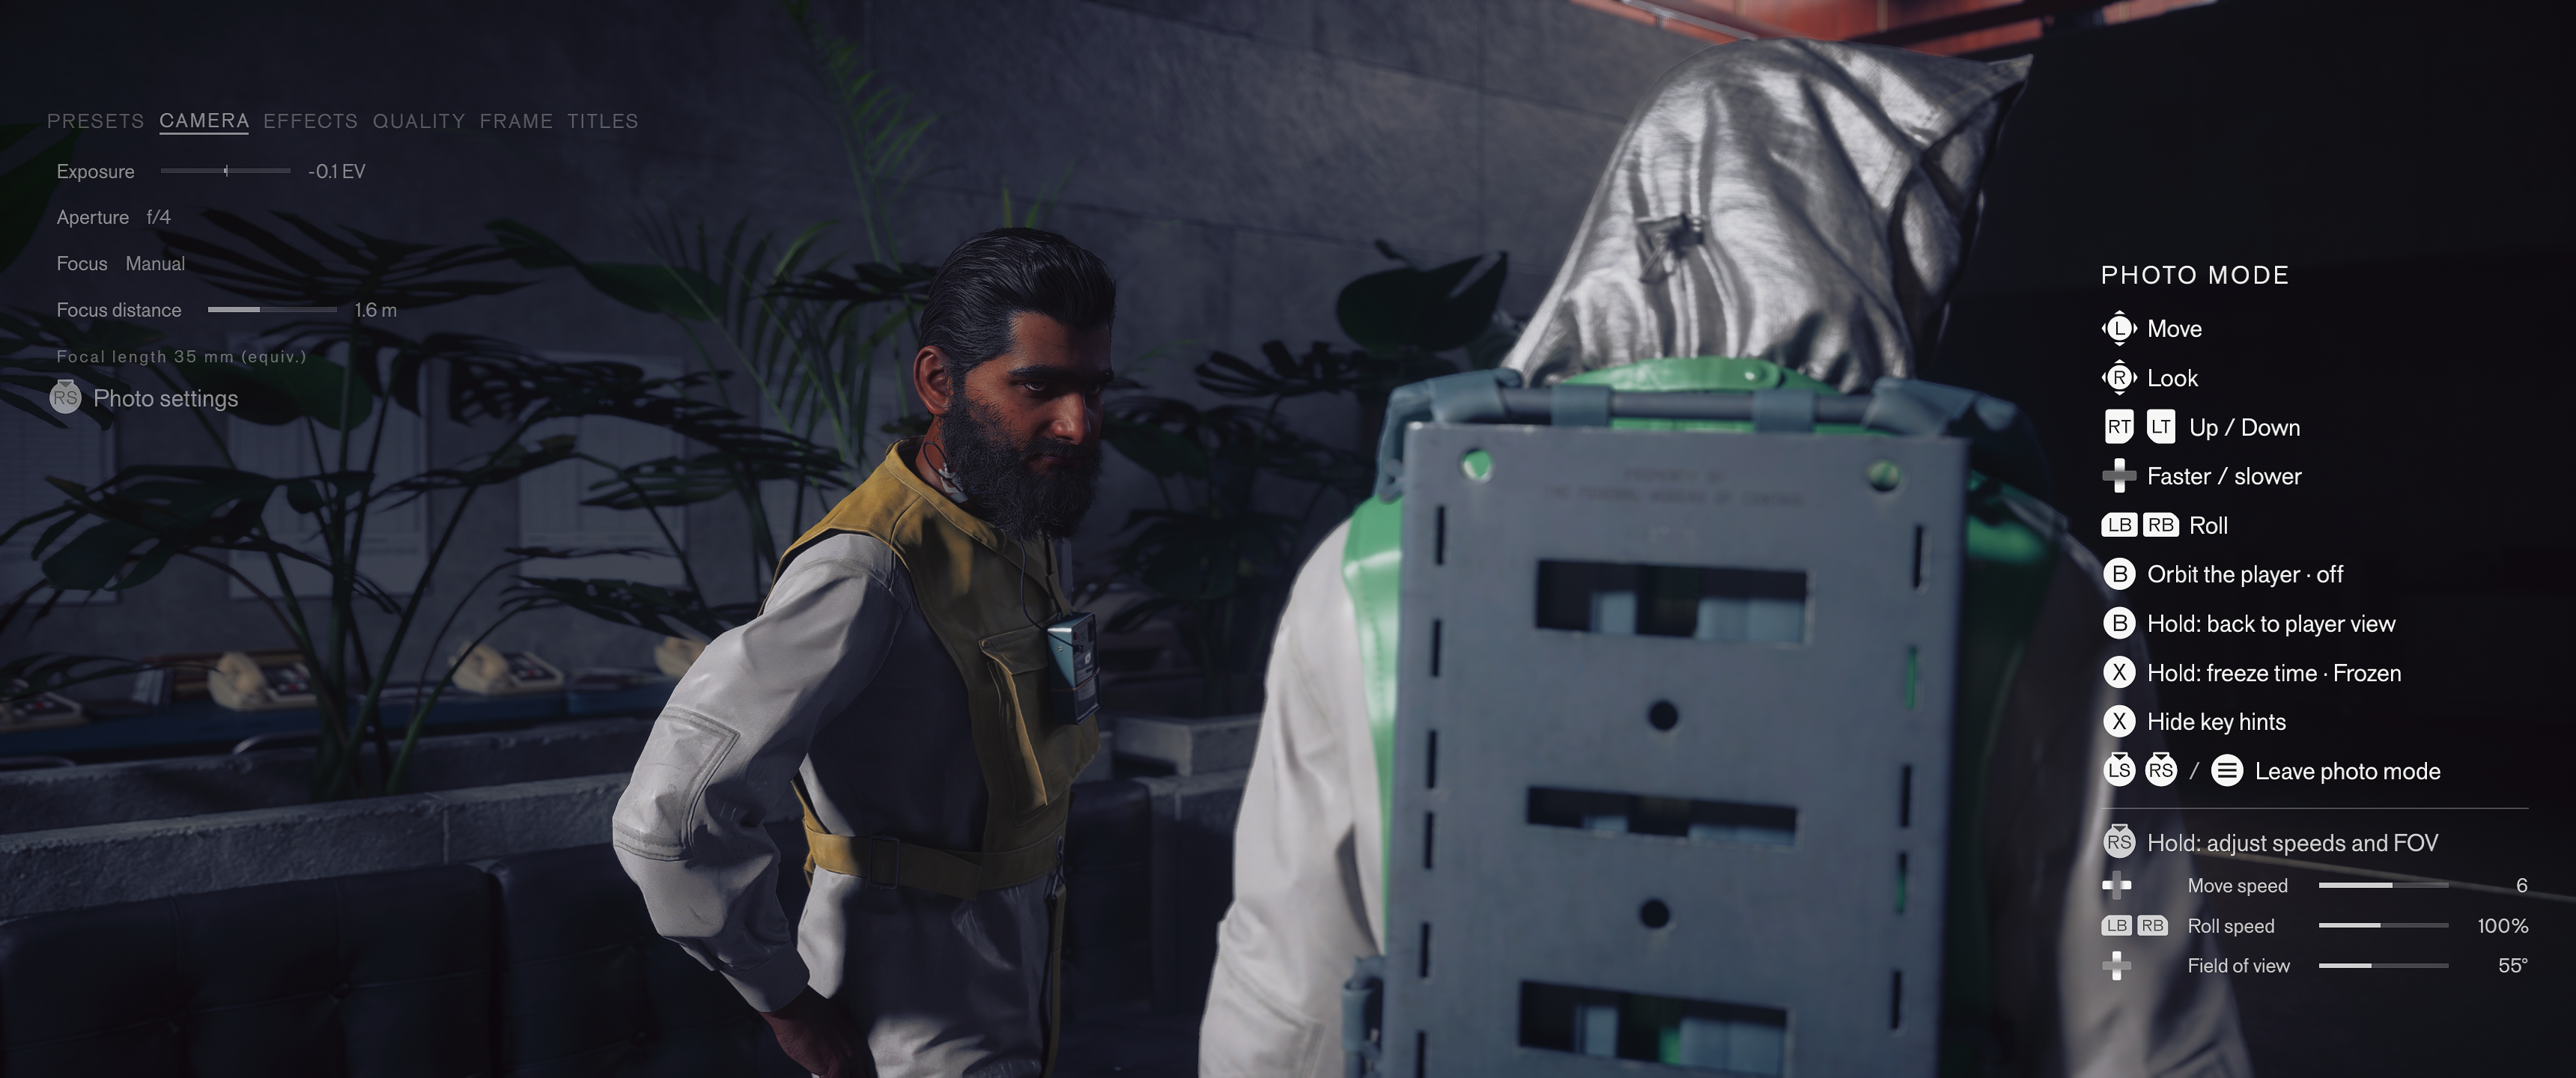
Move, look, rise and sink, roll, change field of view, orbit the player, or snap back to the player's view. Time freeze stops enemies, effects and physics while the camera keeps moving.
There is no range limit and no collision. The camera passes through walls and travels as far from Dylan as you like. Go far enough and the world may not be streamed in yet, which is the only real boundary you will hit.
Hold the adjust key, Shift or R3, and you get sliders for move speed, roll speed and field of view without the camera drifting while you set them.
It also hides every UI layer, including other mods' overlays.
The Photo Panel
Press N or tap R3 on its own to move between the camera and the panel. While the panel has focus the camera holds still. Q and E move between tabs, arrow keys or the d-pad select and adjust, and R or Y resets whichever tab you are on.
Six tabs. Everything applies only inside photo mode and is put back when you leave, and your settings are remembered between sessions.
Presets
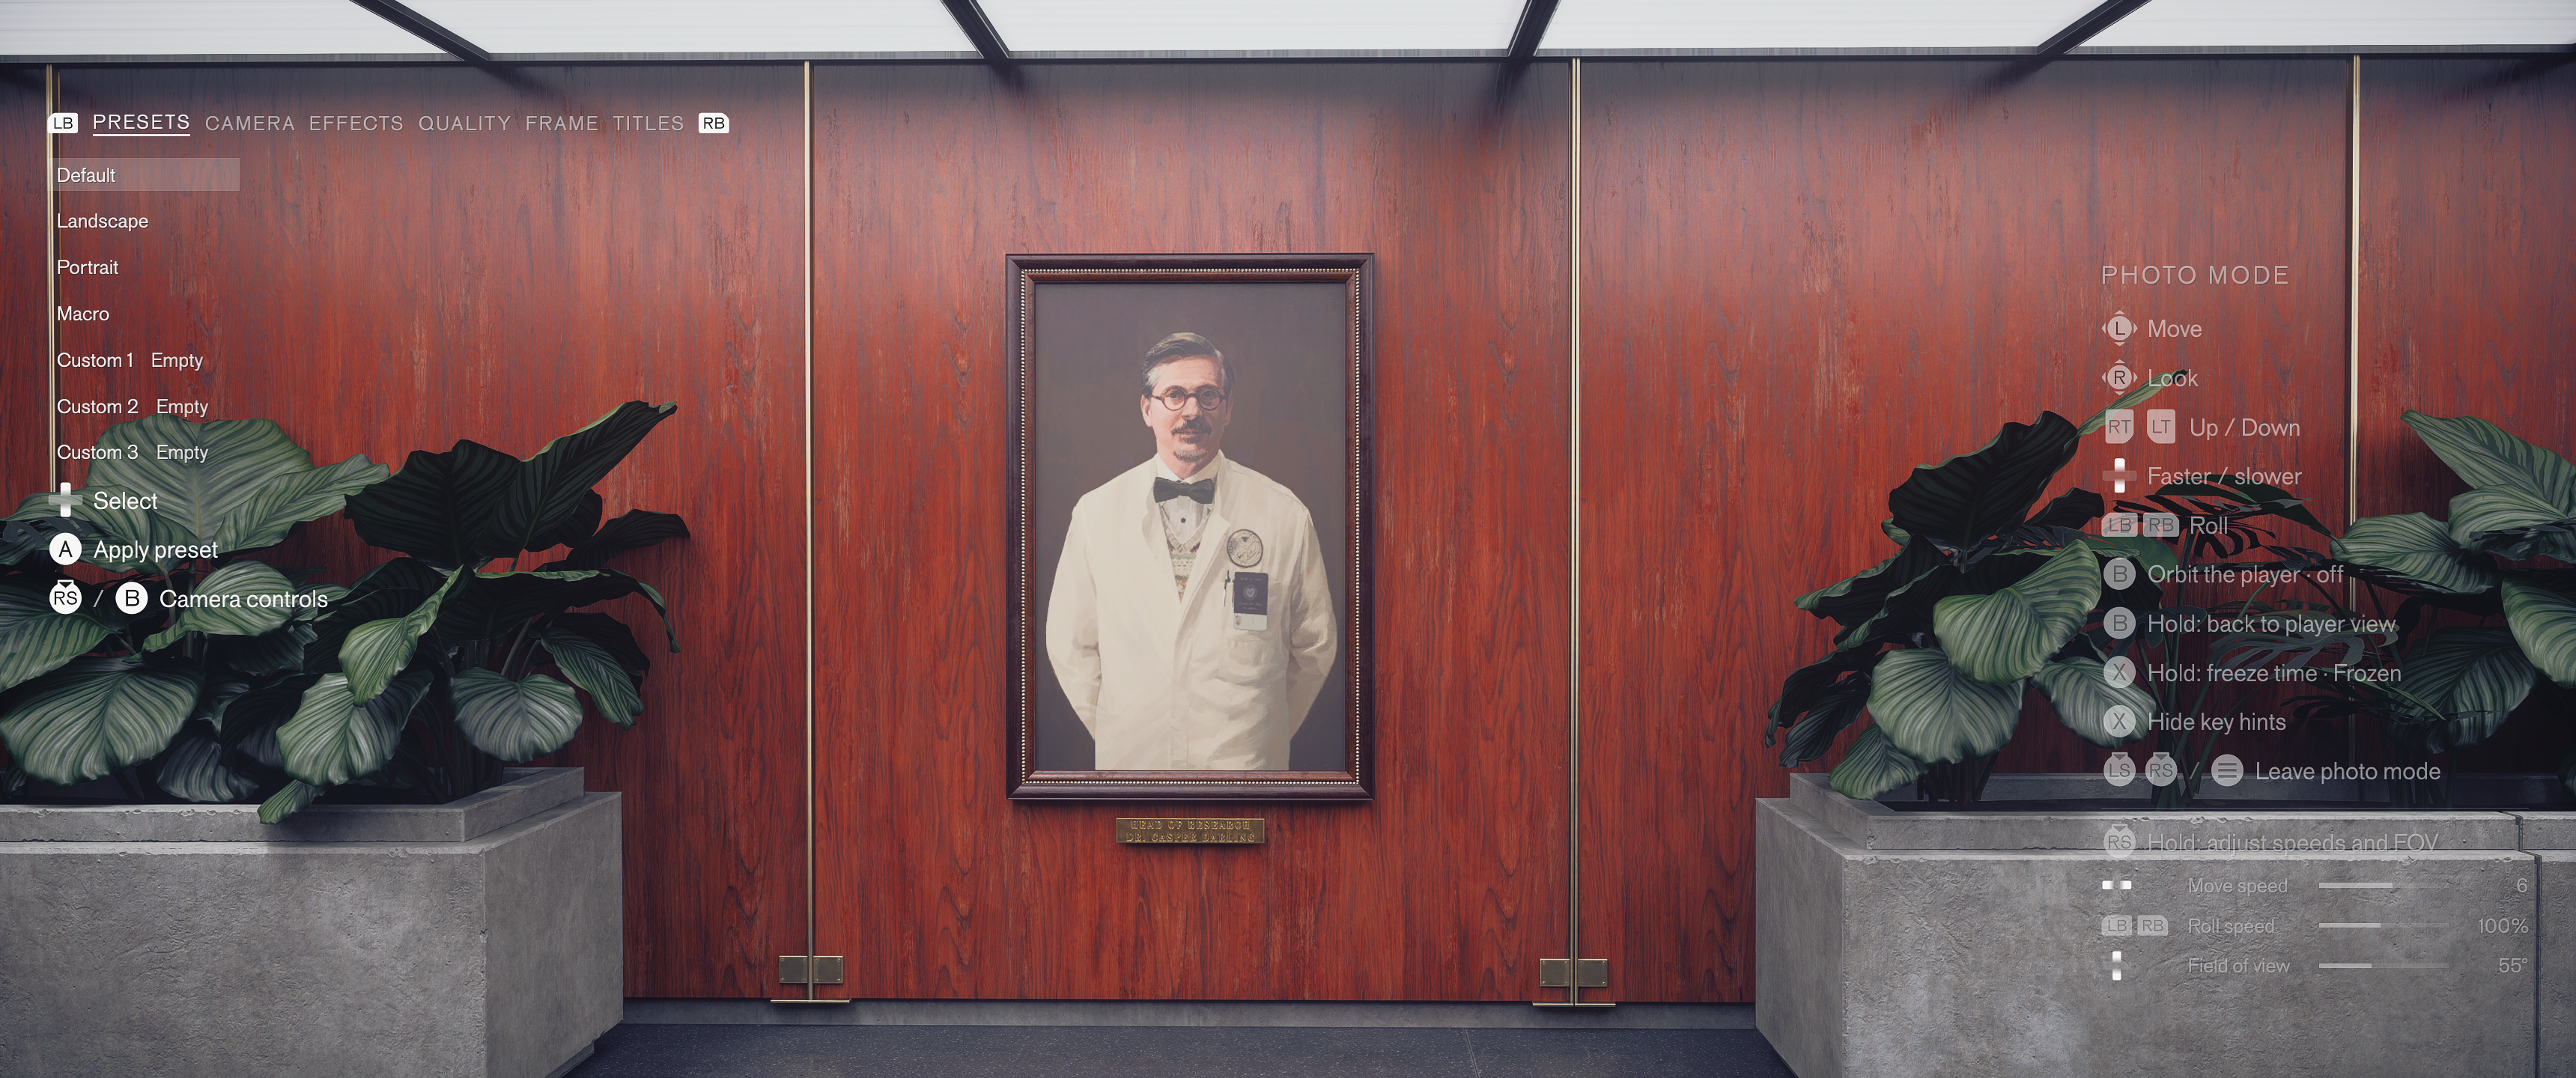
Straight out of the Alan Wake 2 playbook. Default puts the camera, effects and frame back to the game's own look. Landscape, Portrait and Macro are starting points for the three things you are most likely to be shooting.
Then three custom slots. Tap to load, hold confirm to save. If you are building a consistent set across a session, that is where the time goes.
Camera
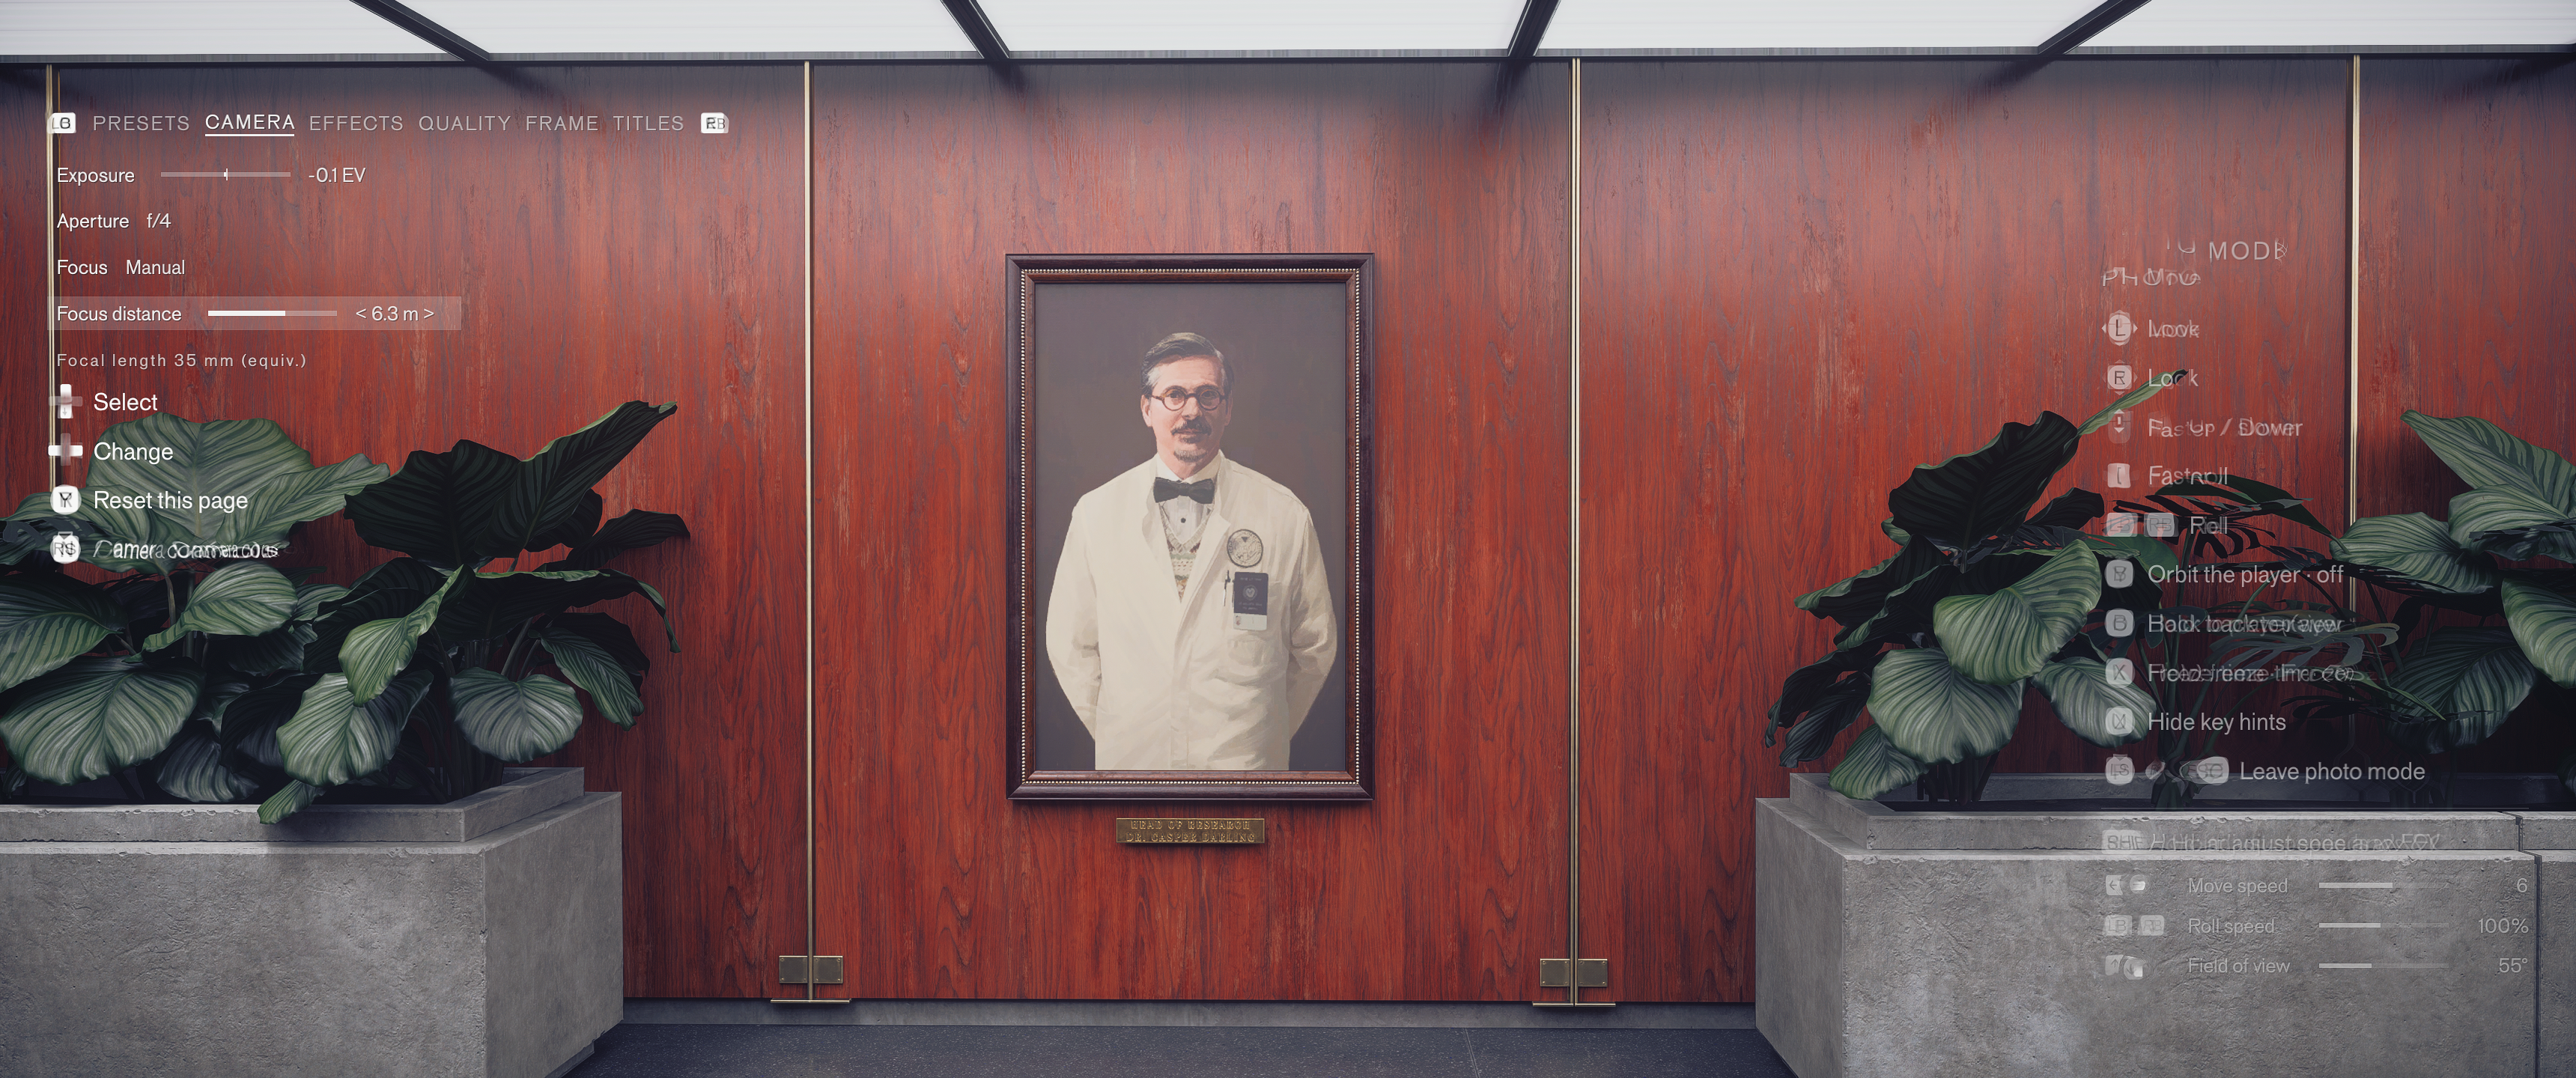
Real photographic values, which is the part that matters.
Exposure runs plus or minus 3 EV. Aperture runs from f/1.4 to f/22 with actual depth of field attached to it, not a blur strength slider pretending to be one.
Focus switches between autofocus, which measures the centre of the frame, and manual with a focus distance in metres. The equivalent focal length is displayed as you change field of view, so you know whether you are shooting at 35 mm or somewhere else.
One thing to know about autofocus: it reads the centre of the picture, and glass or fog can register as a surface. In a game with this much of both, manual focus is often the safer choice.
Effects
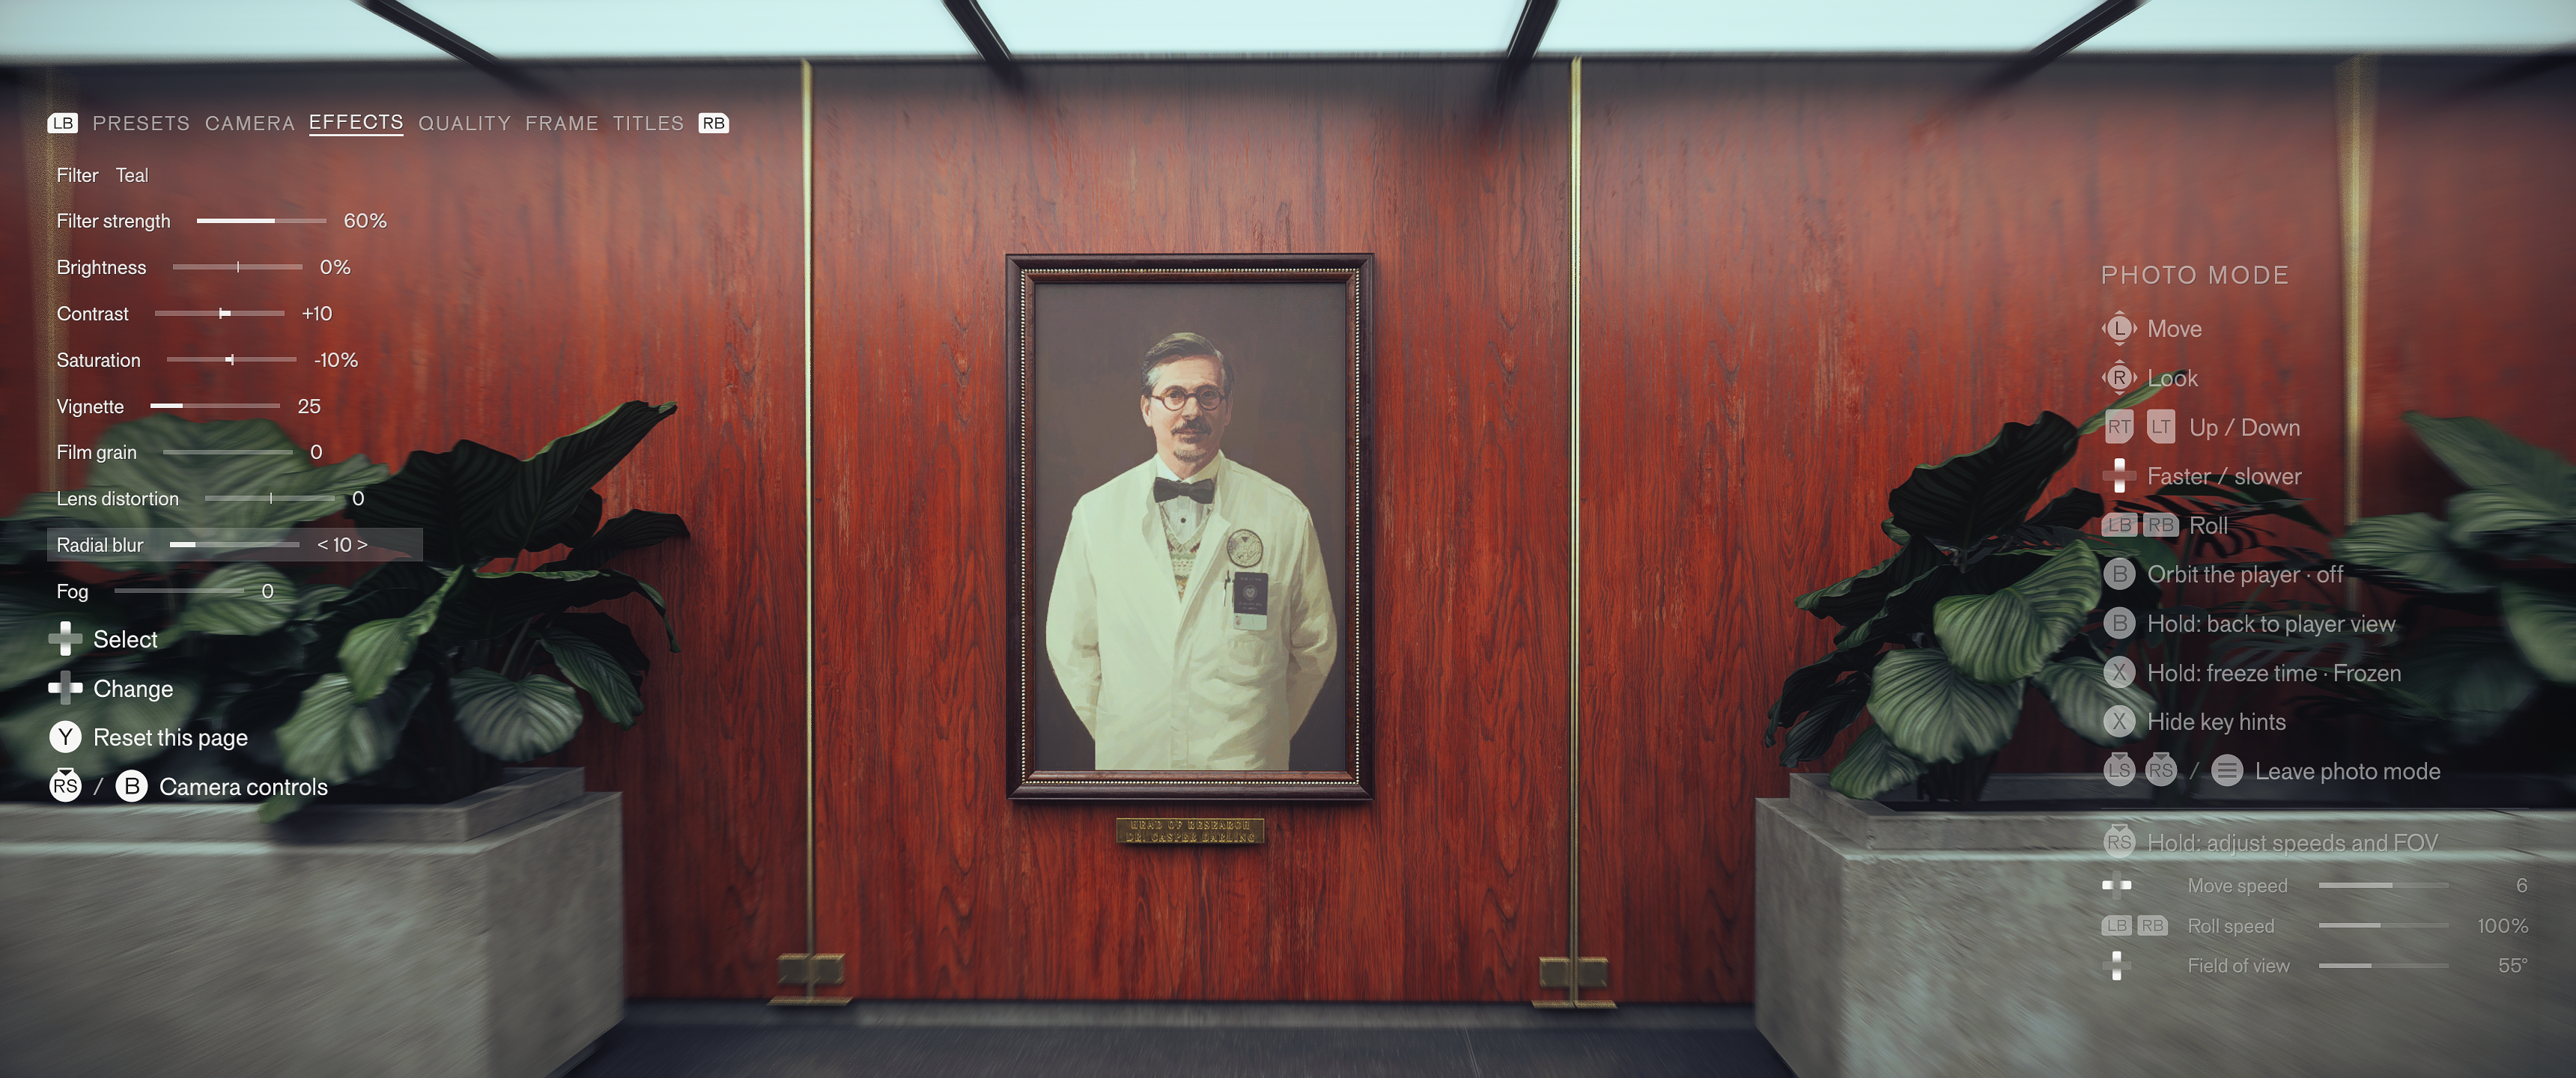
Six filters, each with its own strength slider, sitting on top of brightness, contrast, saturation, vignette, film grain, lens distortion, radial blur and fog.
These work on top of the game's own look instead of replacing it, and 0 means unchanged. That is a better design than it sounds, because Control Resonant already has a strong grade and you are usually nudging it rather than starting over.
Radial blur and fog are the two worth playing with. Both suit a game where reality keeps coming apart at the edges.
Quality
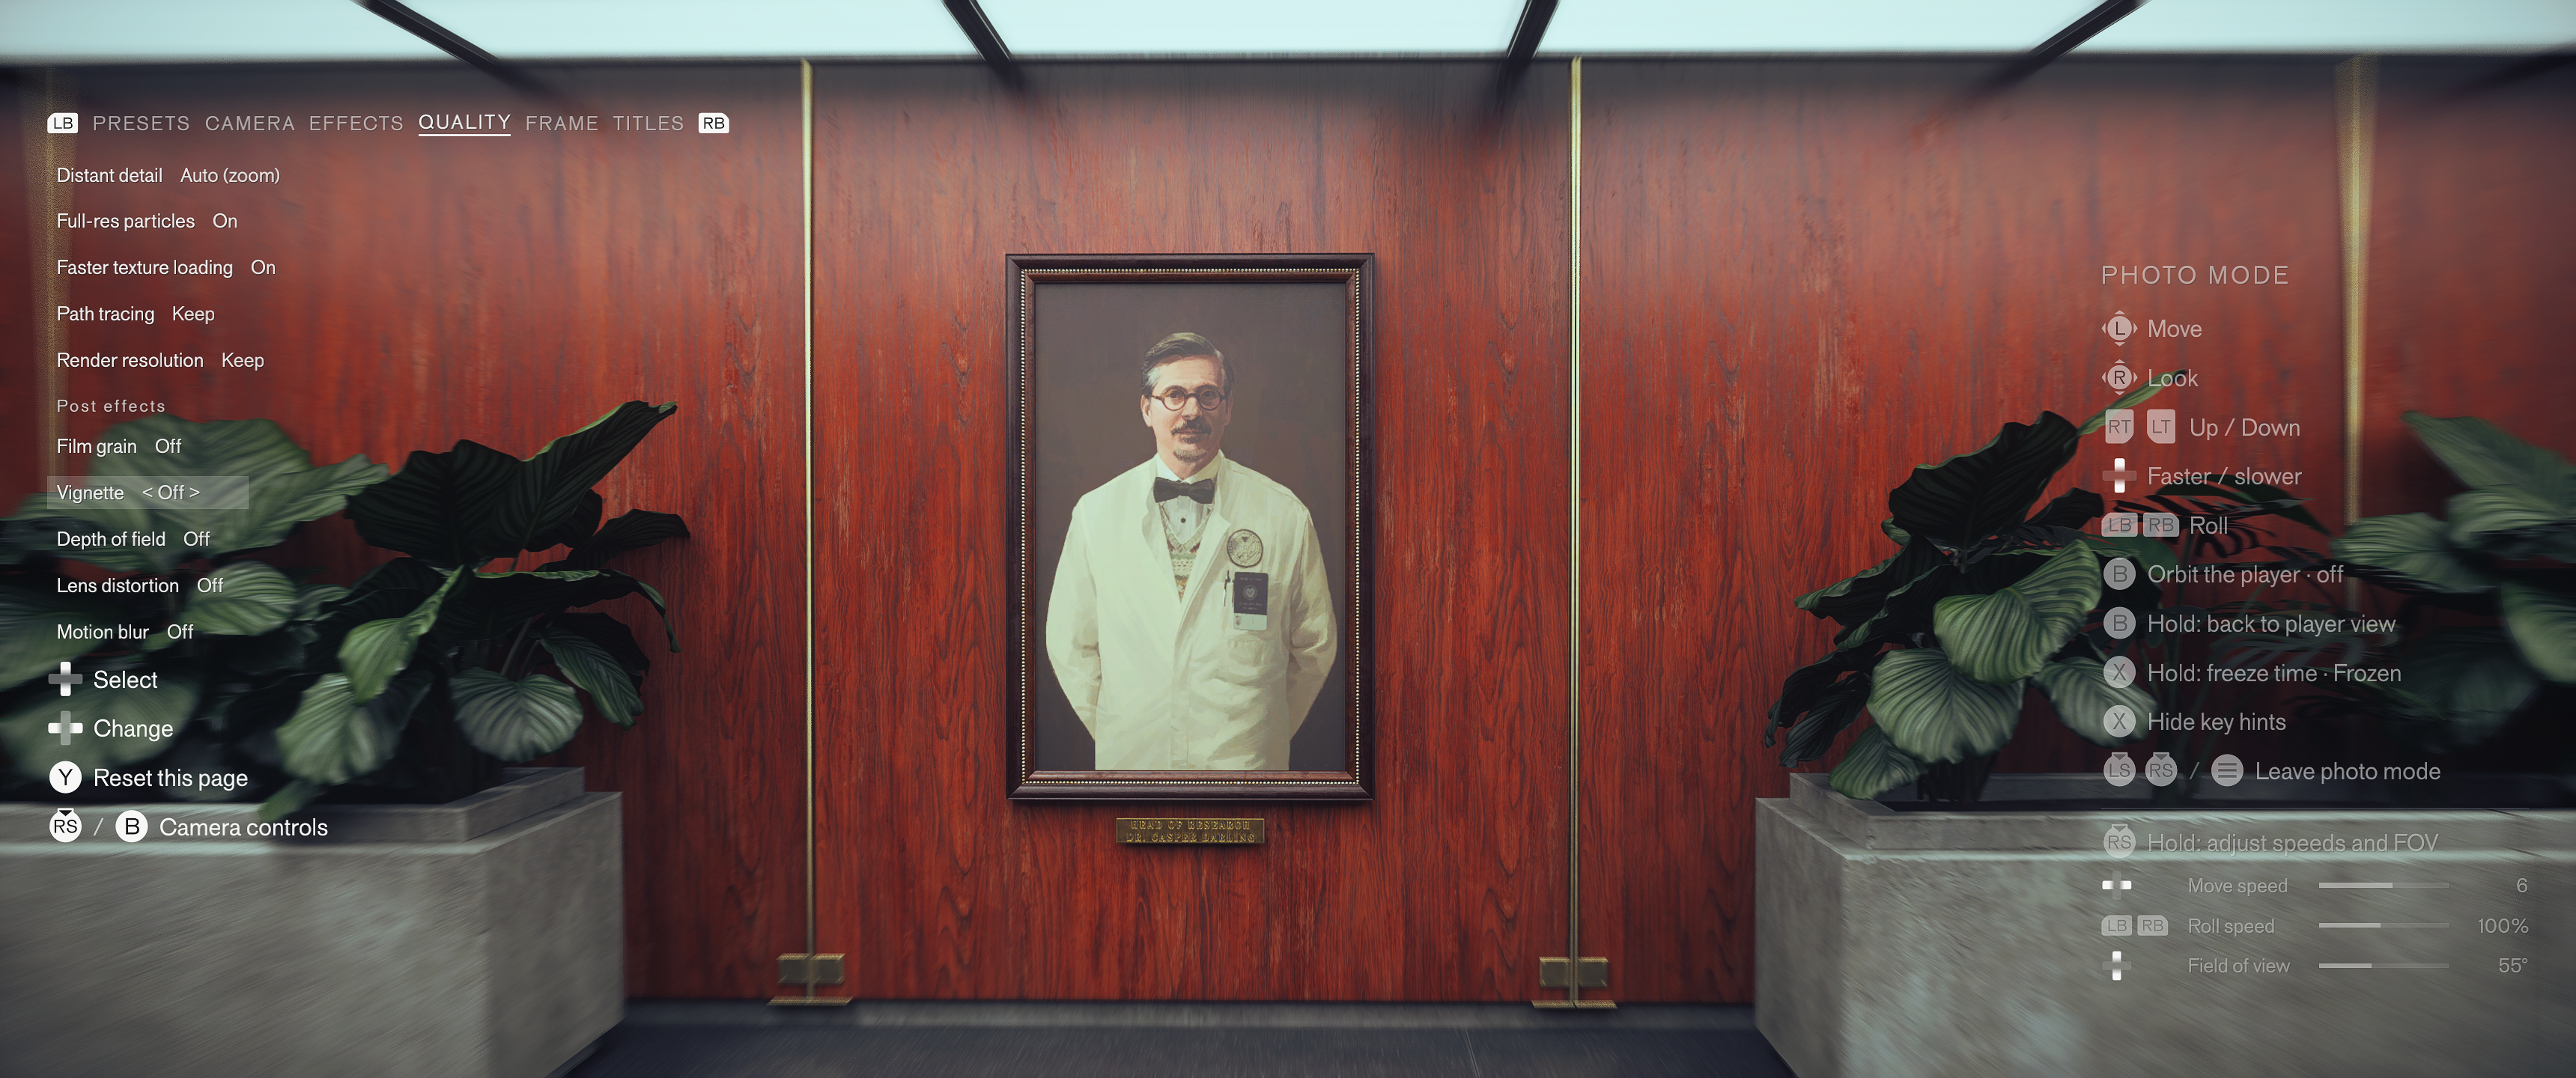
This tab is the reason shots out of this mod look better than a normal screenshot, and it is the one most photo modes do not have at all.
Distant detail, full-res particles and faster texture loading push the scene past what you would run while playing. Path tracing and render resolution can be raised for the shot and dropped again after, and render resolution goes up to native.
Underneath sit the game's own post effects as straight on and off switches: film grain, vignette, depth of field, lens distortion and motion blur. Turning those off is the first thing to do, because they are tuned for motion and they get in the way of a still.
Switching path tracing or render resolution causes a short hitch. Wait a second or two before you take the picture.
Frame
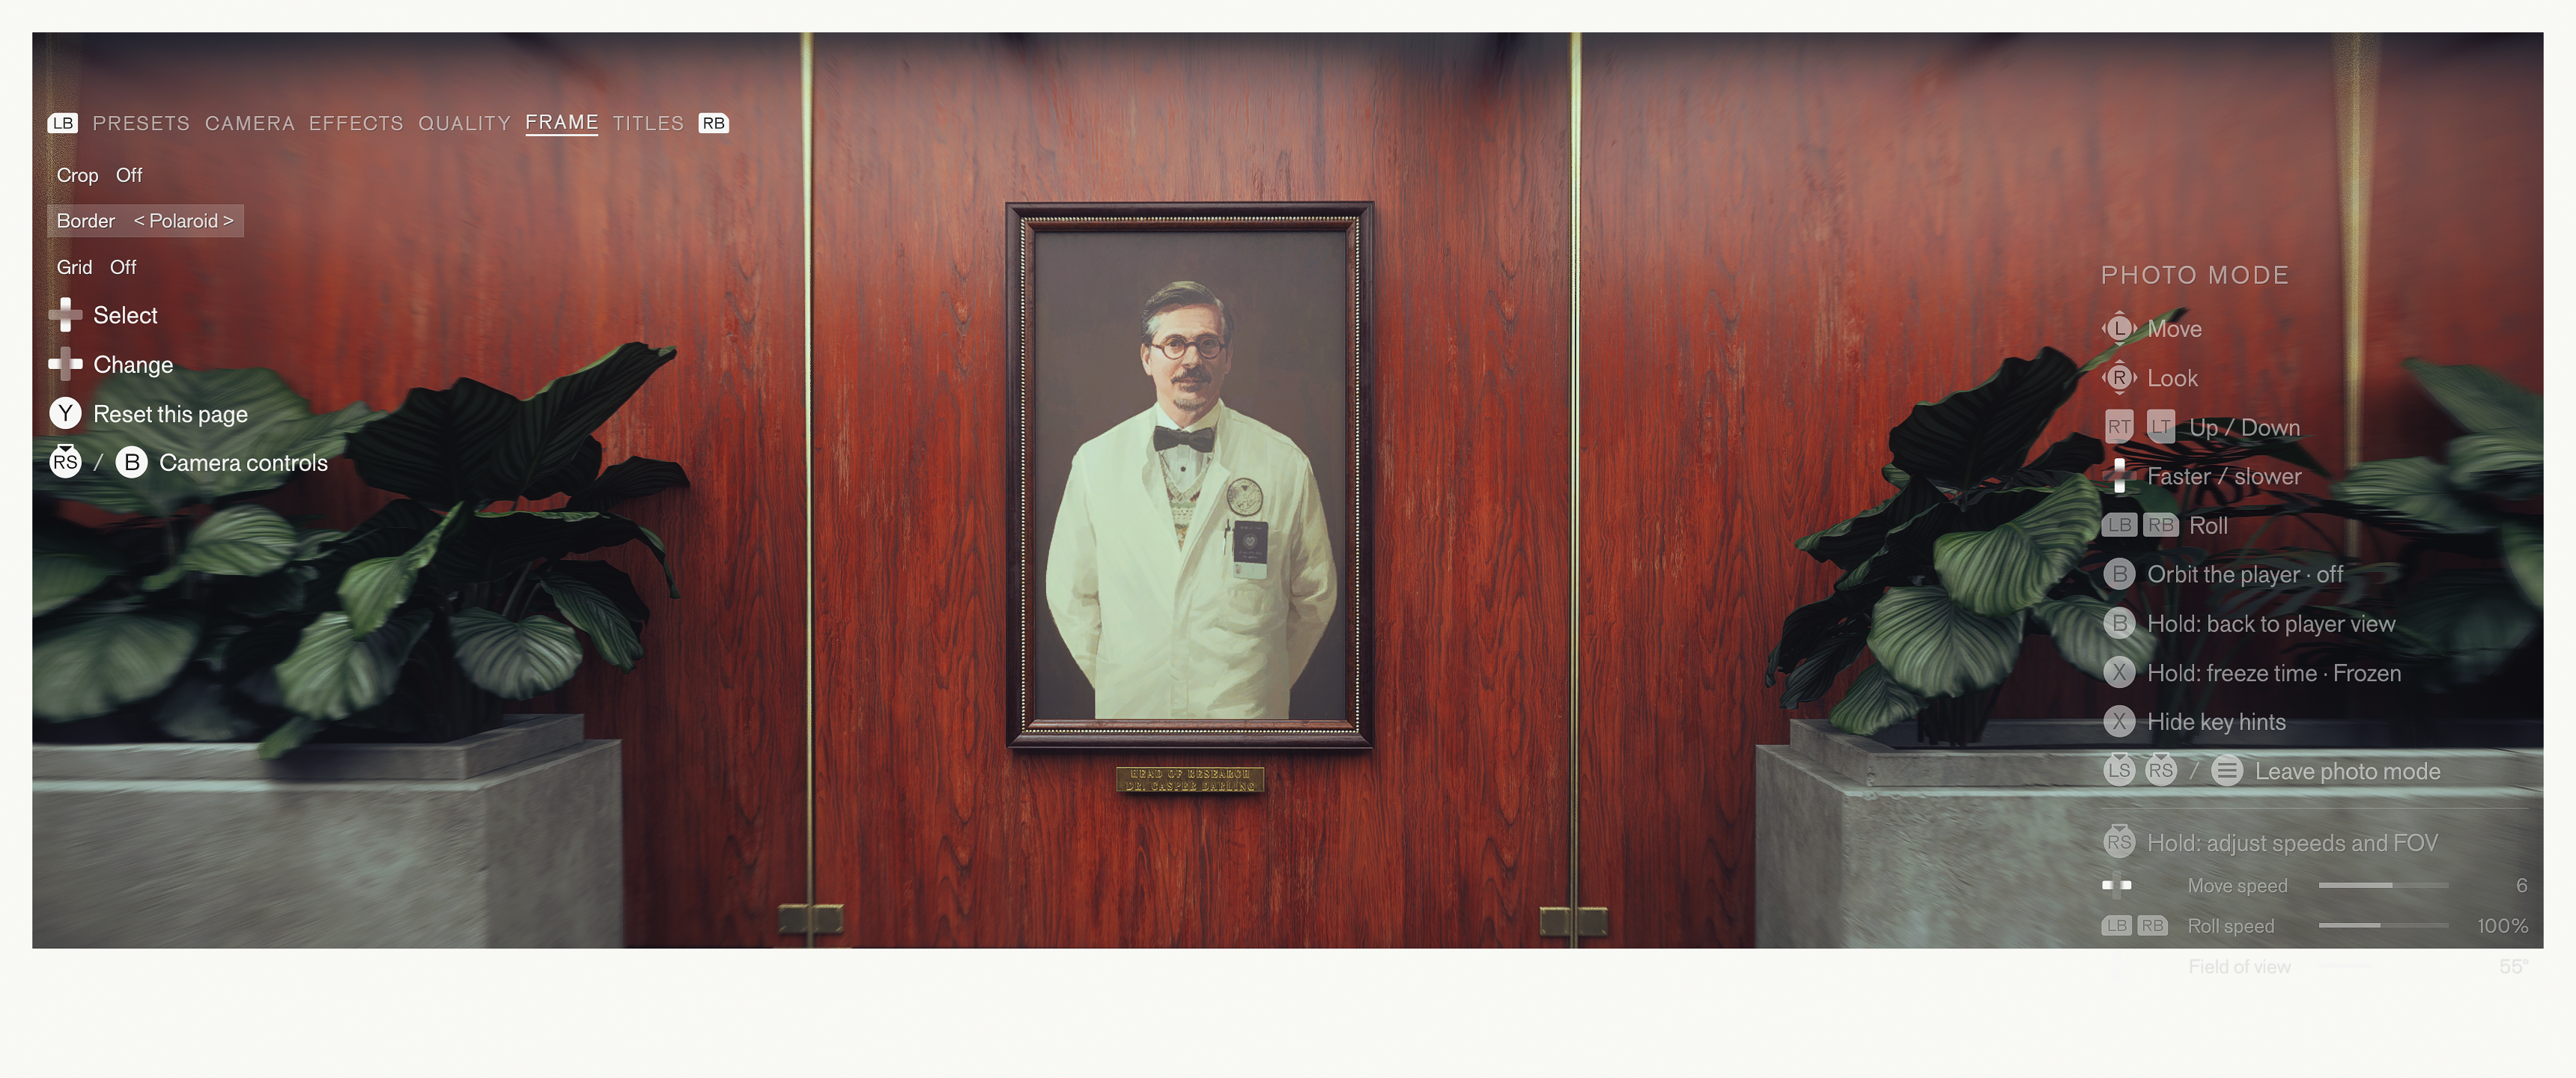
Crops at 1:1, 5:4, 4:3, 16:9, 2:1 and 2.39:1. Borders in white, black or Polaroid. Grids for thirds, golden ratio and centre.
Borders stay in the saved picture. Grids disappear along with the key hints, so you can compose against thirds and then hide it before you shoot.
Worth knowing: crops draw the game's own black bars instead of changing the output size, so a 2.39:1 shot still saves at your full screen resolution with bars baked in. Crop it properly afterwards if you need the exact ratio.
Titles
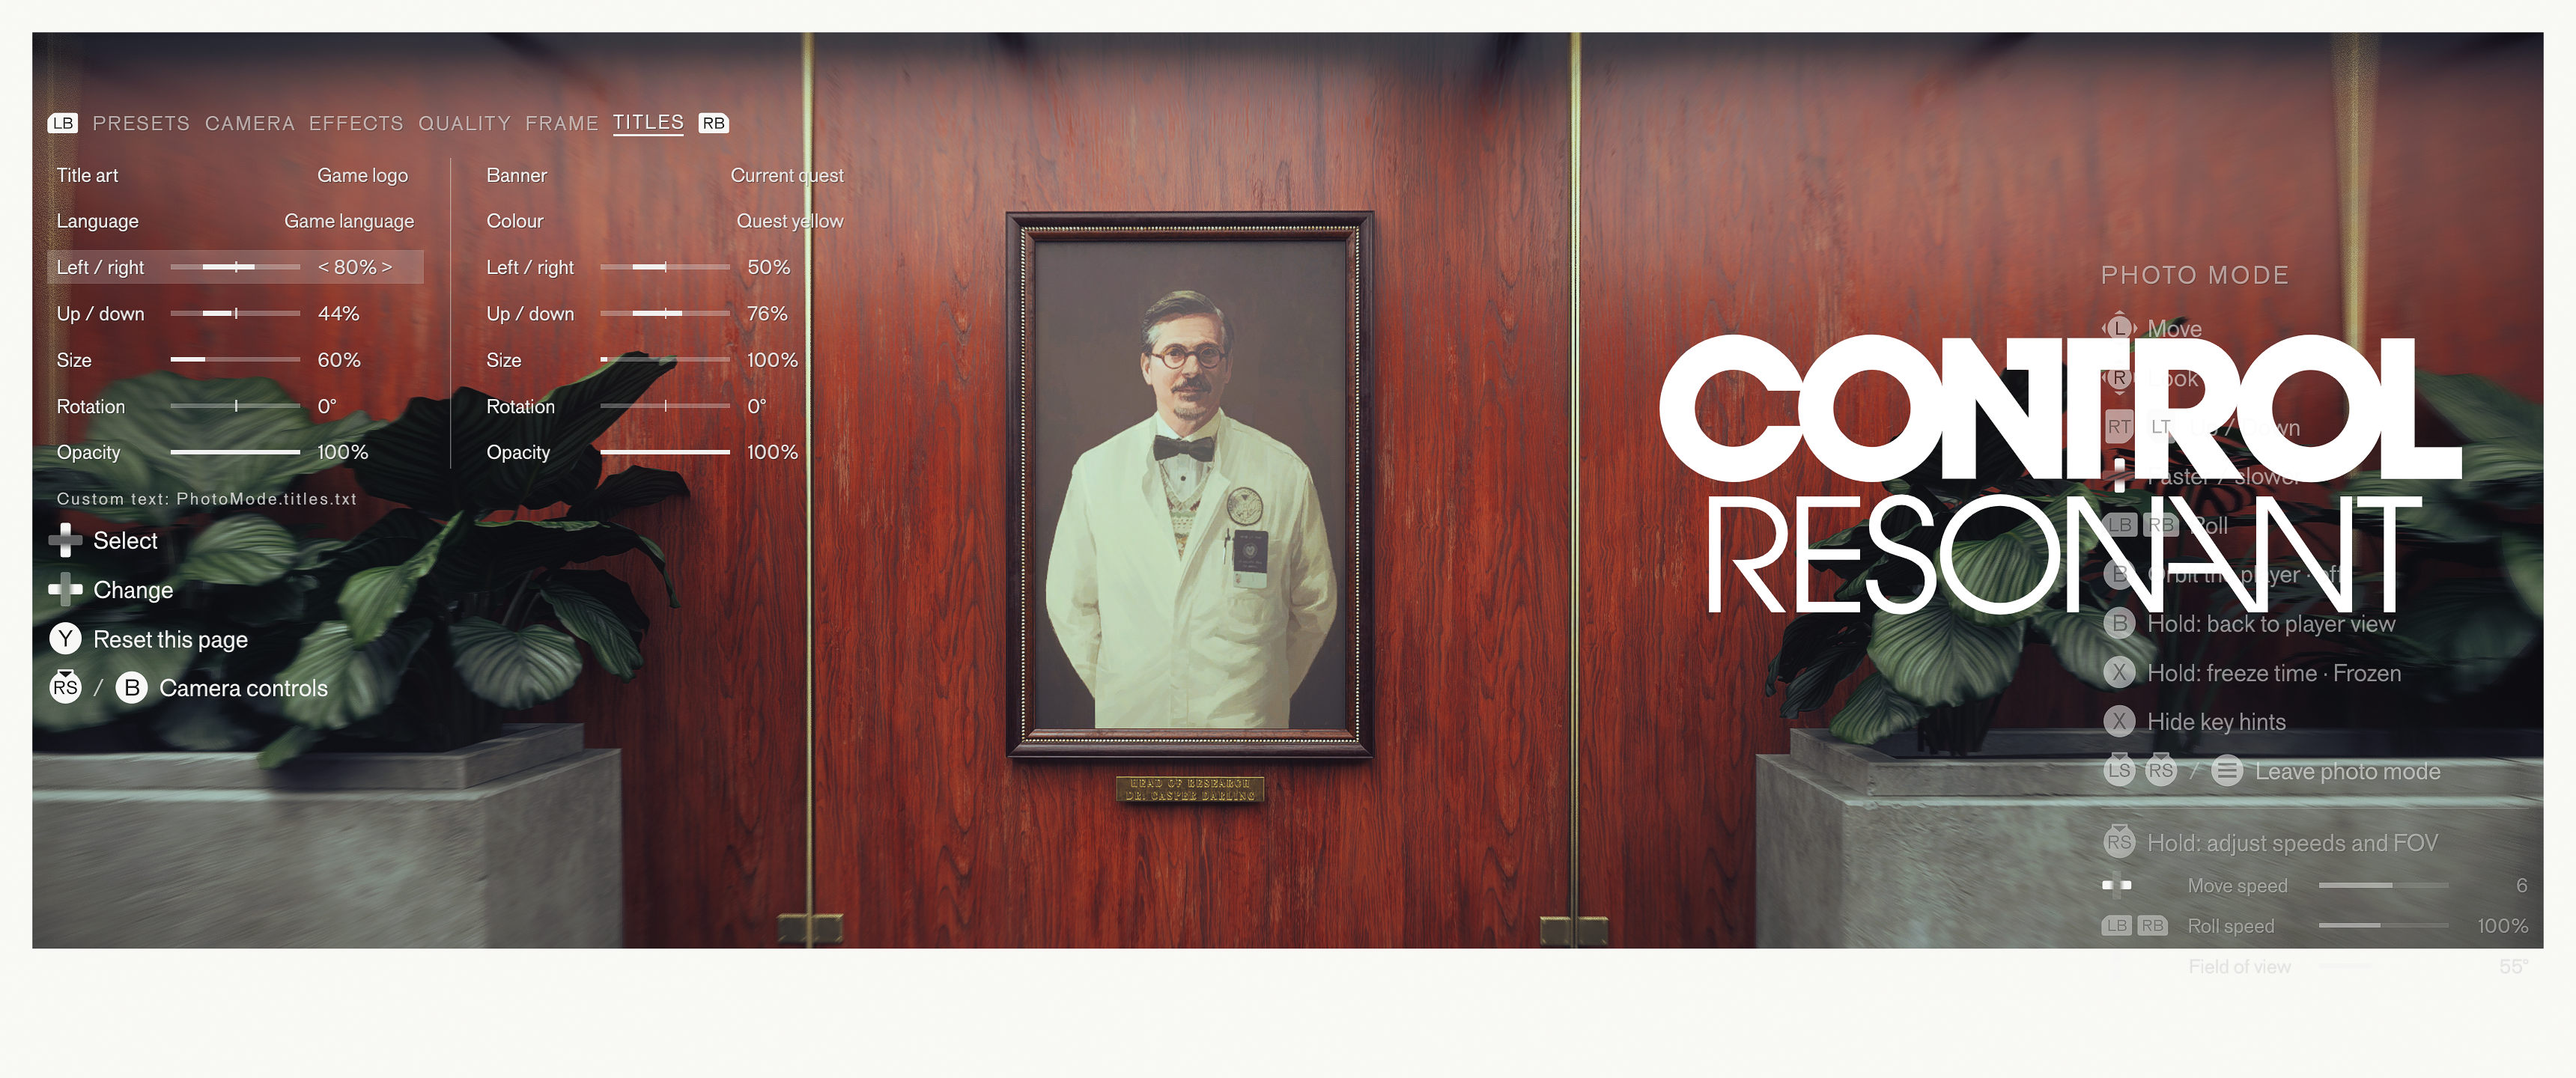
The newest tab, and the one Alan Wake 2 never had. It is also the most Control thing in here.
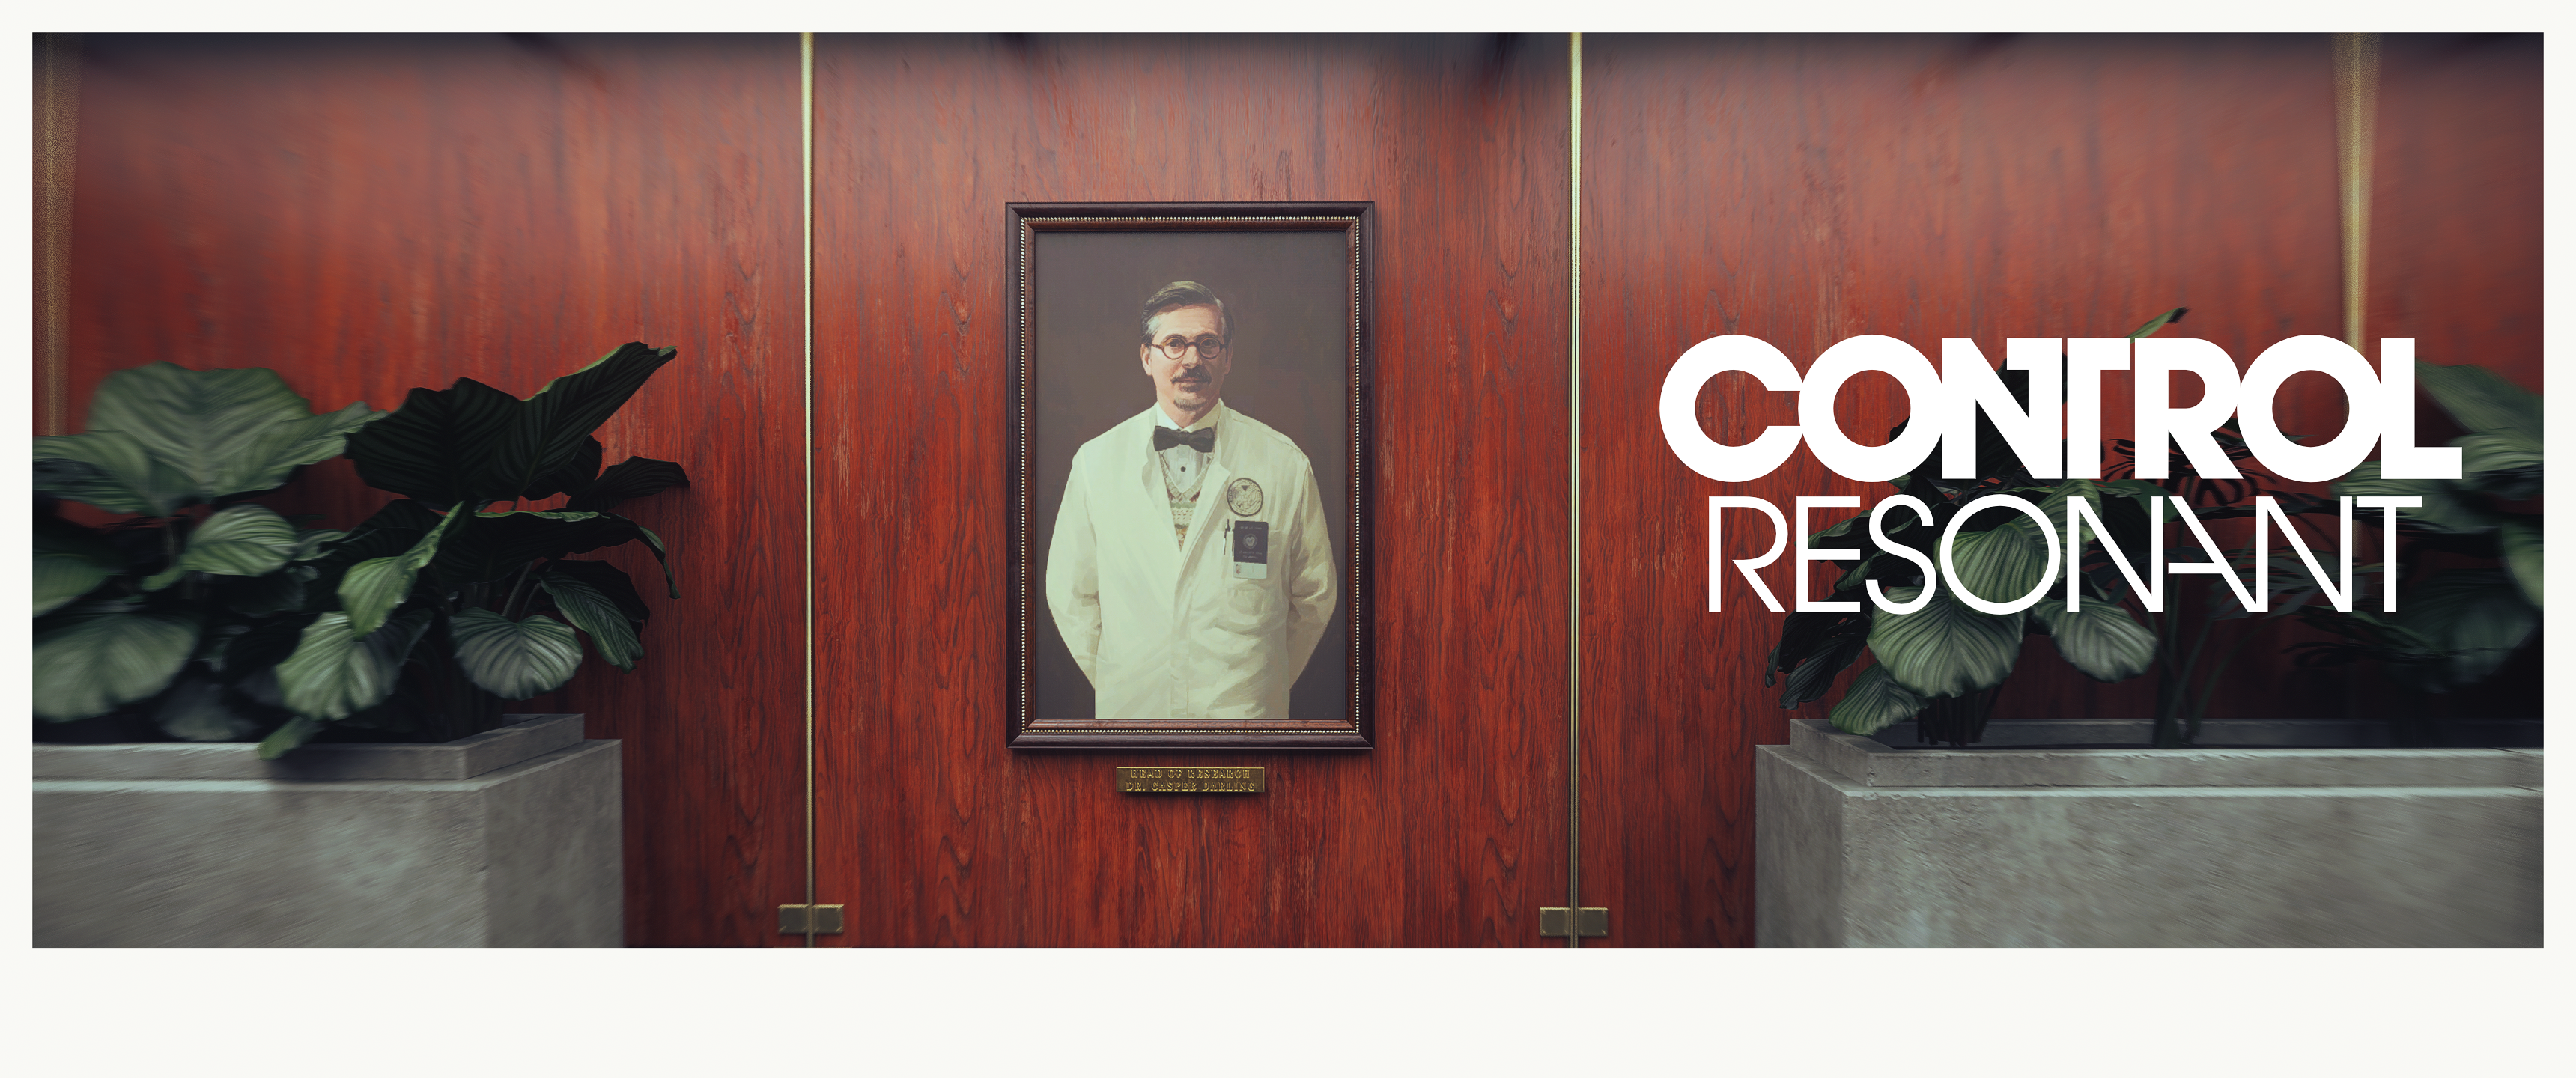
Title art gives you the game's own oversized area titles, either the area you are standing in or any of the seven, or the CONTROL RESONANT logo. In the game's language or any of the fifteen the art exists in. Be aware some area names are spoilers if you have not reached them.
Banner is text in the style of the game's quest titles, in yellow or white. Current area, current quest, or up to five lines of your own written into crmods\\PhotoMode\\PhotoMode.titles.txt.
Both have position, size, rotation and opacity, and position is measured across the whole screen so a title can run off the edge on purpose. Titles stay in the picture when the hints are hidden, and they are deliberately not part of presets.
This is how you make a shot that looks like the game's own key art instead of a screenshot of it.
Taking the Picture
The mod does not save images. Use whatever you normally use: Steam with F12, Windows with Win+Alt+PrtSc, the NVIDIA app, or ReShade.
Hide the key hints first with U or Square. Borders stay, grids go.
And turn frame generation off while you are shooting. Generated frames are interpolated, not rendered, and you want every capture to be a real one.
Controls
P / L3+R3 | Enter or leave photo mode |
WASD / Left stick | Move |
Mouse / Right stick | Look |
E / Q, R2 / L2 | Up and down |
[ / ], L1 / R1 | Roll, both together to level out |
K, hold Square | Freeze or resume time |
Y, Circle | Orbit the player on and off |
O, hold Circle | Snap back to the player view |
U, Square | Hide or show the key hints |
N, tap R3 | Switch between camera and photo panel |
Shift, hold R3 | Hold to adjust move speed, roll speed and FOV |
All of it is rebindable in Options, MODS, Photo Mode if you have Mod Settings Menu installed. The panel's own navigation keys are fixed.
What It Cannot Do
Photo mode is available during normal play, so exploring, fighting and walking sections. It will not open during cutscenes, conversations, loading or fast travel.
Which is fair enough. It works the way a photo mode is meant to work, and plenty of us would not use it in a cutscene anyway. Framing a shot someone else composed is not the same as finding your own, and the hunting is most of what makes this fun.
The game's own menu keys still work while you are in it. Press map, inventory, quest log or Tab and that screen opens and photo mode ends.
Path tracing needs a ray tracing capable card. And a game update can disable the mod until it is updated, which with a mod moving this fast is a fair trade.
While We Wait
November is still coming and the official mode will almost certainly go further, particularly around the things only Remedy can touch.
But this exists now, it is free, and it already has the parts that matter most. Real aperture with real depth of field, a free camera with nothing in its way, quality settings you cannot reach in normal play, and the game's own title art to finish a frame with.
Grab it from Nexus Mods, and if it earns an afternoon of your time, go and endorse it.
Enjoying our content?
Support the PMAs on Patreon and help us keep going