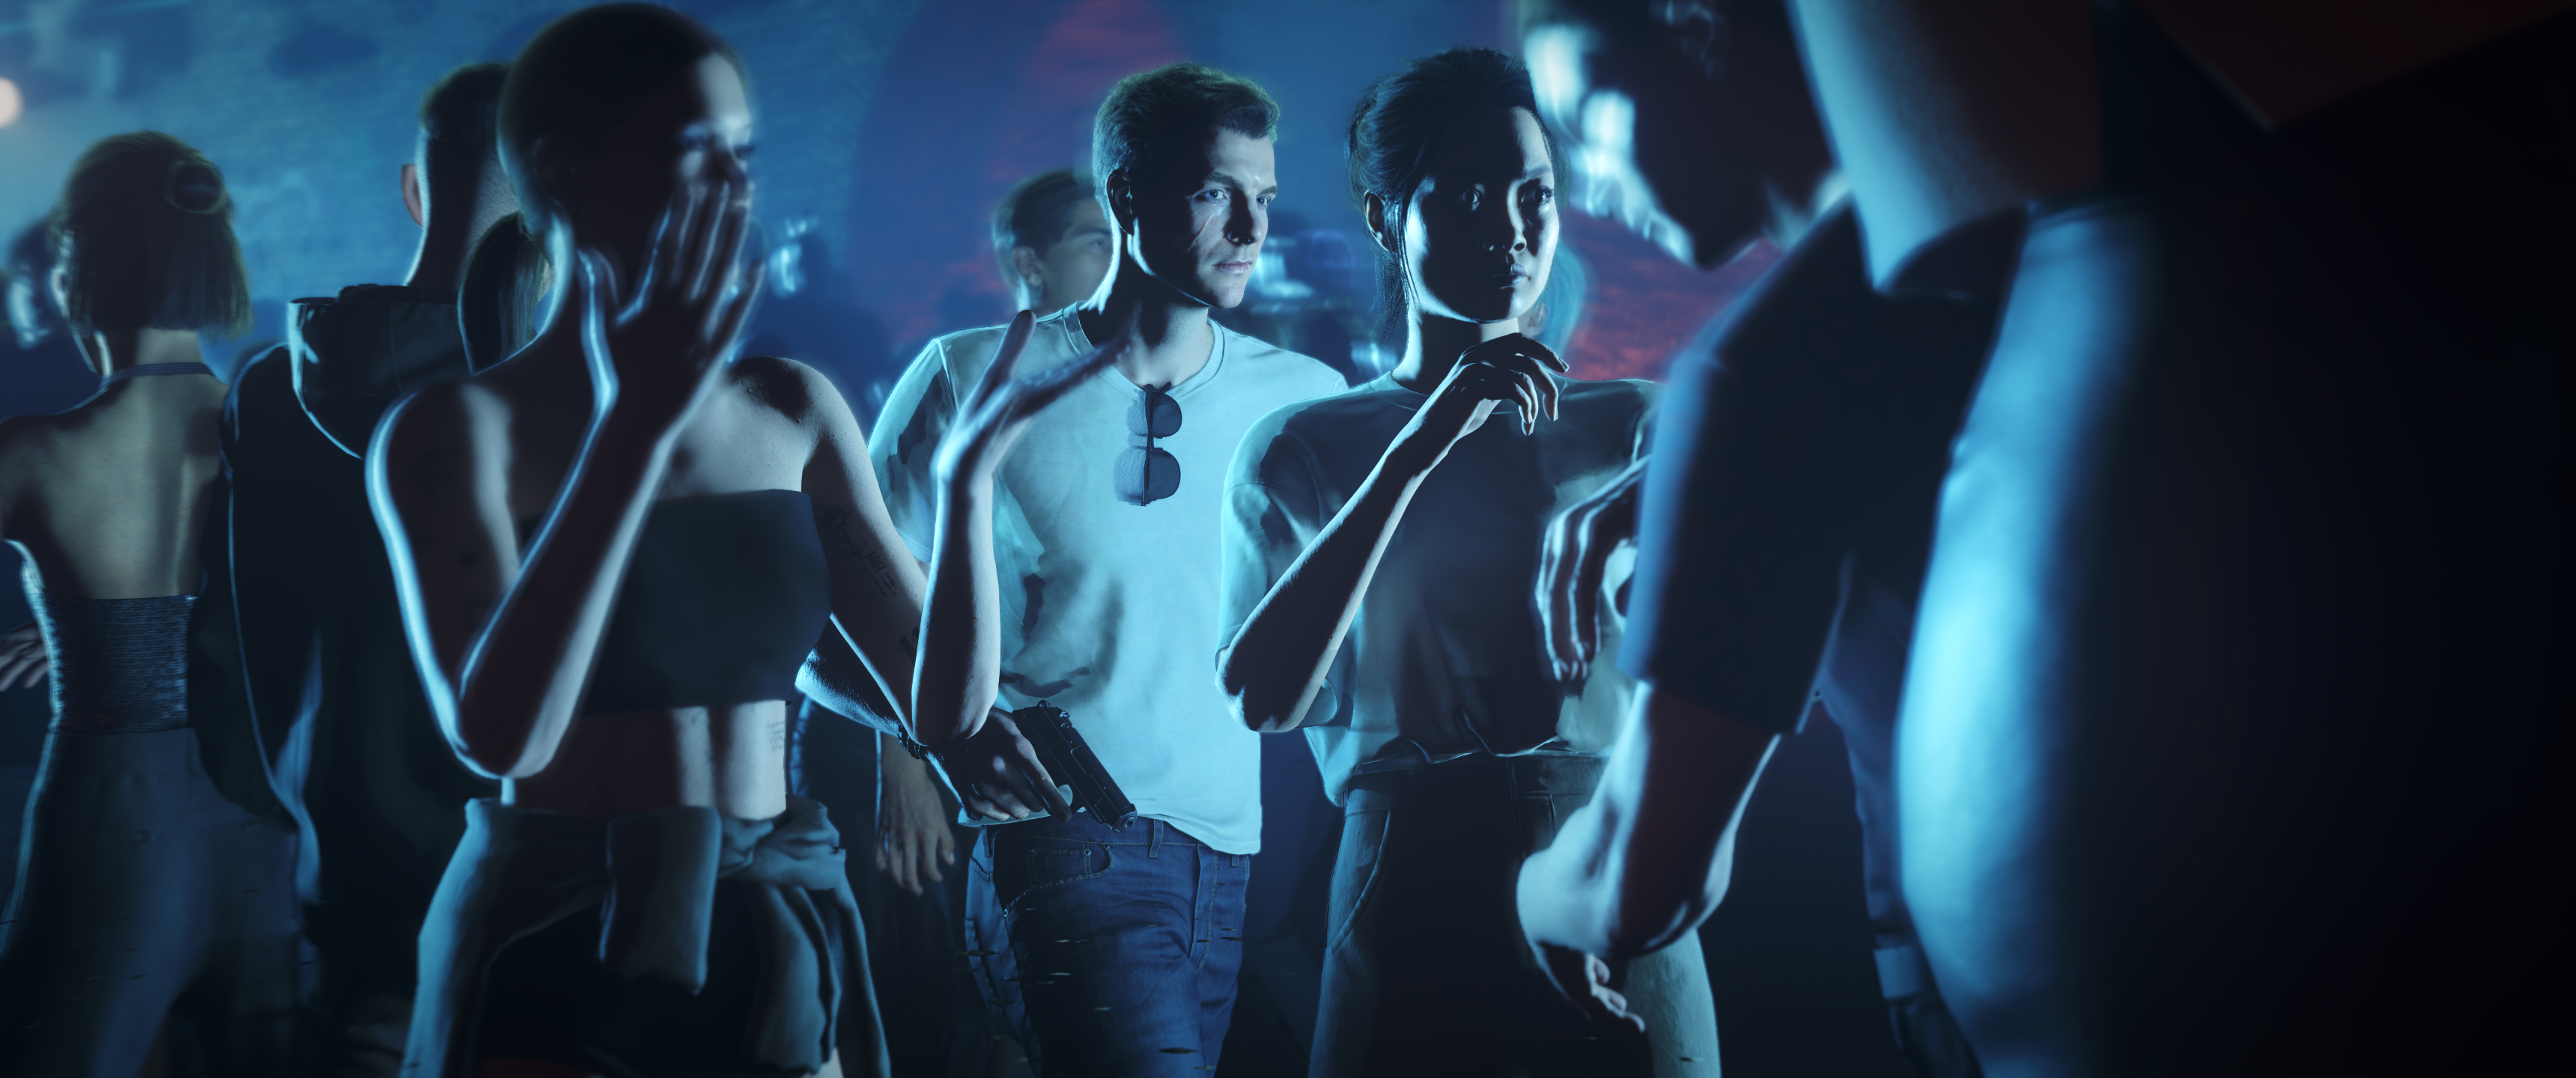

IO Interactive has been building photographable worlds for a decade and never handing over a camera. Four lights, twenty-two poses and a real f-stop later, Bond is finally worth photographing properly.
"IO Interactive has quietly built one of gaming's most photographable worlds. We finally have the tools to capture it."
— CoalaTV
I have been waiting for this one for years.
Not since June, when IO Interactive put Photo Mode on the Year One roadmap. Years. I have been photographing Hitman: World of Assassination through a third-party mod for most of a decade, because Dartmoor at sunset and the neon in Bangkok were too good to leave uncaptured and IOI never gave us an official way to do it.
Back in June I wrote about what this photo mode needed to be and listed five things. It is here now, so let us find out how it went.
Every Setting, Before We Start
Seven tabs. Here is the whole thing in one place, so you know what you are working with before I get into whether it works.
| Camera | Use gameplay camera, Field of view, Camera roll, Camera controls |
| Lens | Aperture, Auto-focus, Focal distance |
| Image | Vignette, Vignette strength, Vignette colour, Film grain, Letterbox |
| Effects | In game effects, Contrast, Exposure, Radial blur strength, Radial blur radius, Chromatic aberration |
| Filters | Hue, Hue intensity, Saturation |
| Character | Hide Bond, Pose, Rotation angle, Face, Right hand, Left hand |
| Lighting | Light sources, Light on or off, Attach to camera, Intensity, Colour |
Plus a grid toggle, reset options, and hide UI along the bottom.
One thing to know first: you have to pause the game to get in. There is no mid-action shortcut, so the moment you wanted is over by the time you are holding the camera.
Camera
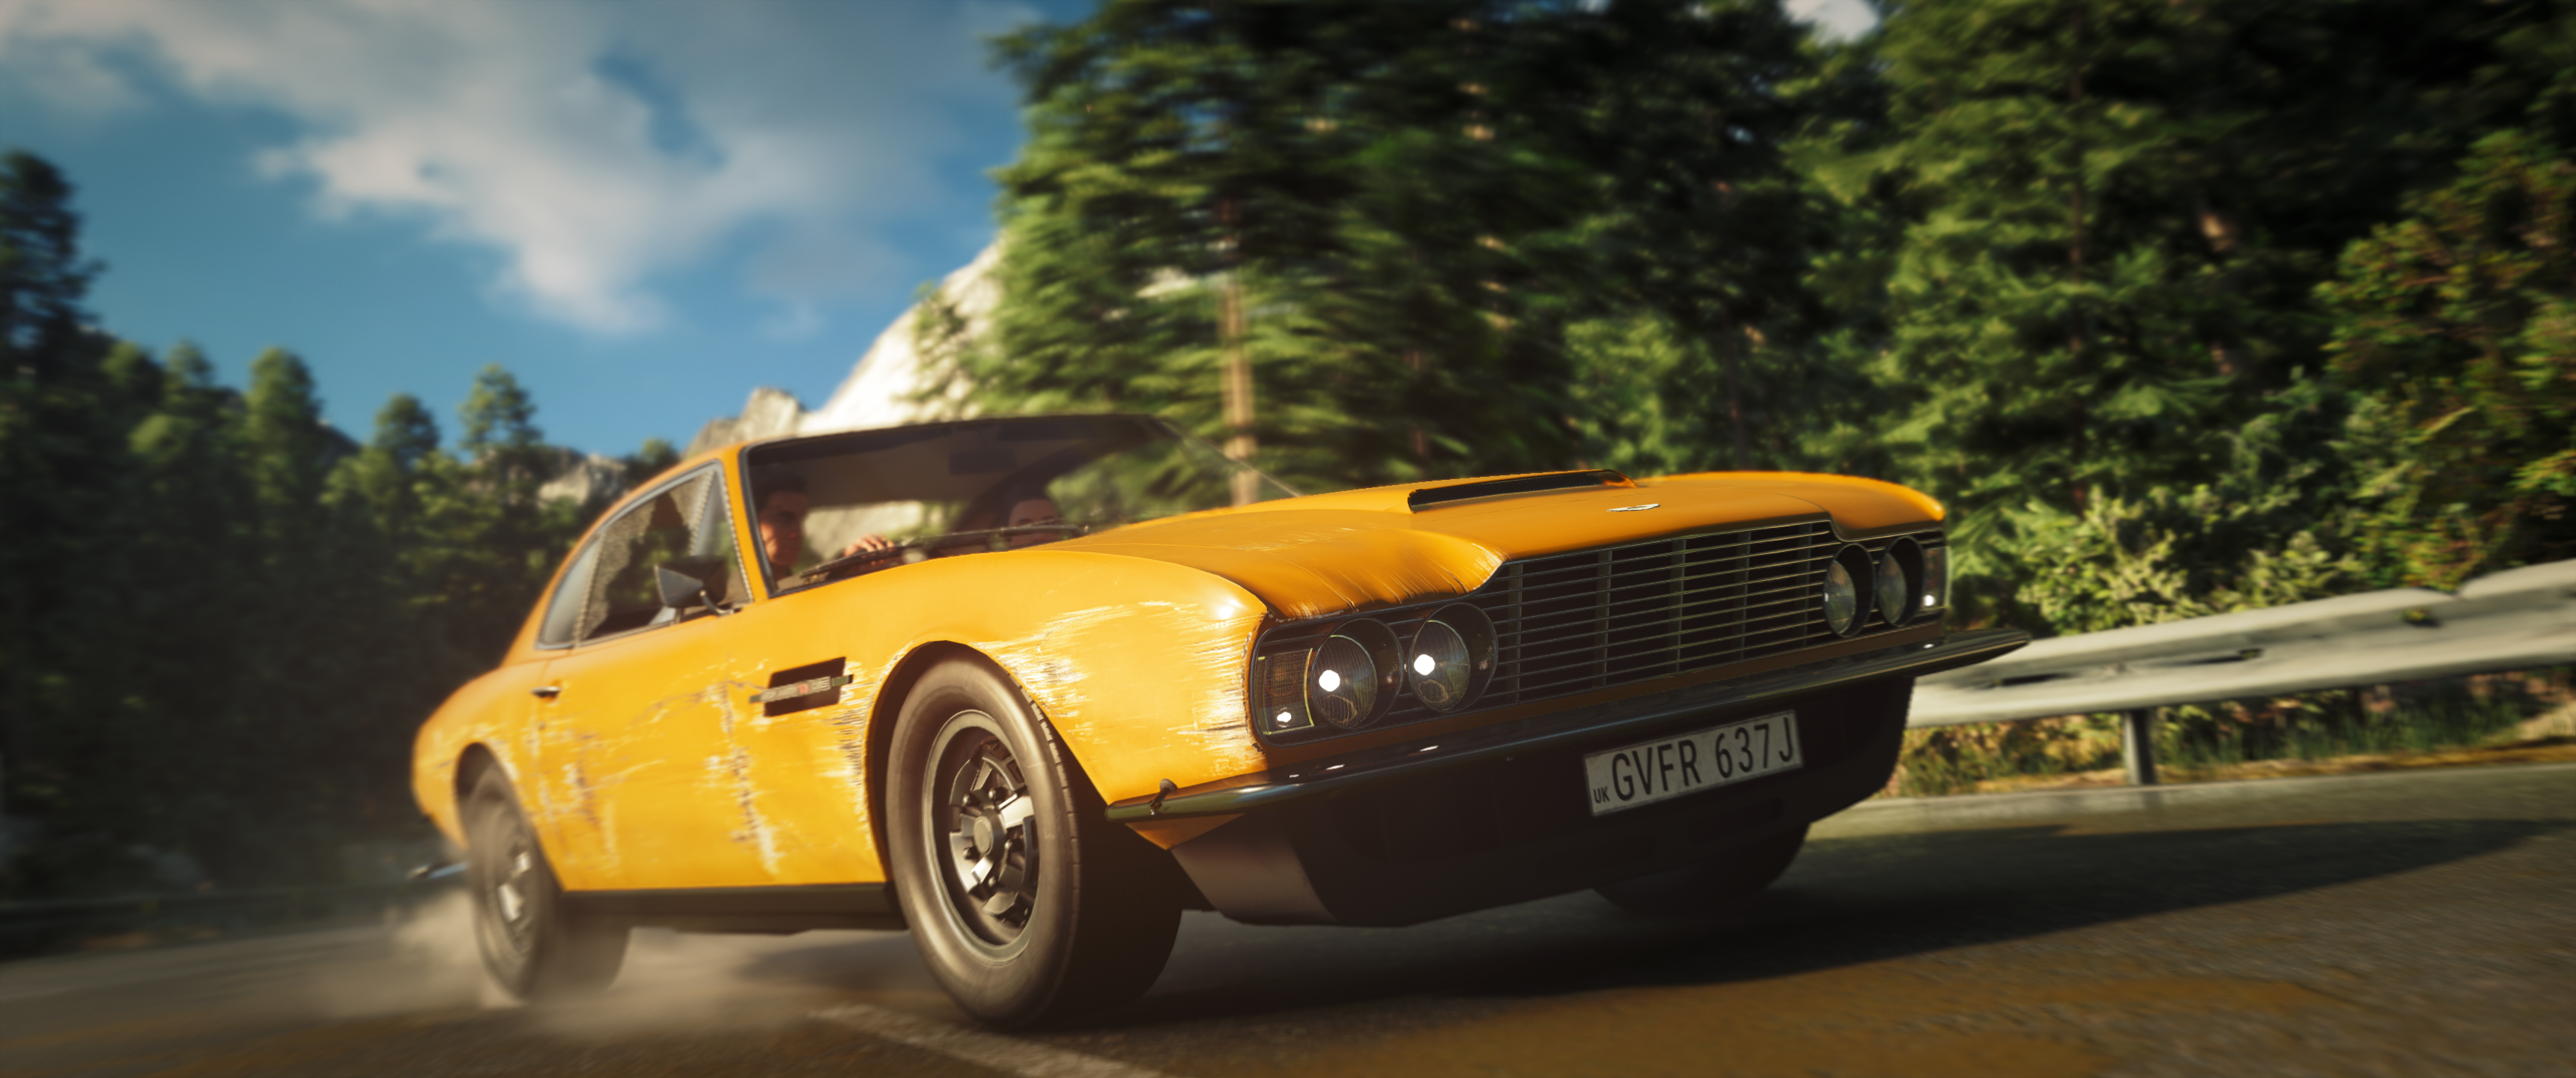
Range is fine. Not generous, but enough to frame what IOI built, and that was the thing I was most worried about given how much of this game is scale.
Camera roll goes far enough for a true 90 degree portrait, which is the single most useful thing on this tab. Vertical compositions are properly on the table.
Height is the weaker axis. You cannot get as high above a scene as I wanted, and some establishing shots are off the table because of it. It is still enough to work with.
There is a speed control hiding on L3 that the interface does not make obvious. Slowing the camera down is what makes close work possible, and I nearly missed it entirely. If you are on Xbox or keyboard, check your bindings, because I have only confirmed this one on a PlayStation pad.
Use gameplay camera is the one setting I still cannot explain. I could not find a situation where I wanted it. Something to keep poking at.
How far the camera actually travels.
Lens
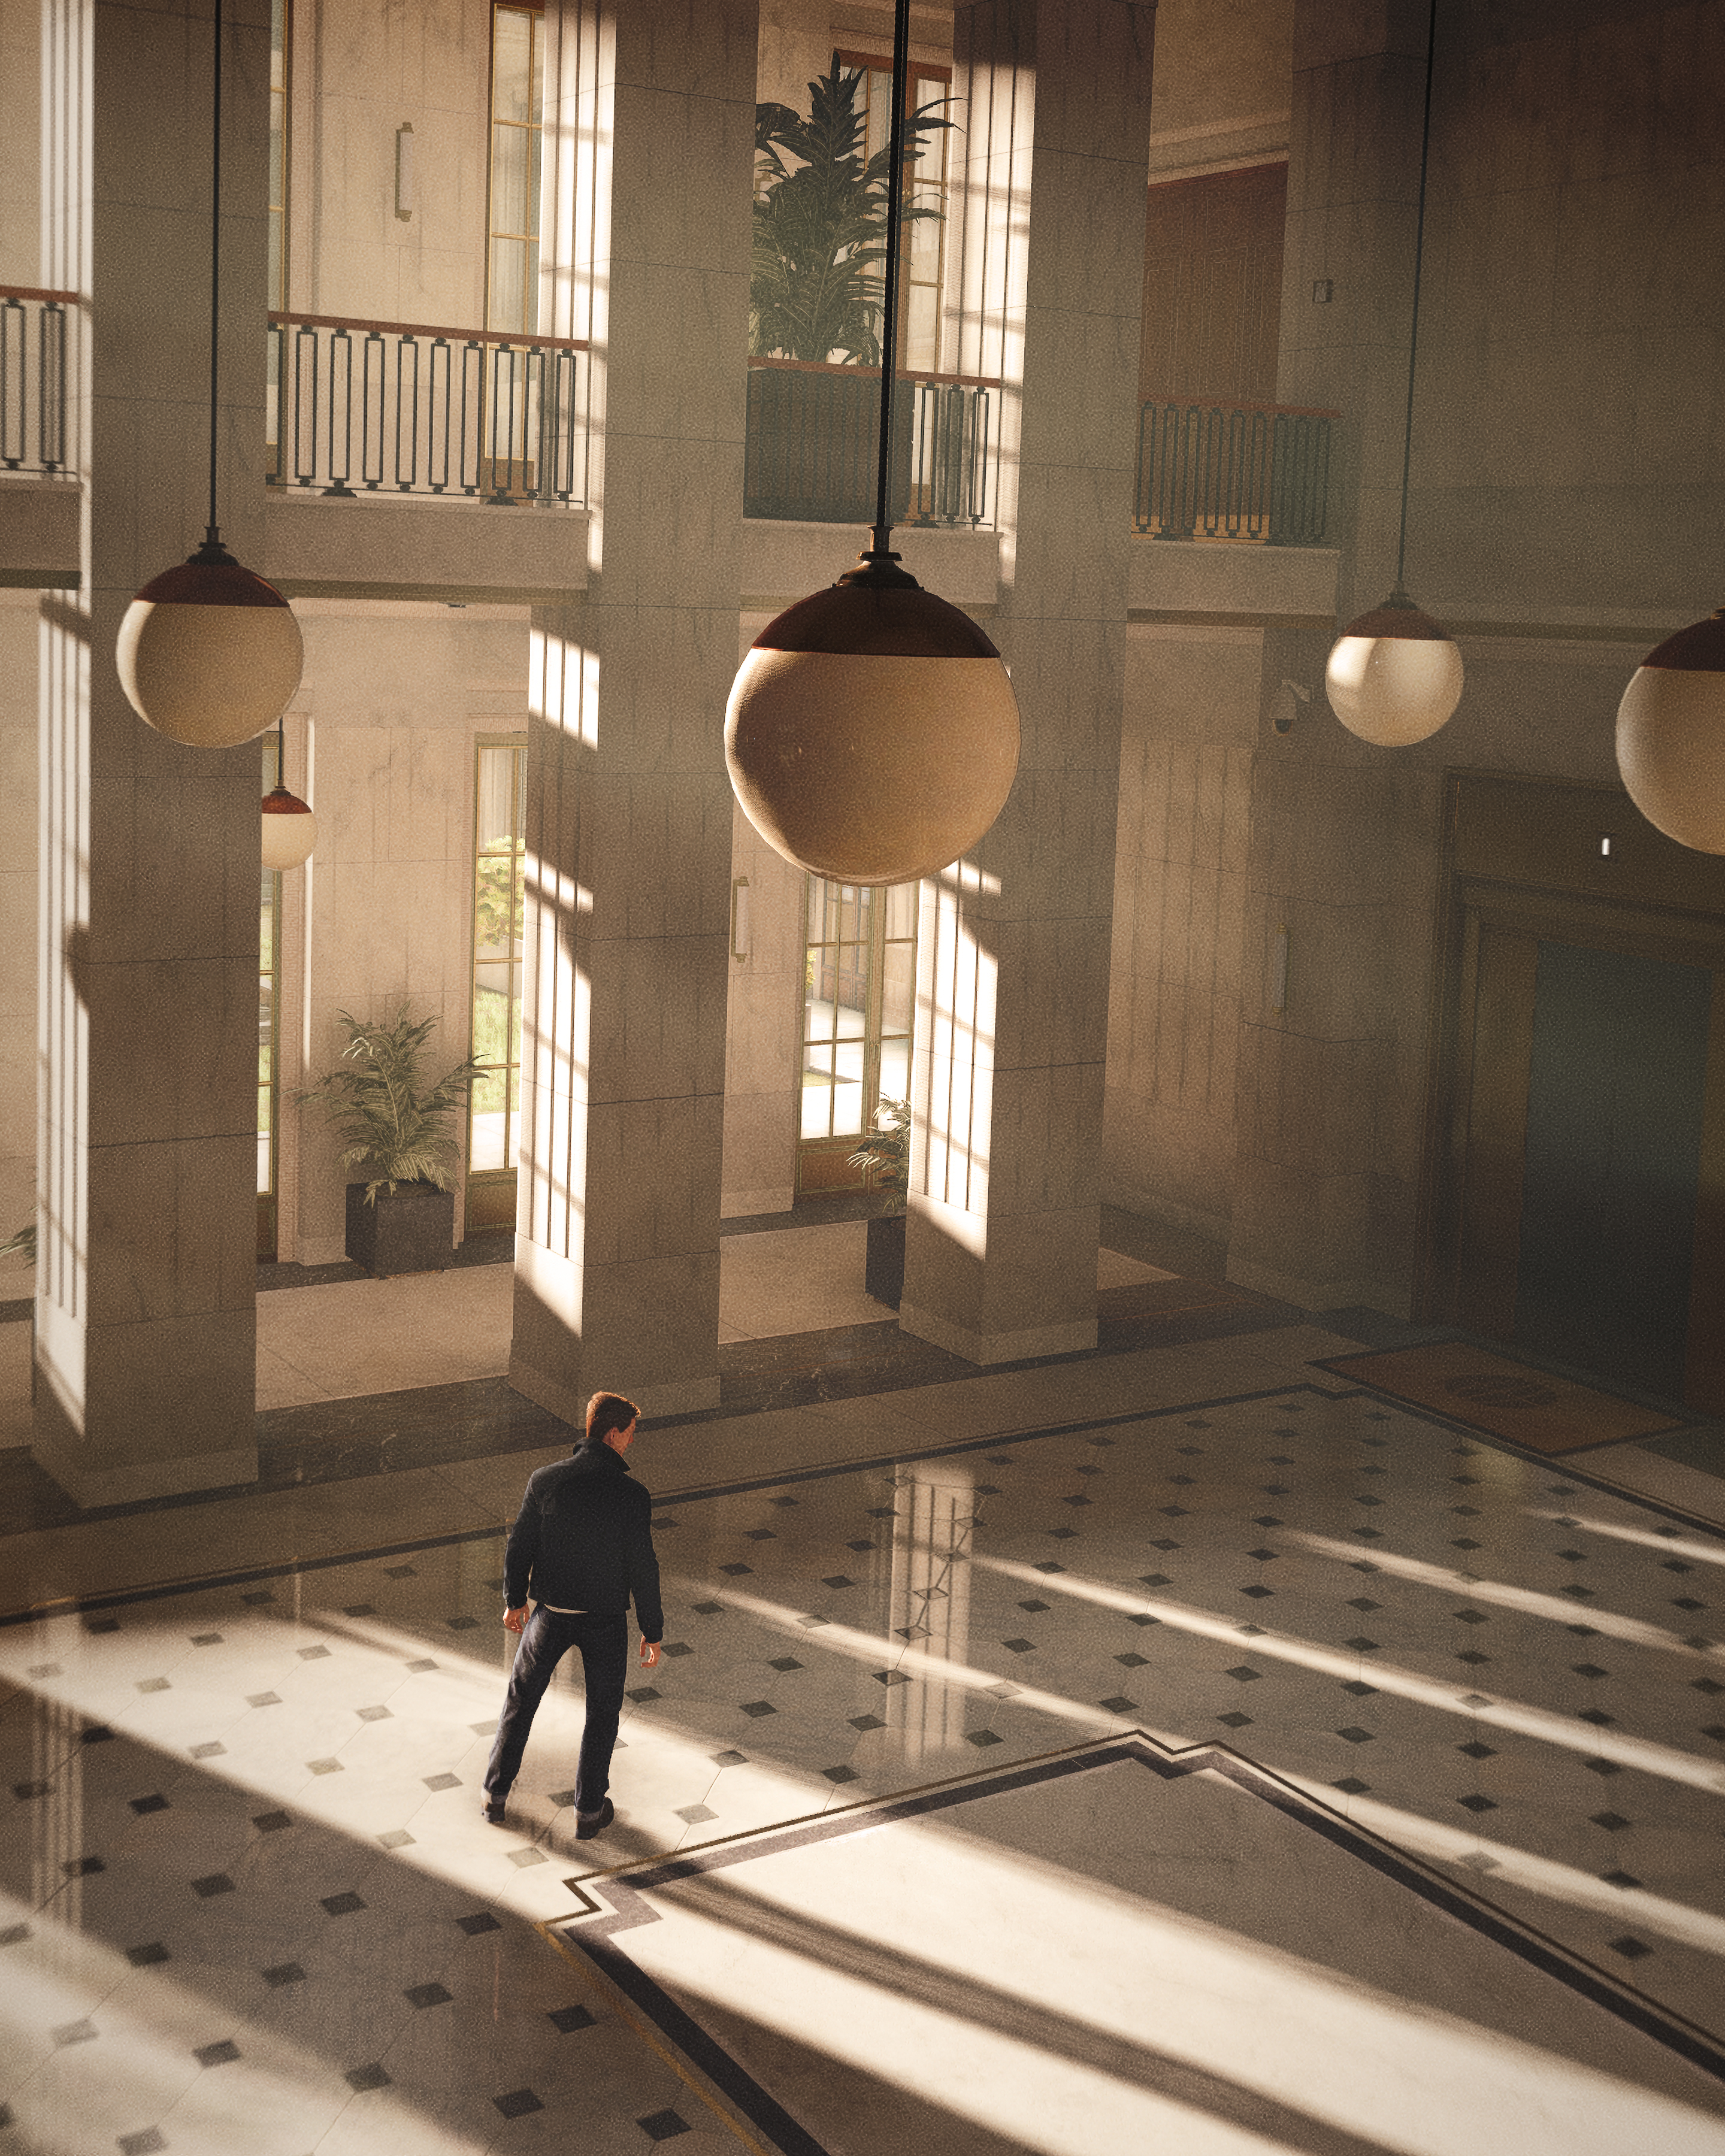
Real aperture, which is the right call, and it starts at f/11.
It needs work. Pulling the aperture down does not change the image nearly as much as the number says it should, and the separation you expect from a wide stop mostly is not there.
The clearest example: Bond holding a cocktail glass. The background blurs, but the part of the background seen through the glass stays sharp. Transparent surfaces are not being treated as part of the depth pass, so the blur stops at the glass and starts again around it. Once you see it you cannot unsee it, and in a game with this much glassware it comes up a lot.
Auto-focus is competent. Turn it off anyway. Manual focal distance gives you a plane you chose instead of one the game guessed at, and that is most of what depth of field is for.
Working the aperture, and what it does and does not separate.
Image
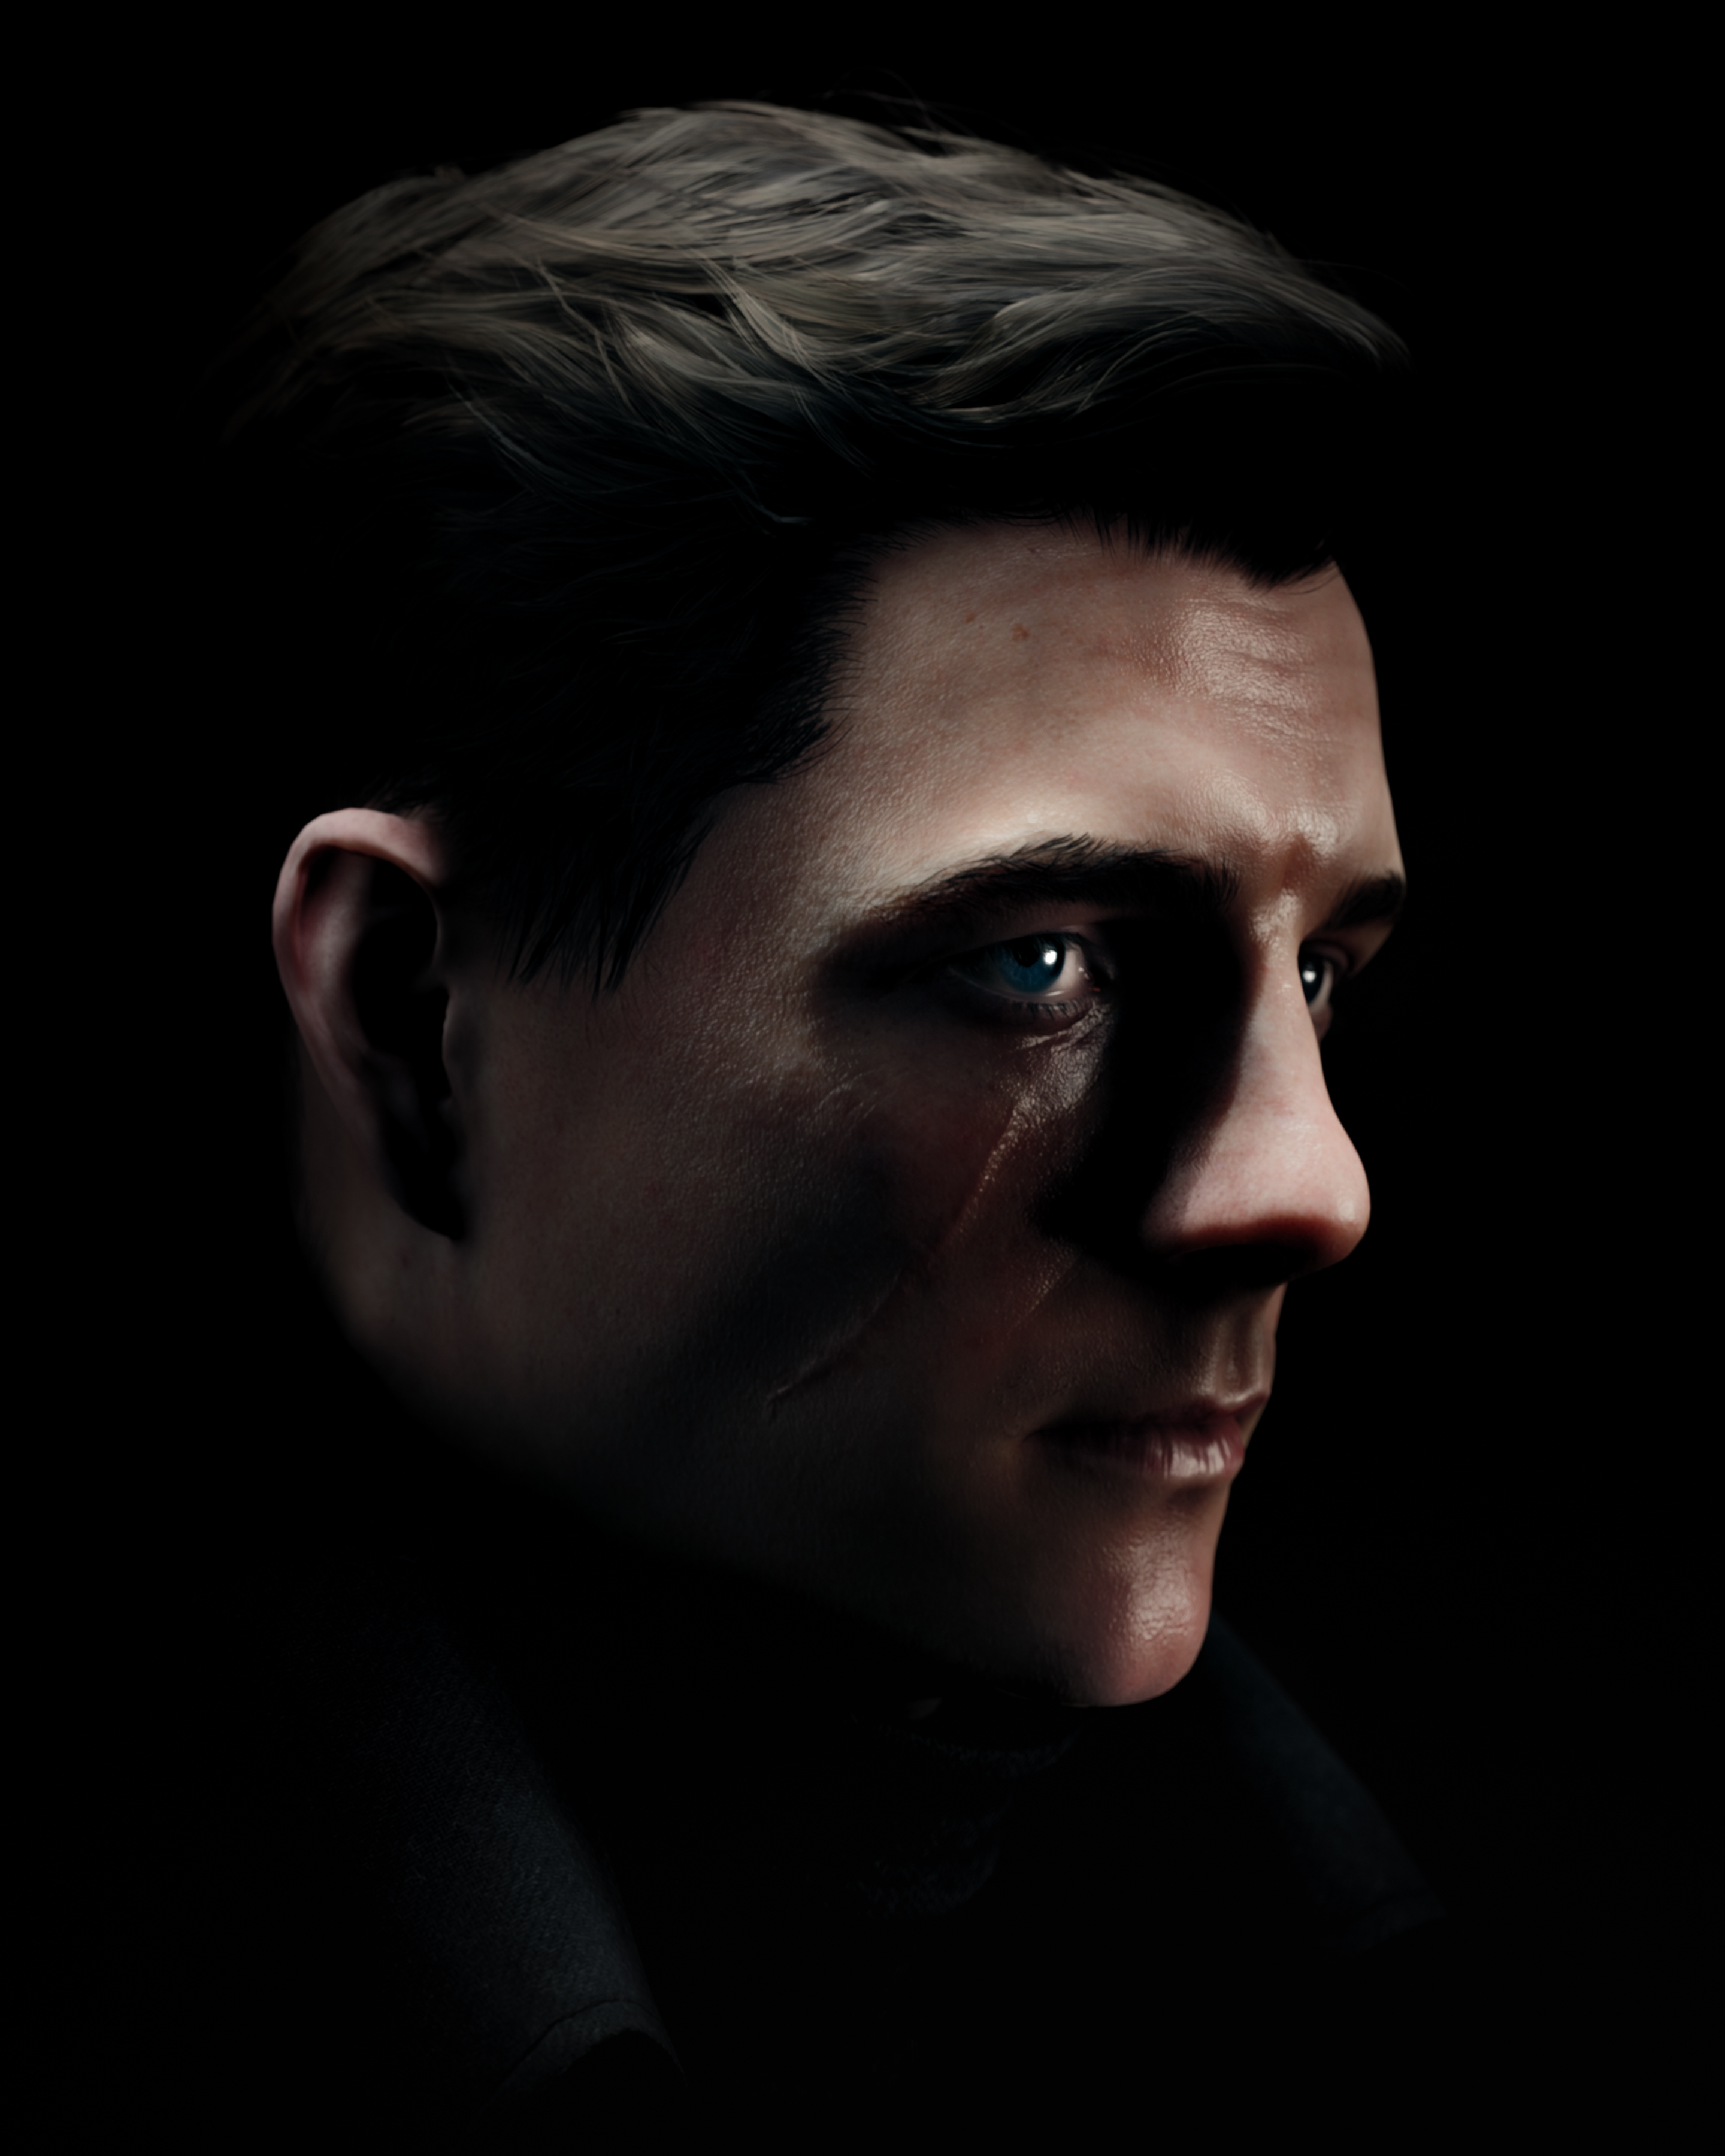
Vignette with strength and a colour picker, film grain, and a letterbox selector.
Not much to argue with. The vignette colour option is more than most photo modes bother with, and the letterbox is there if you want the cinematic crop the game is already leaning towards.
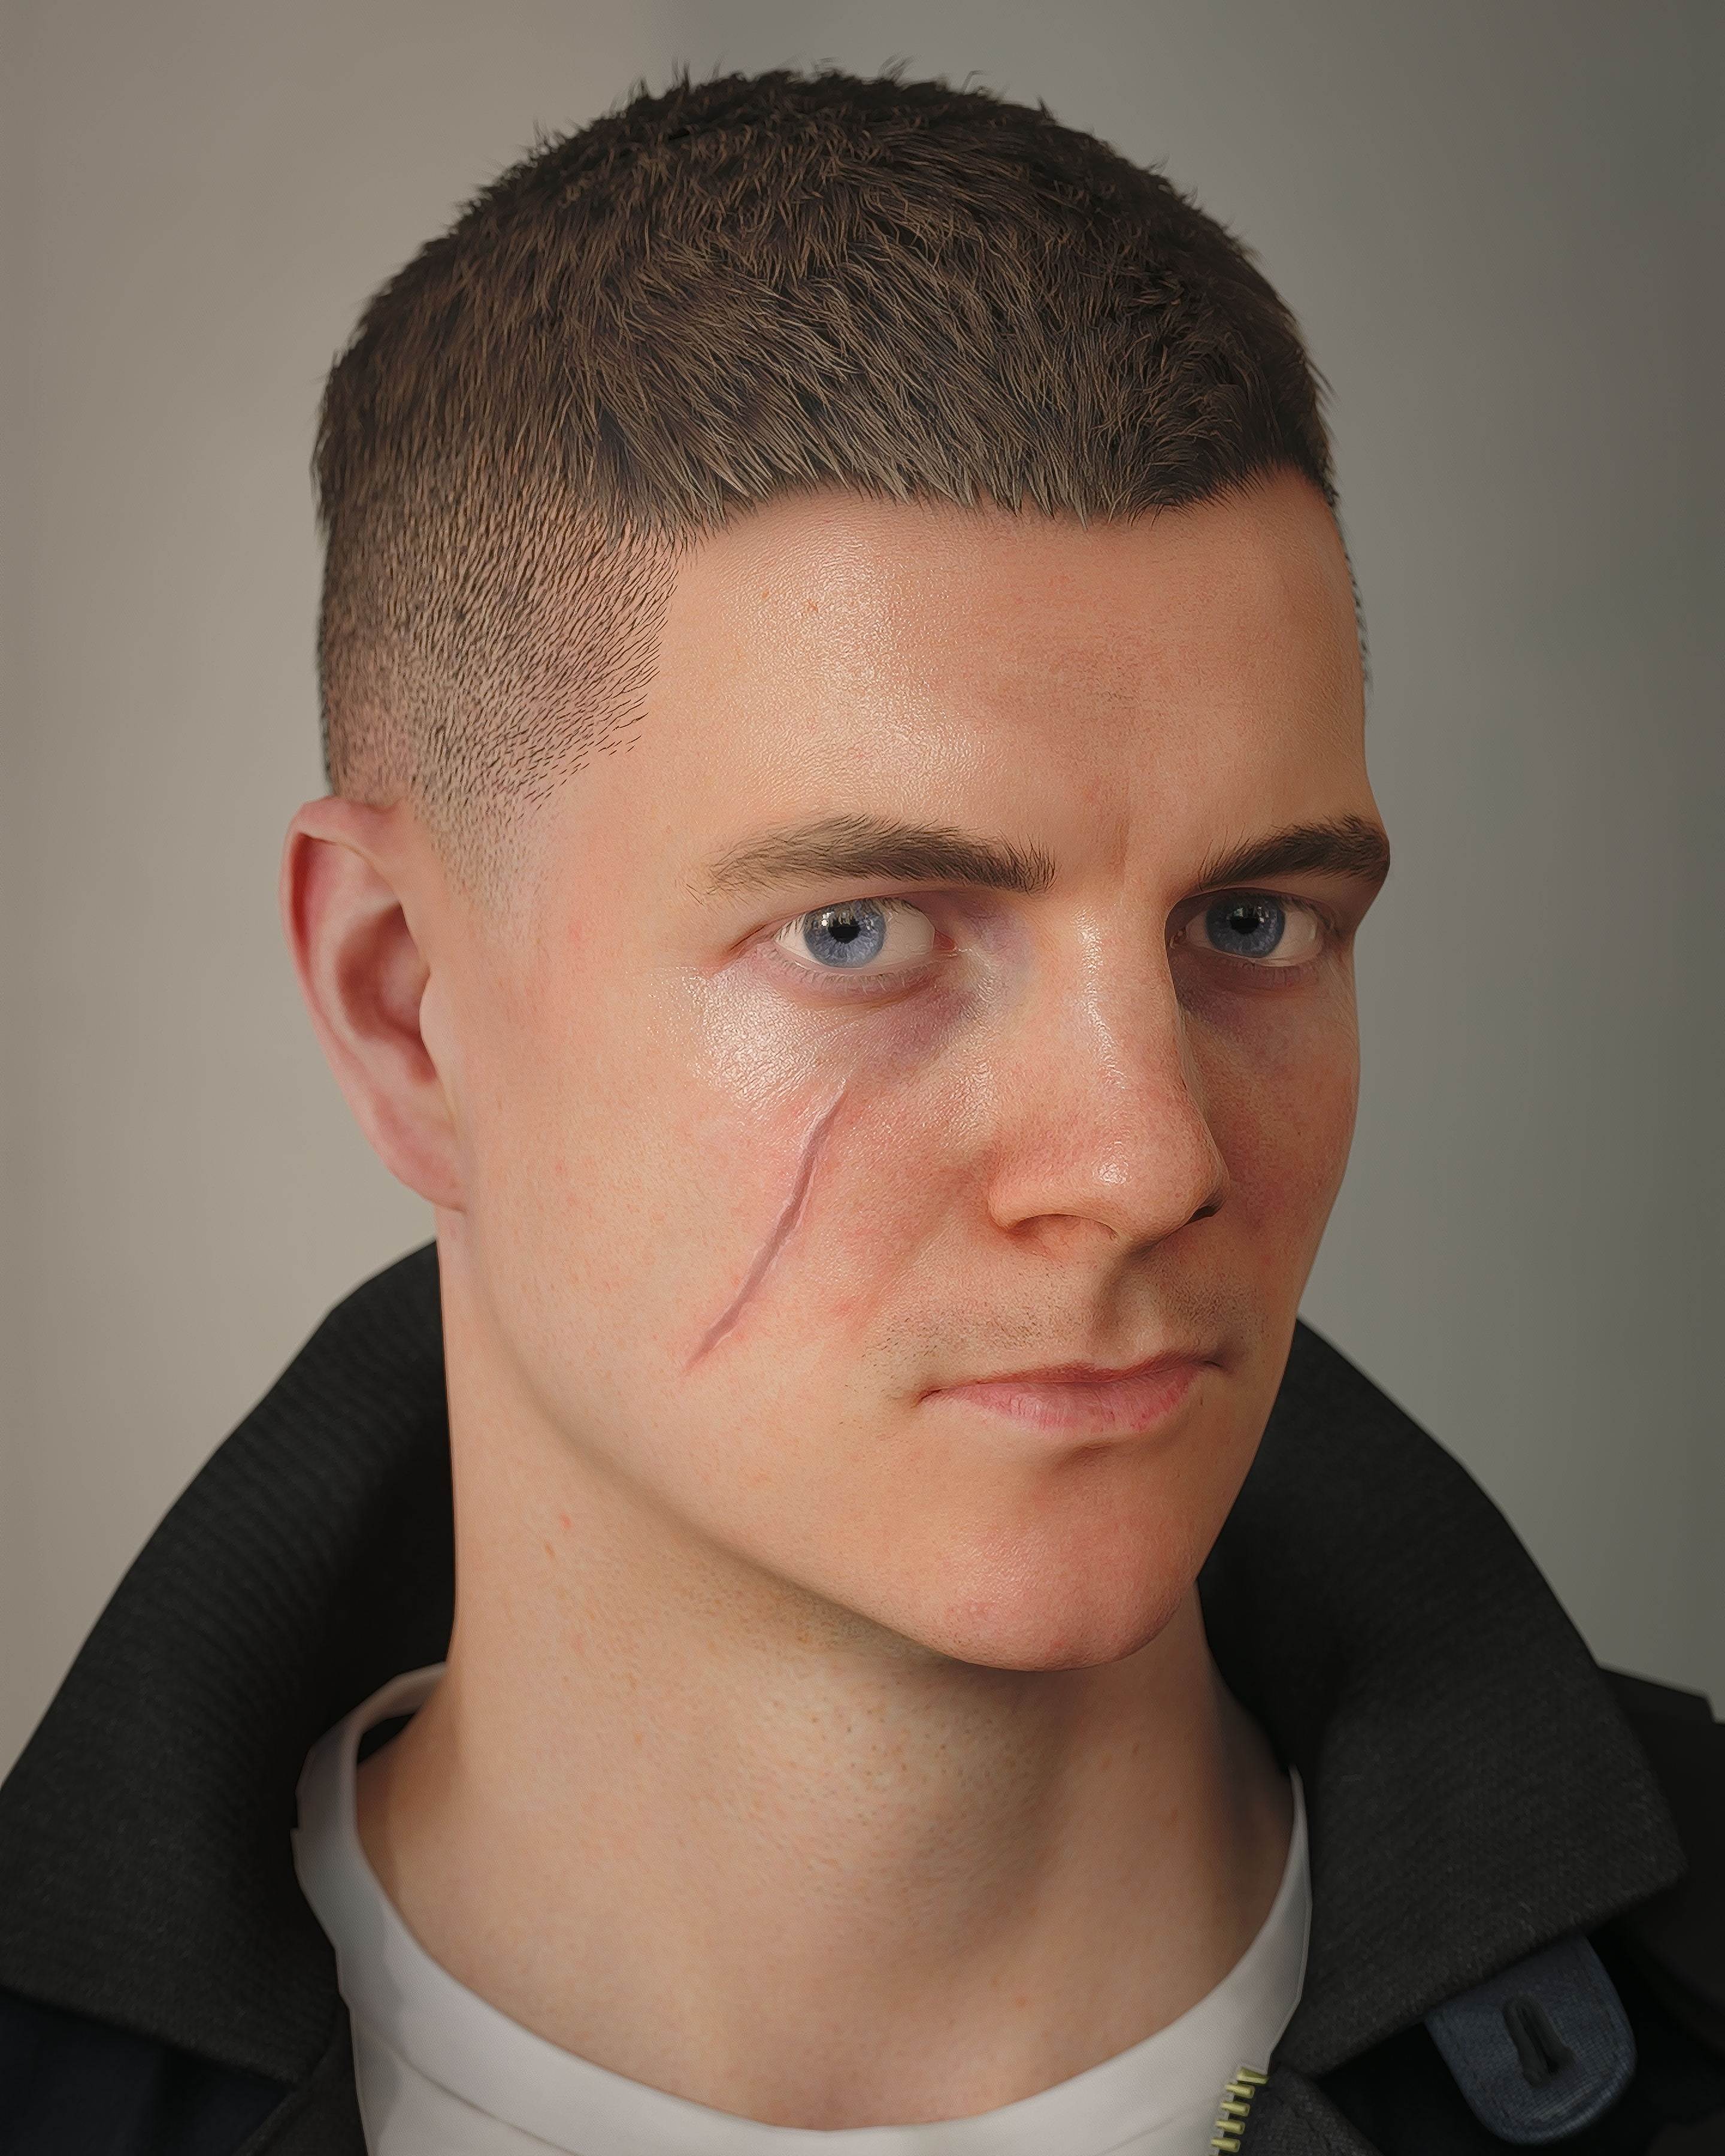
Effects
Contrast, exposure, chromatic aberration, and radial blur with separate strength and radius.
Radial blur is a genuinely nice addition and not something you see often. Having the radius as its own control means you can keep the centre clean and let the edges go, which suits a game full of motion and chases.
In game effects is the one I have not cracked. There is a toggle, I have tried it at various settings, and I have not been able to work out exactly what it is switching. More experimentation needed, and I will update this when I have an answer.
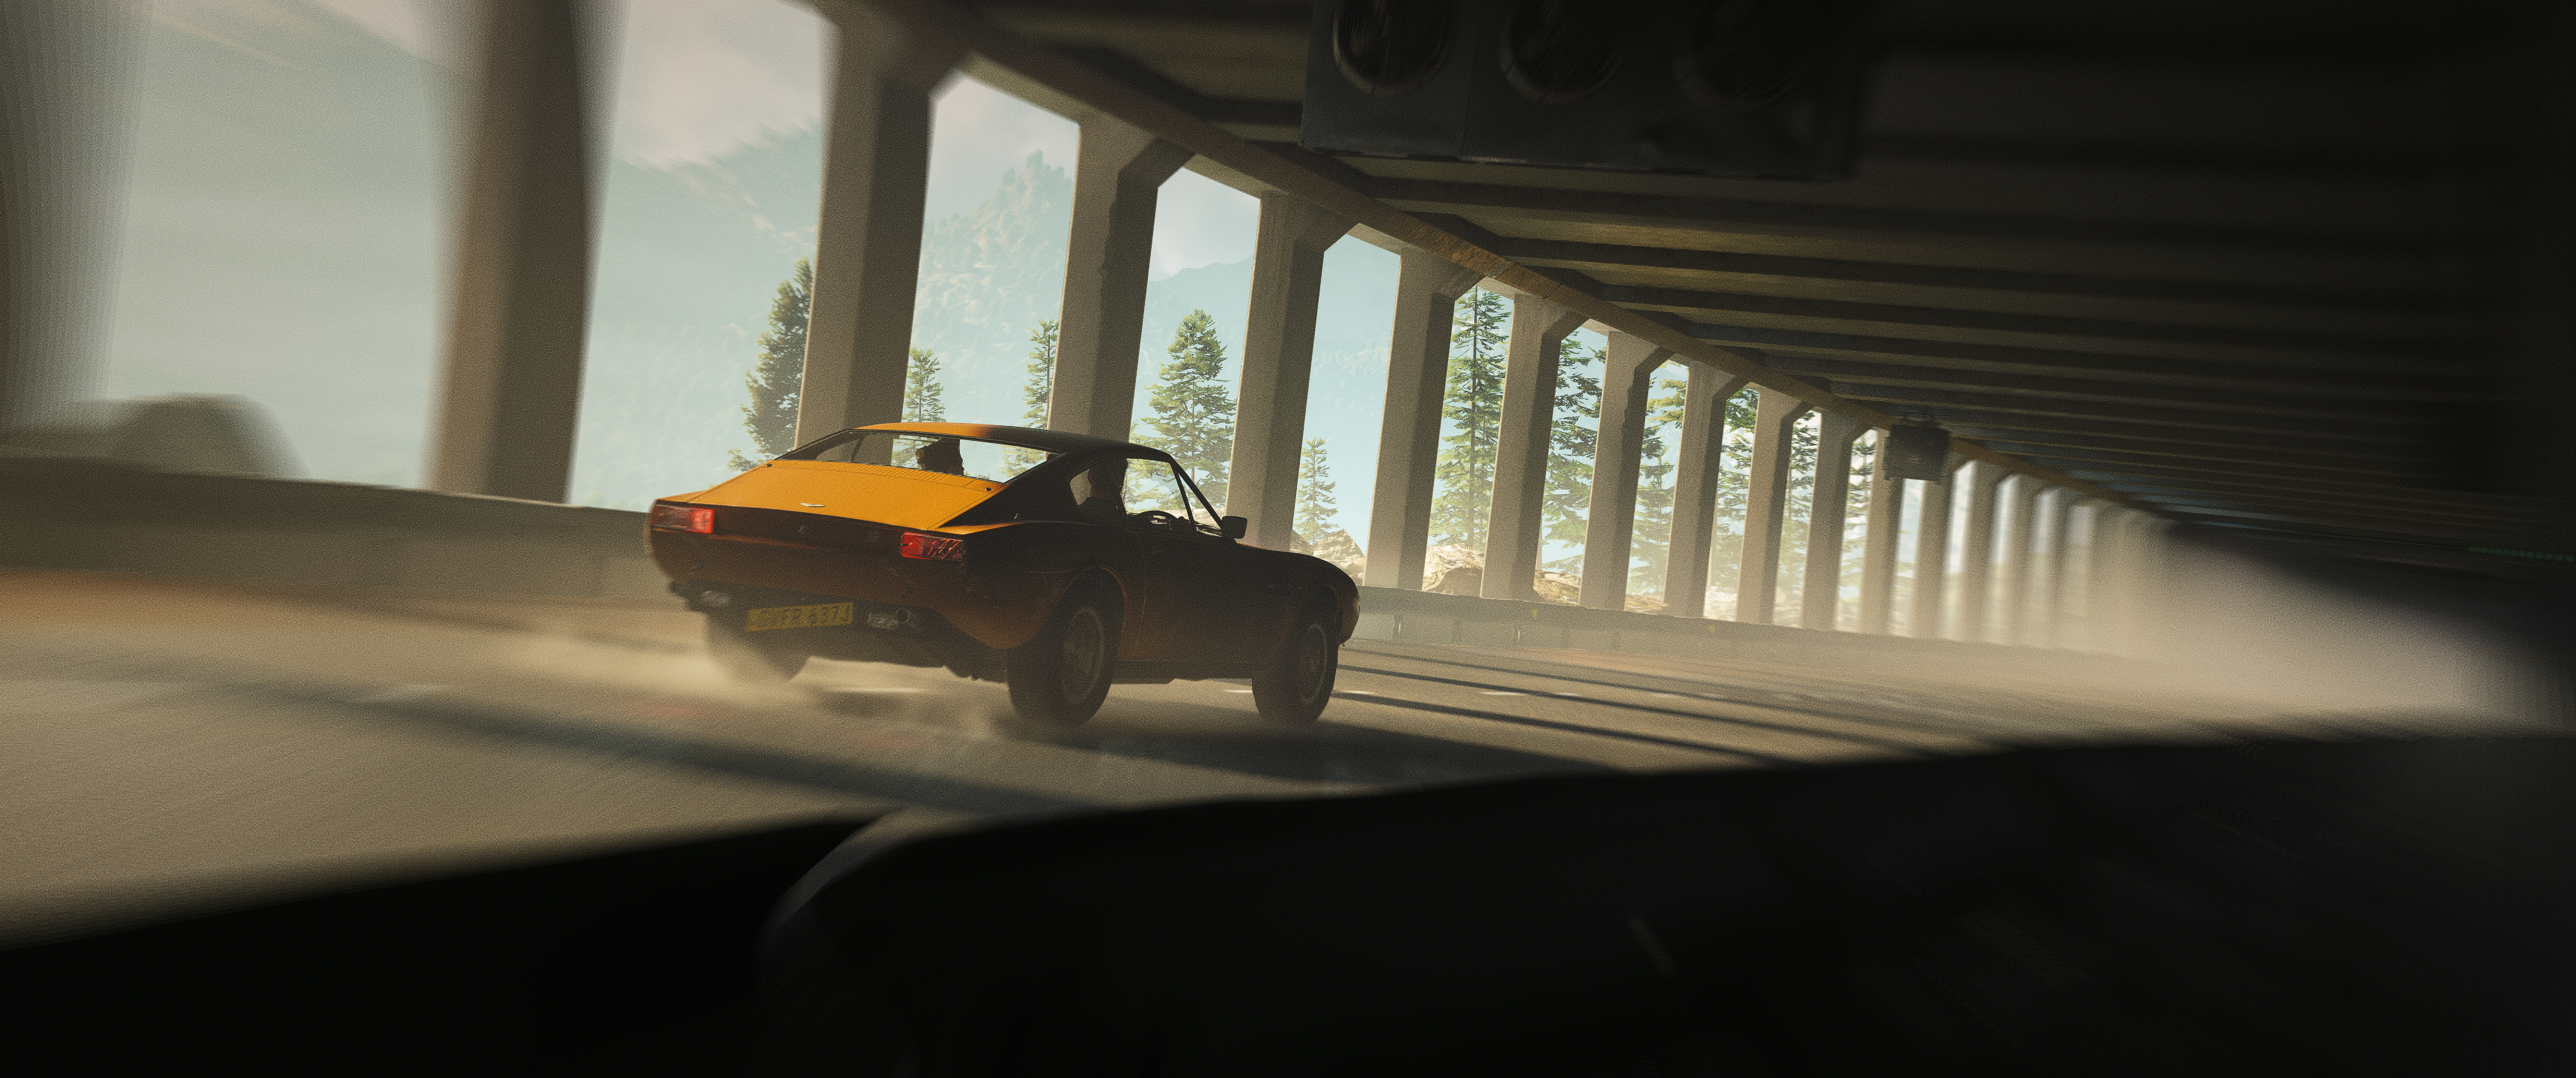
Filters
Calling this Filters is generous. There are no filters here.
What you get is a hue slider, a hue intensity slider, and saturation. That is colour grading, and it is useful, but anyone opening this tab expecting a set of looks to try is going to be disappointed.
No criticism of what is there. Just name it what it is.
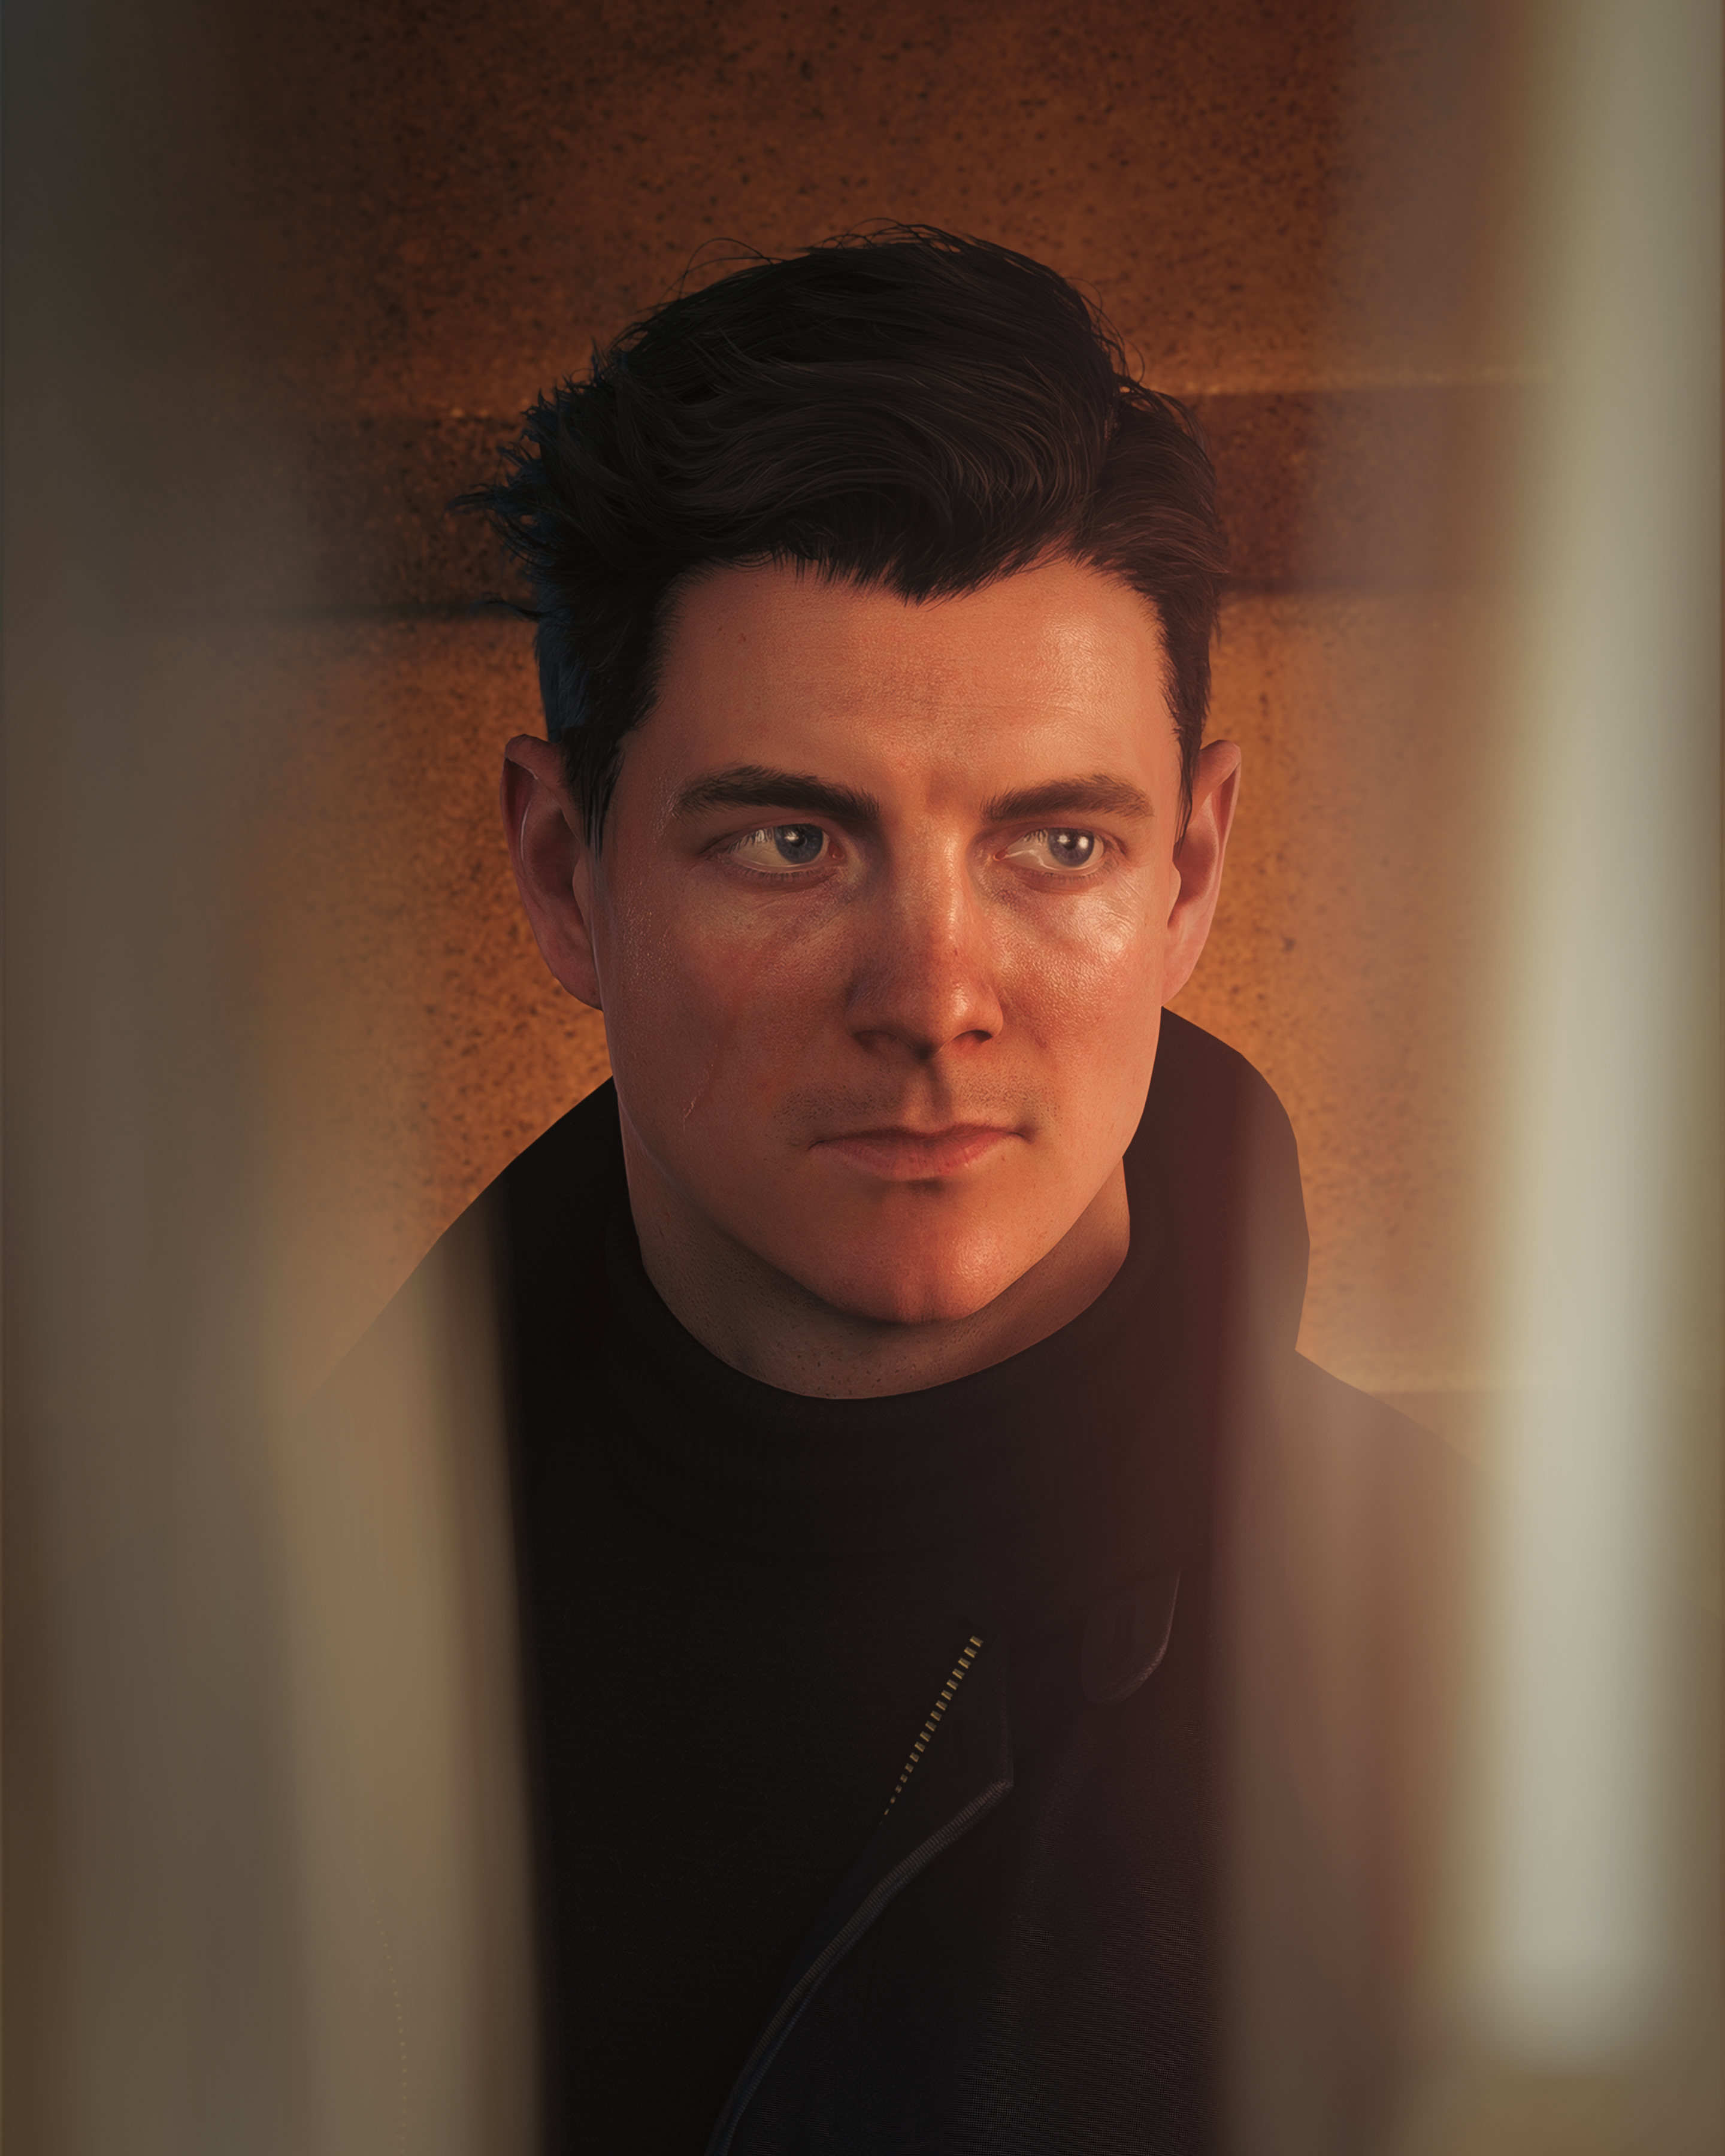
Character
This is where the effort went, and it shows.
Twenty-two poses, plus a rotation angle so you can turn Bond to the light instead of moving around him. Twelve facial expressions. And separate left and right hand poses, nine each, though those are tied to specific body poses rather than being freely mixed.
That is a deeper character toolset than most games ship with, and for a game built around one very recognisable protagonist it is the right place to spend the budget.
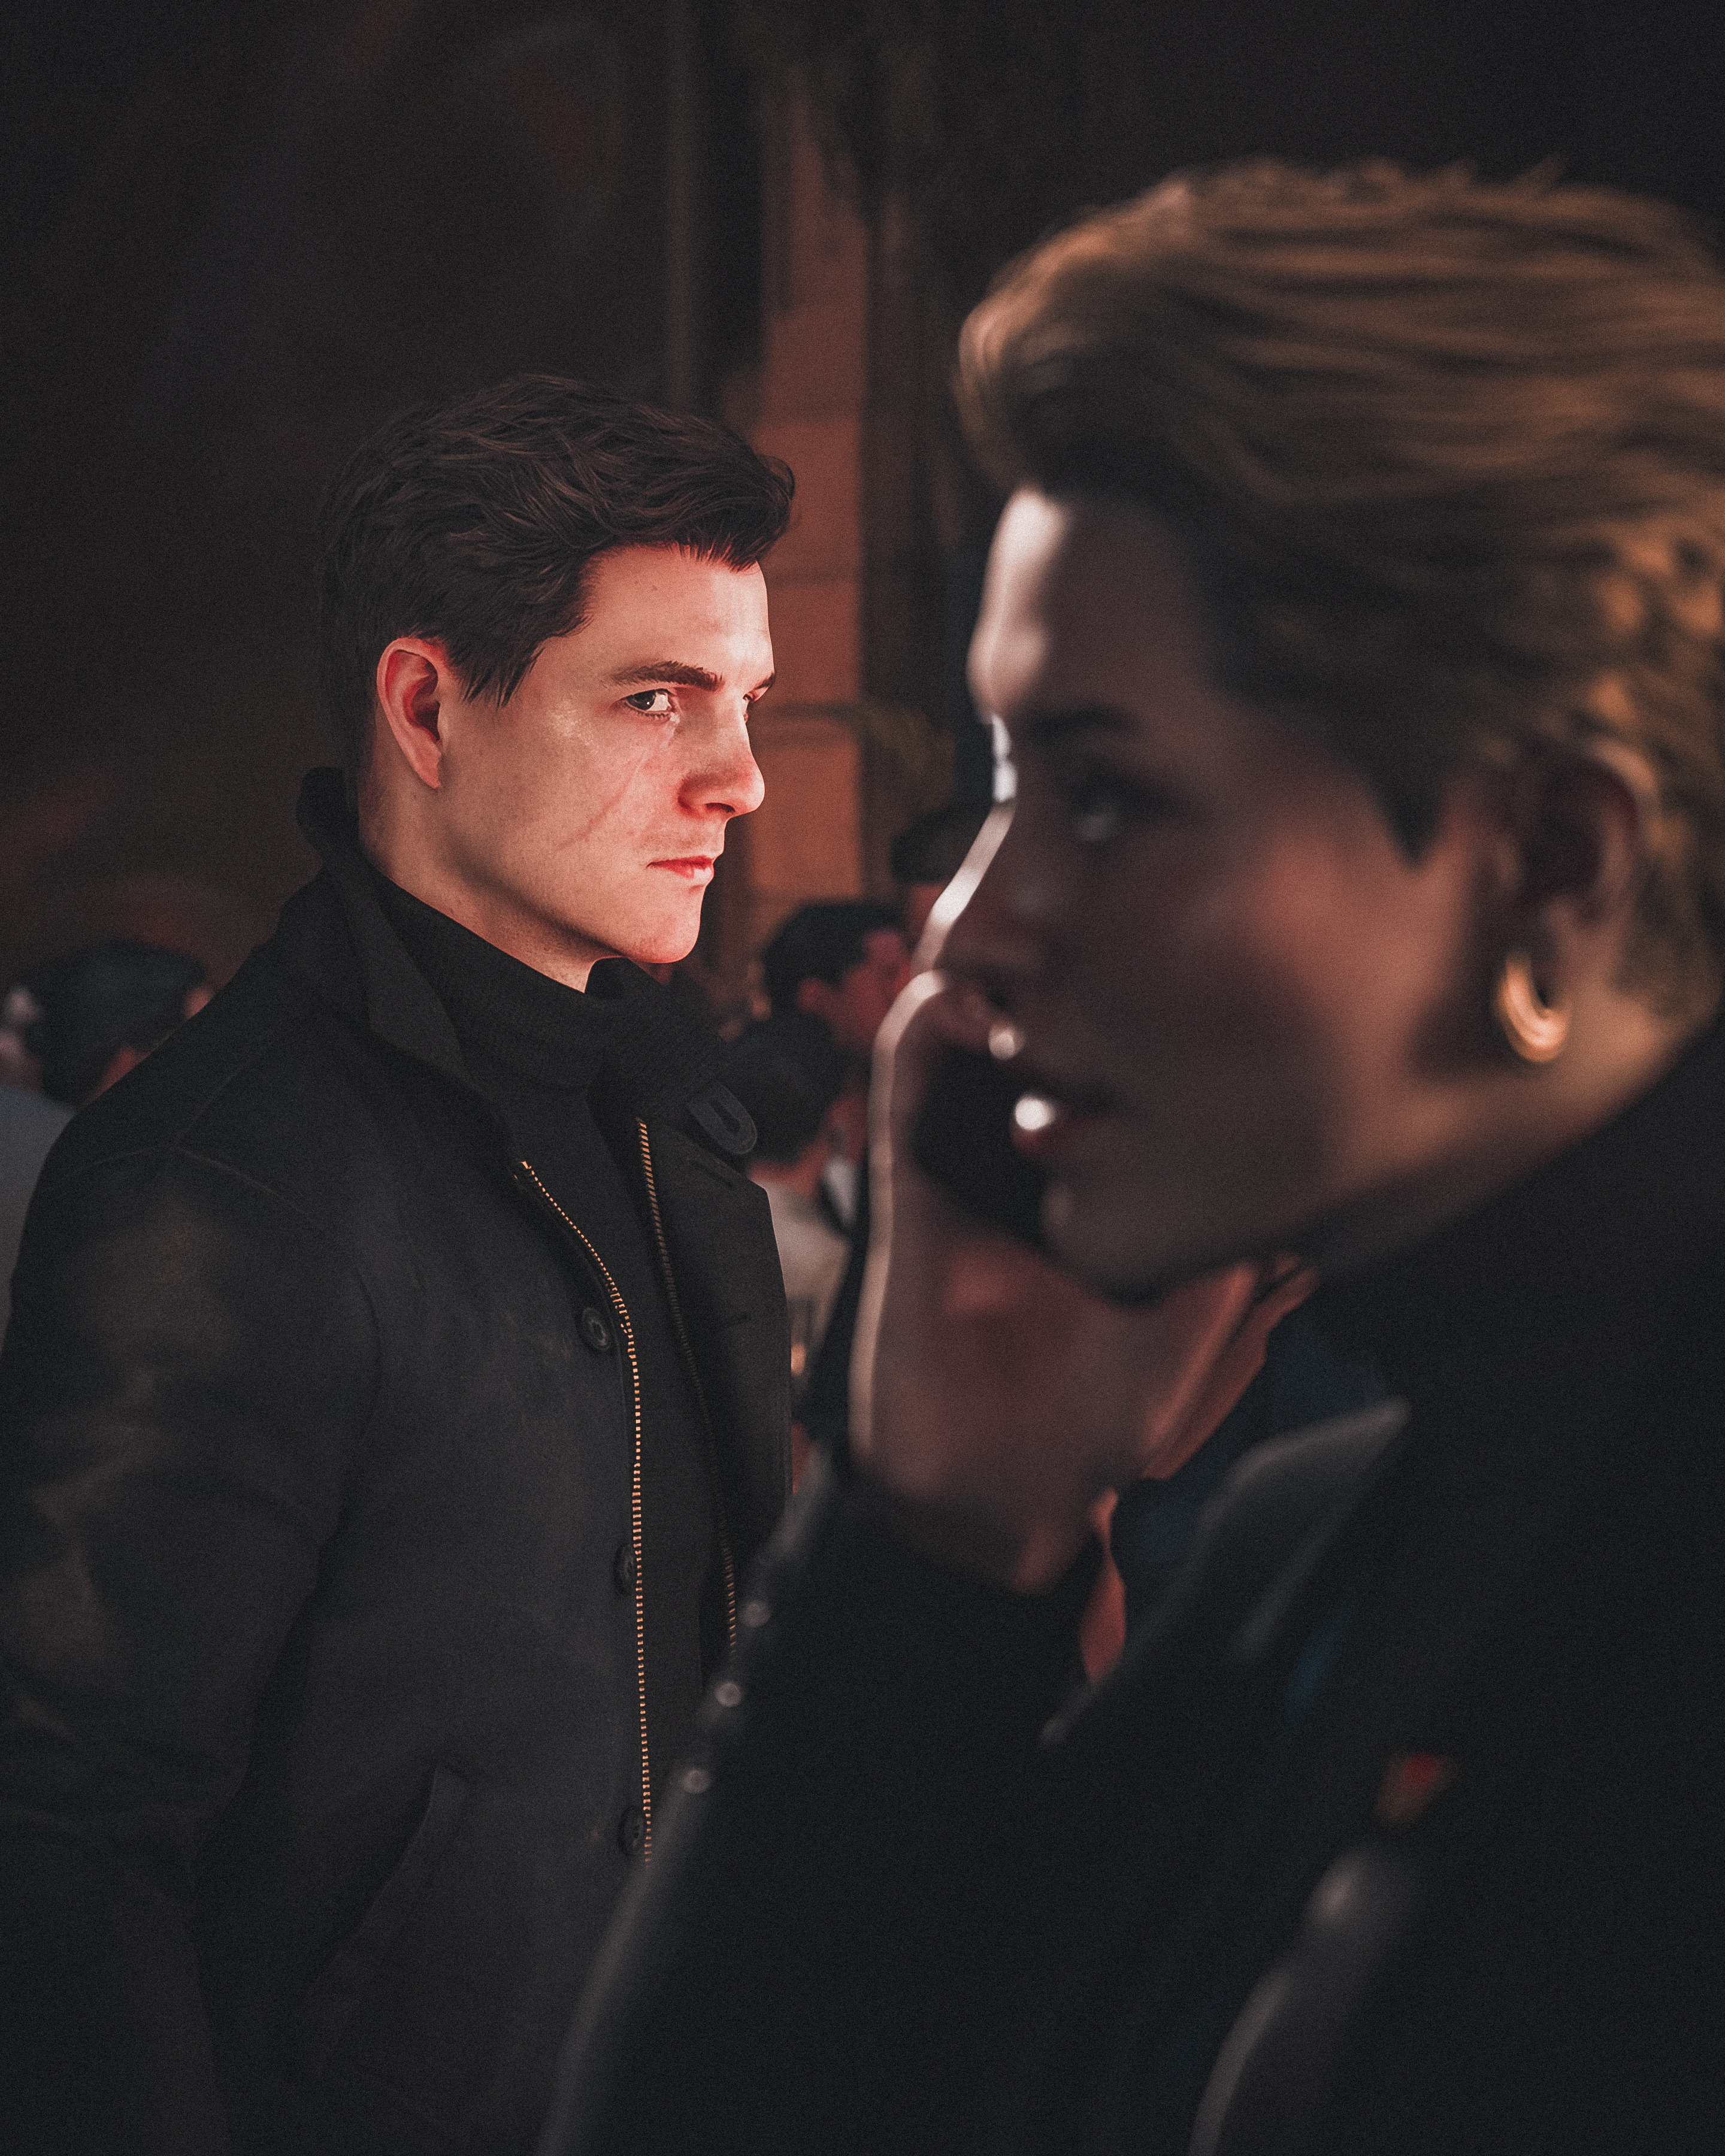
Two gaps. You cannot move Bond, only rotate him, so where he stands is where he stays. And you cannot hide NPCs or enemies. Hide Bond is there, but everyone else in the scene is staying in your frame.
Poses, rotation, expressions and hands.
Lighting
They did not have to include this, and I am glad they did. Up to four light sources, each with intensity and colour, and the setup holds for as long as you stay in your photo mode session.
For a first photo mode, four lights is a real commitment. Most games give you none.
The problem with attaching lights to the camera
Every light is placed by pointing the camera at where you want it. That part is fine, it is an intuitive way to position a source.
The problem is getting back. Once the lights are placed, your camera is wherever placing them left it, and there is no way to return to the composition you had. Star Wars Jedi: Survivor solves this by letting you set your lights and then put the camera back where it was. Here you are rebuilding the shot from memory. If IOI change one thing about this tab, I would ask for that.
No control over the beam
The second limitation is about the shape of the light itself.
A real light has a beam angle, how wide the cone opens, and falloff, how quickly it fades with distance. Narrow the cone and you get a spot that touches one thing. Open it up and you get a flood that washes everything in front of it. Photographers control this with barn doors and snoots for exactly this reason.
Here you get intensity and colour and nothing else. The cone is whatever it is, which means you cannot light just Bond. Point a light at him and the wall behind him, the plants beside him and the floor under him all come up with him.
Spider-Man gives you range and cone on each light, and that is the difference between adding a light and placing one. The foundation here is good. It needs that one layer on top.
Placing the four lights, and the spill that comes with them.
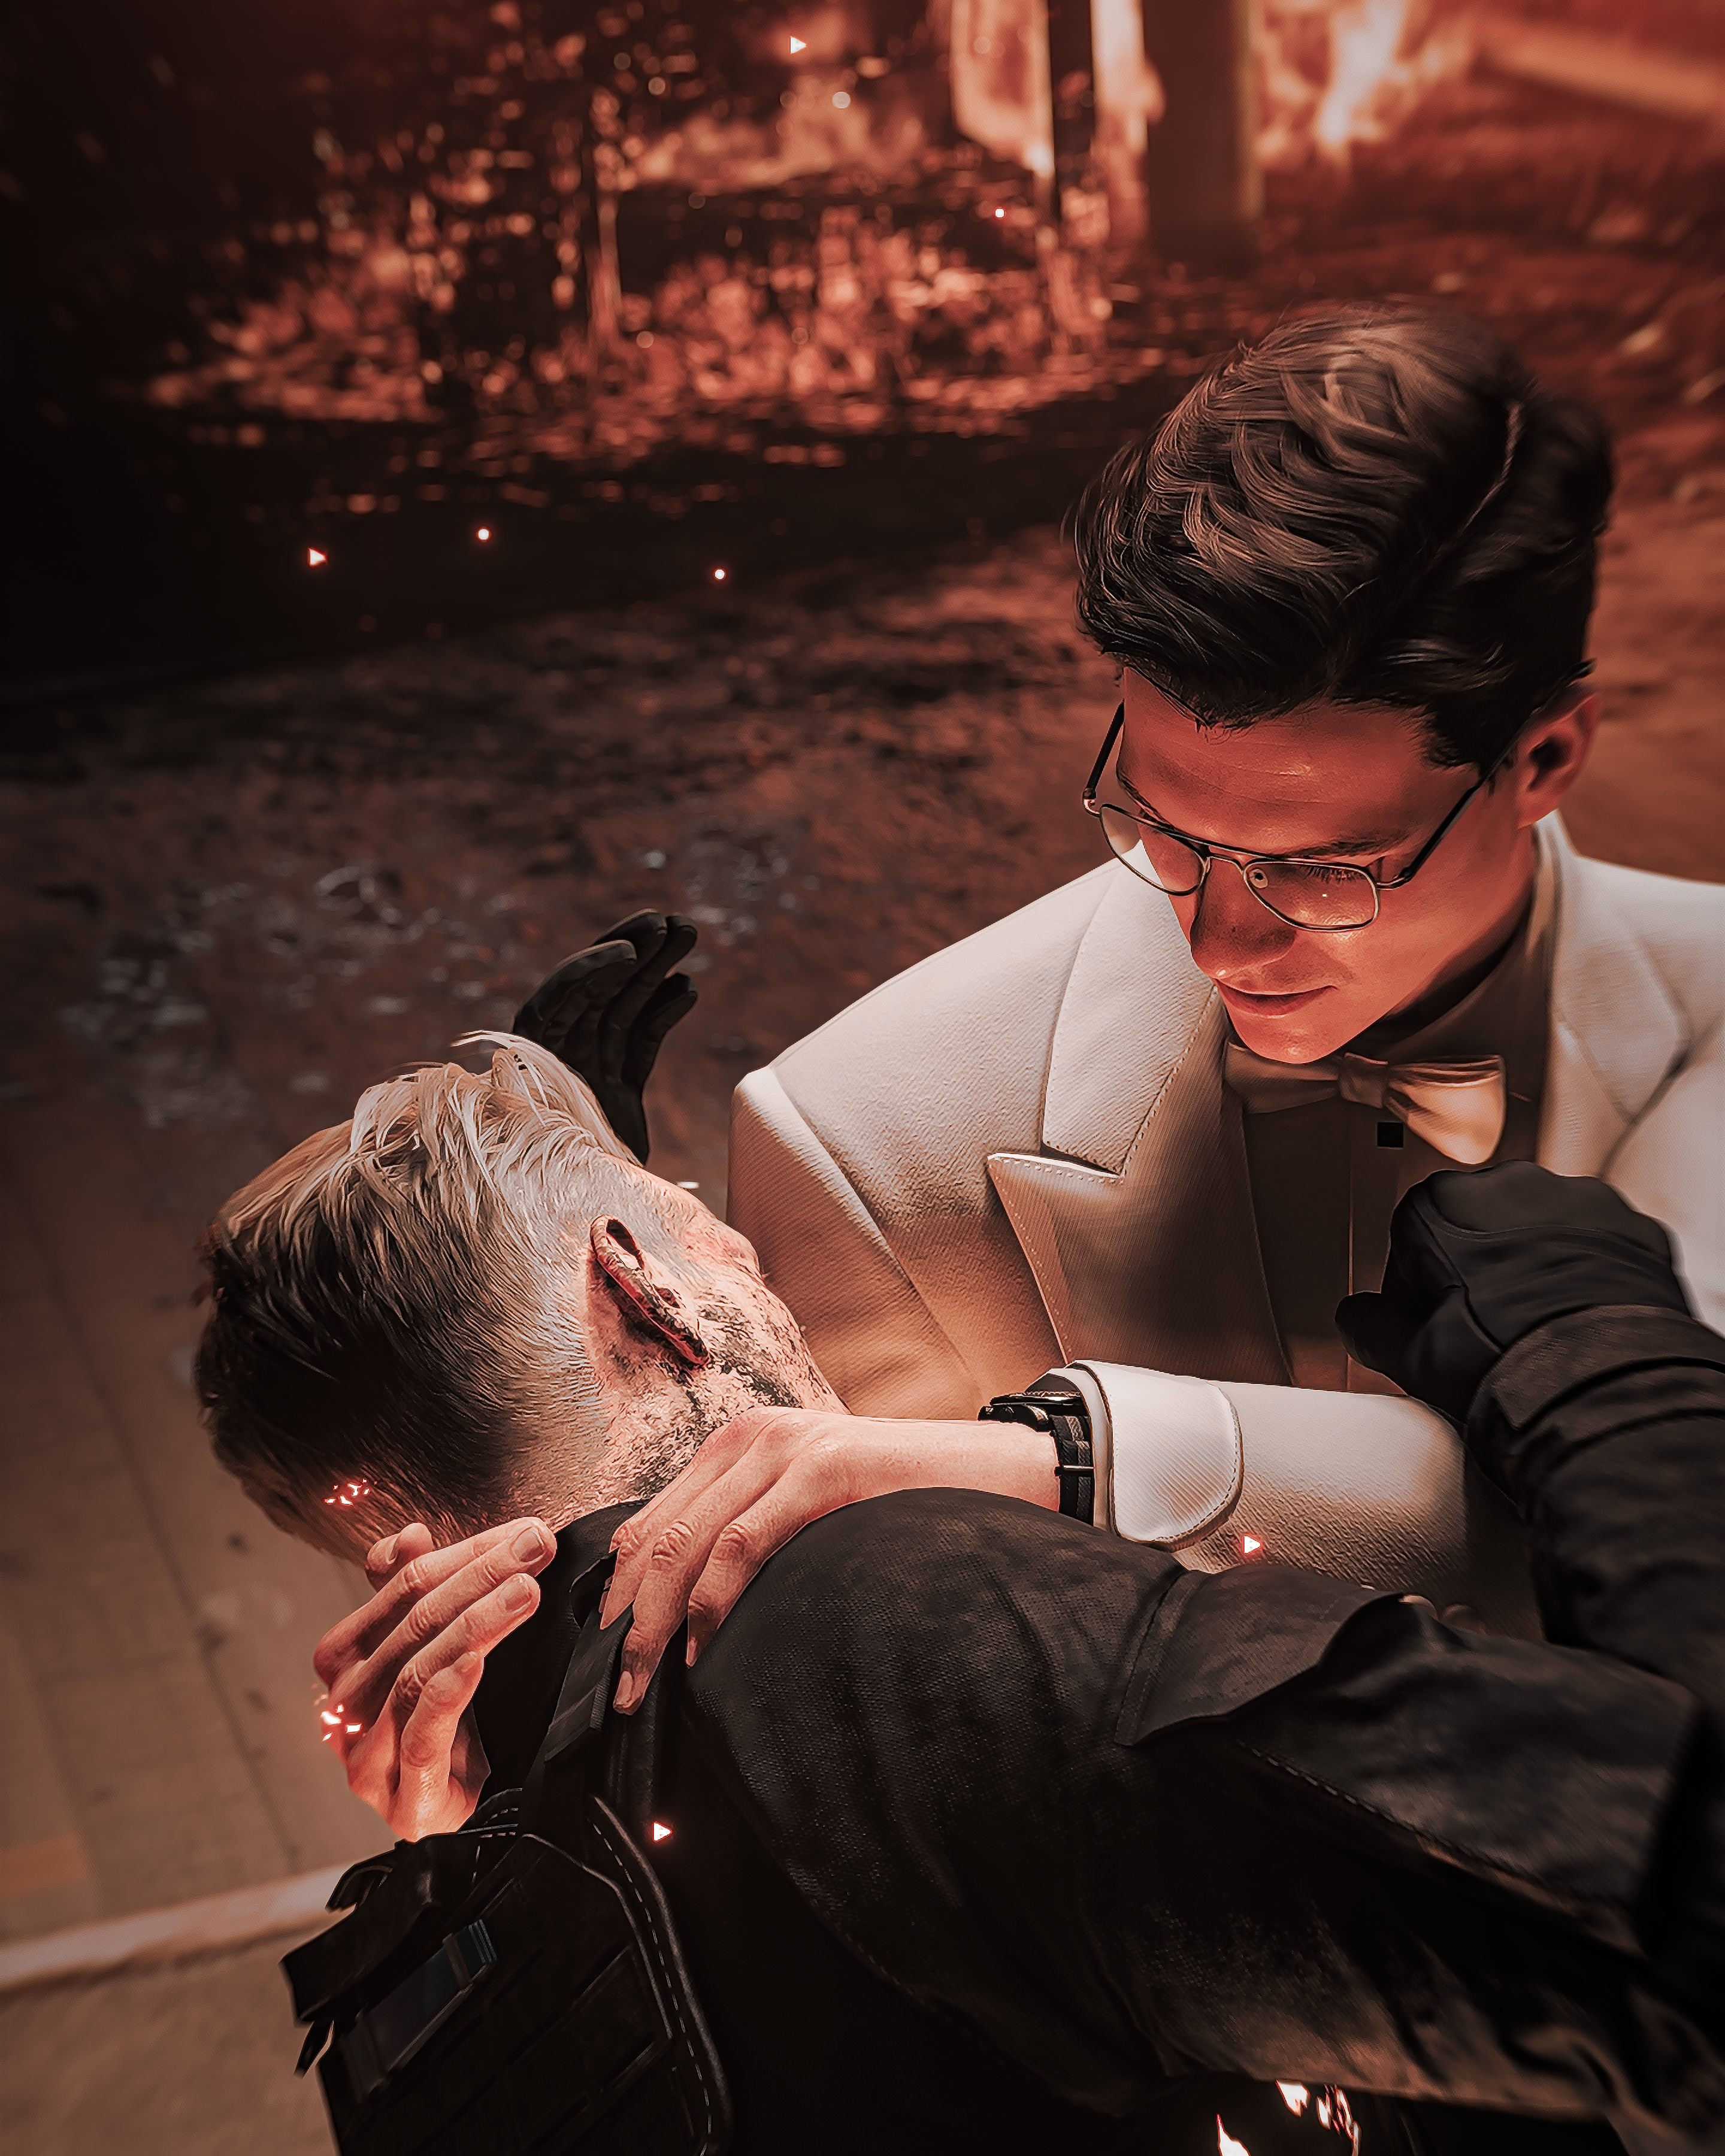
Verdict
A strong first photo mode from a studio that should have shipped one a decade ago.
IO Interactive has been building photographable worlds since the Hitman trilogy and leaving us to mod our way into them. 007 First Light is the first time they have handed over the keys, and the shape of what they built says they took it seriously. Real aperture. Four lights. Twenty-two poses and twelve expressions.
The gaps are the gaps of a first go. None of them are structural, and all of them are fixable.
What matters is that the foundation is right, and it means every IOI game after this one starts from here. Which, if you have been shooting Hitman through a mod for years, is the thing you actually wanted all along.
Reviewed on PC.
Enjoying our content?
Support the PMAs on Patreon and help us keep going